Discover how a bimodal integration strategy can address the major data management challenges facing your organization today.
Get the Report →Build Apps with Live Zendesk data in Adalo using CData Connect Cloud
Use CData Connect Cloud to integrate live Zendesk data into the Adalo platform and build custom mobile and web applications with real-time Zendesk data.
Adalo is a no-code platform used to build custom mobile and web applications without needing programming skills. It allows users to design interfaces, manage databases, and integrate functionality through simple drag-and-drop tools, making app development accessible and efficient. When combined with CData Connect Cloud, it provides access to Zendesk data to build custom applications and more.
This article explains how to use CData Connect Cloud to create a live connection to Zendesk and how to connect and access live Zendesk data from the Adalo platform.
Configure Zendesk connectivity for Adalo in CData Connect Cloud
To work with Zendesk data in Adalo, you need to connect to Zendesk from Connect Cloud, provide user access to the connection, and create an OData endpoint for Zendesk data.
Additionally, you need to generate a Personal Access Token (PAT) on the Settings page. Be sure to copy it down, as it serves as your password during authentication.
Follow the steps below to configure Zendesk connectivity for Adalo. For more information, see the Connections section of the Help documentation.
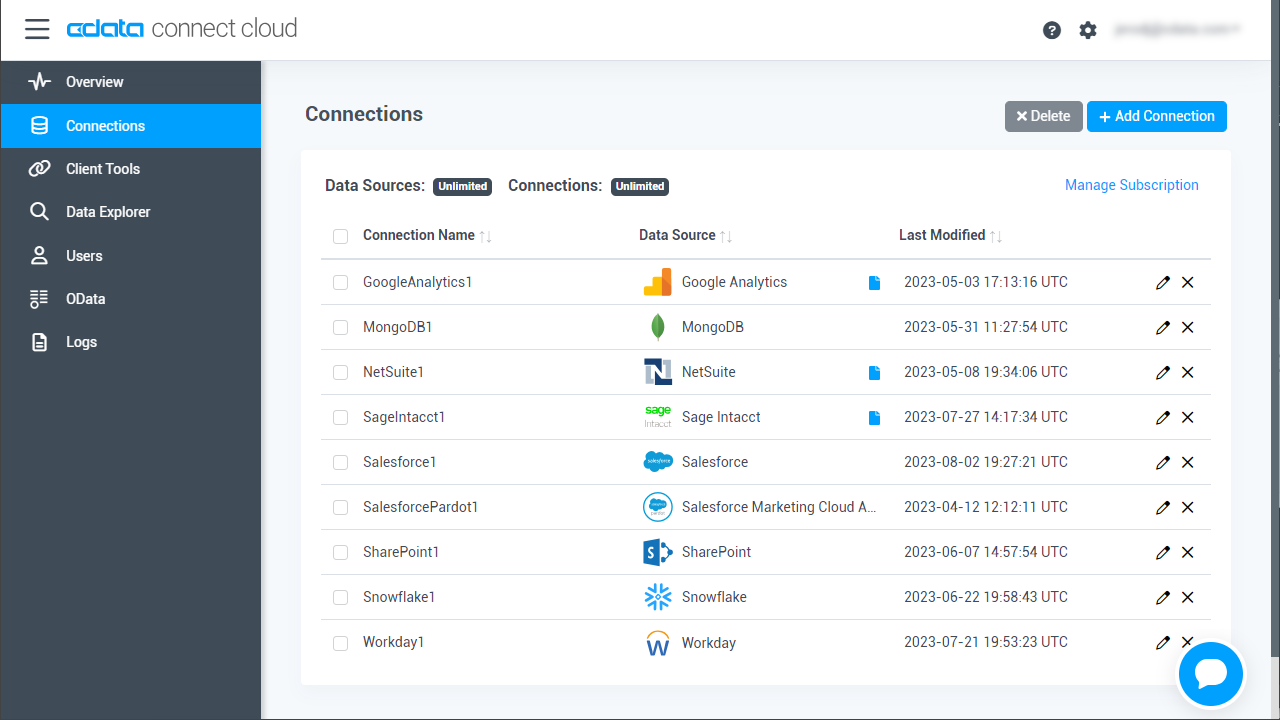
- Log into Connect Cloud, click Connections and click Add Connection
![Adding a Connection]()
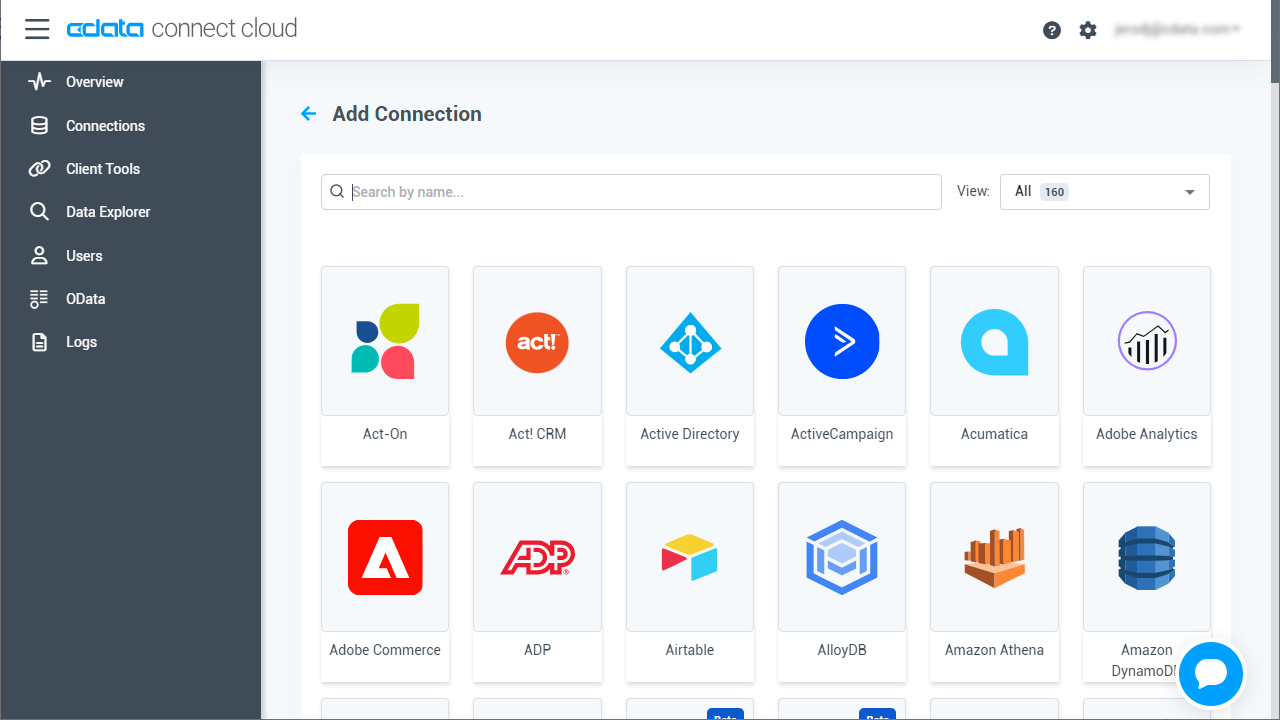
- Select "Zendesk" from the Add Connection panel
![Selecting a data source]()
-
Enter the necessary authentication properties to connect to Zendesk.
Connecting to Zendesk
To connect, set the URL and provide authentication. The URL is your Zendesk Support URL: https://{subdomain}.zendesk.com.
Authenticating to Zendesk
You can authenticate using the Basic or OAuth methods.
Using Basic Authentication
To use Basic authentication, specify your email address and password or your email address and an API token. Set User to your email address and follow the steps below to provide the Password or ApiToken.
- Enable password access in the Zendesk Support admin interface at Admin > Channels > API.
- Manage API tokens in the Zendesk Support Admin interface at Admin > Channels > API. More than one token can be active at the same time. Deleting a token deactivates it permanently.
Using OAuth Authentication
See the Getting Started guide in the CData driver documentation for an authentication guide.
![Configuring a connection (Salesforce is shown)]()
- Click Create & Test
- Navigate to the Permissions tab in the Add Zendesk Connection page and update the User-based permissions.
![Updating permissions]()
Add a Zendesk OData endpoint to CData Connect Cloud
Once you're connected to Zendesk, create an OData endpoint for the desired table.
- Go to the OData page from the left panel. Click Add and select Connections from the Add Entity Set window.
- Select your Zendesk connection (for example, Zendesk1) and click Next.
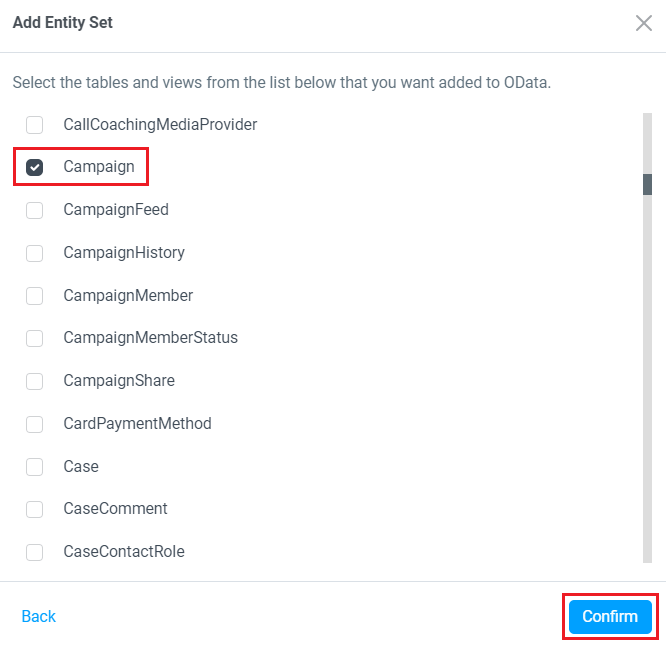
- Select the table you want to use and click Confirm to create a new OData endpoint.
- Save the endpoint to connect Zendesk with Adalo in the next section.
With the connection and OData endpoint configured, you can connect to Zendesk data from Adalo.
NOTE: You can also do the same using the Virtual Datasets functionality in CData Connect Cloud. Refer to this YouTube link or our product documentation to learn more about the Virtual Datasets.
Build a custom app with Adalo
After configuring CData Connect Cloud, you can begin developing the Adalo app using Zendesk data.
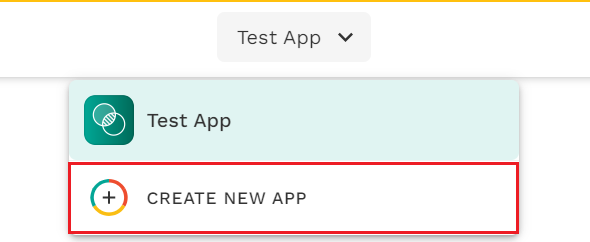
- Click on CREATE NEW APP.
![Create a new app.]()
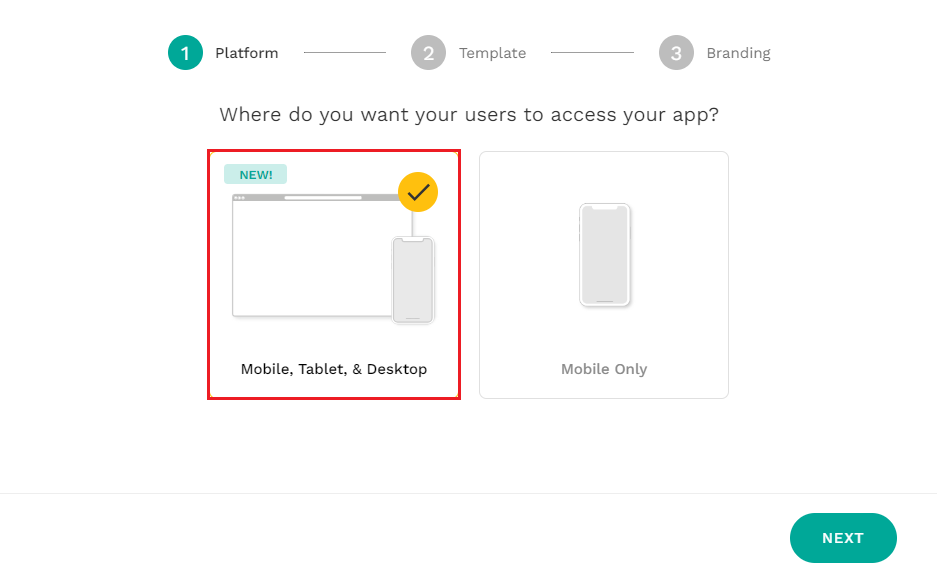
- Select Desktop Web App and click on Next.
![Select the kind of app to be created.]()
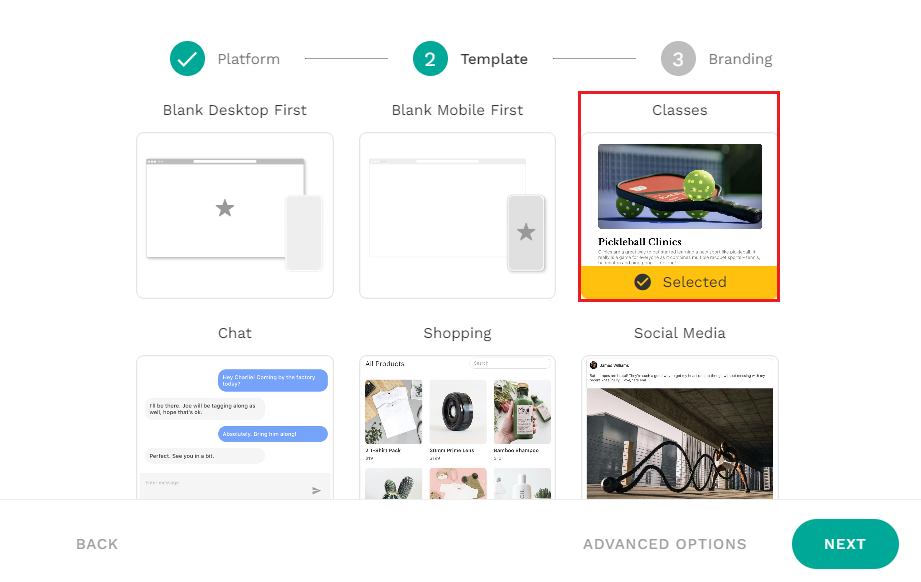
- You can choose any template, but for testing purposes, we've chosen a Blank template.
![Select the preferred template.]()
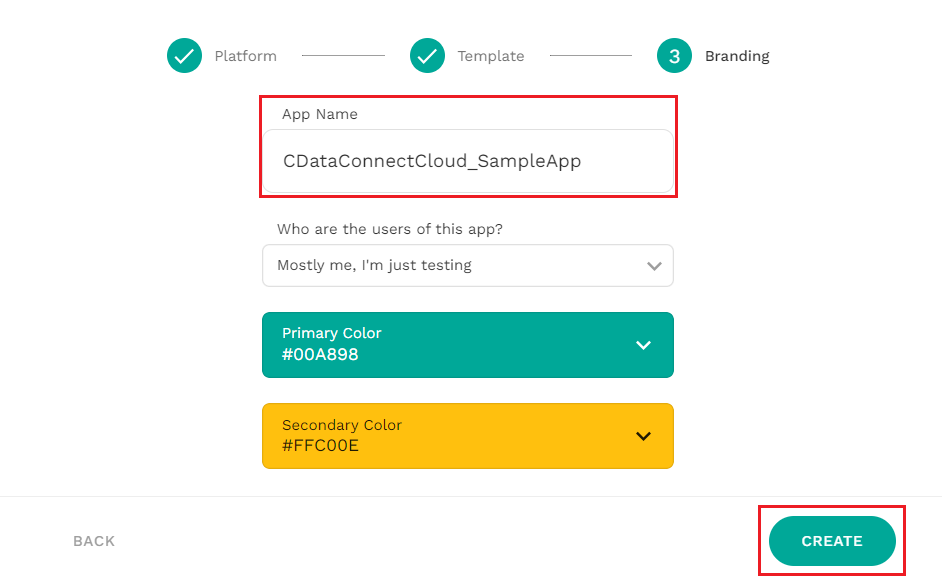
- Finally, add an app name and choose a color scheme, and your app is ready to go!
![Add a name and color scheme to the app.]()
Registering external collections
Adalo uses a data structure called Collection to manage app data and offers a feature called External Collections with APIs, which lets you seamlessly integrate Collection with external APIs. Use this feature to connect to Connect Cloud.
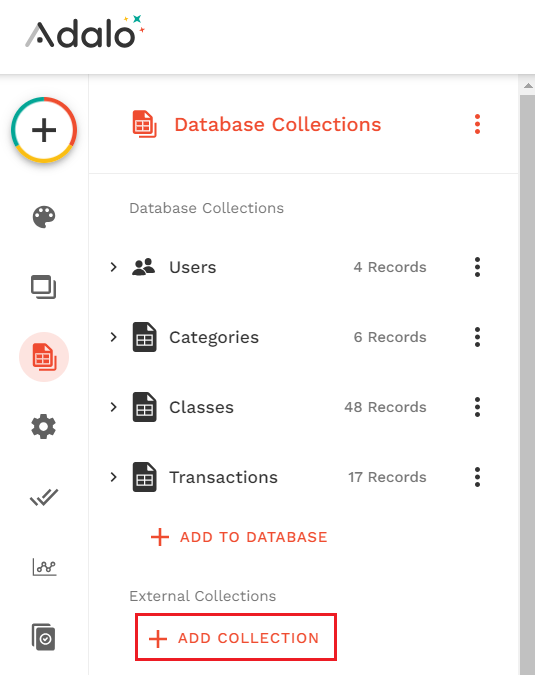
- After creating an app, you first need to register a Collection, which is a definition for handling data within the Adalo app. There are two types of Collections: Database Collections, which are like Adalo's own internal database, and External Collections, which allow access to external APIs. In this case, we will access an external API, registering it as an External Collection.
![Add a new collection under Database Collections.]()
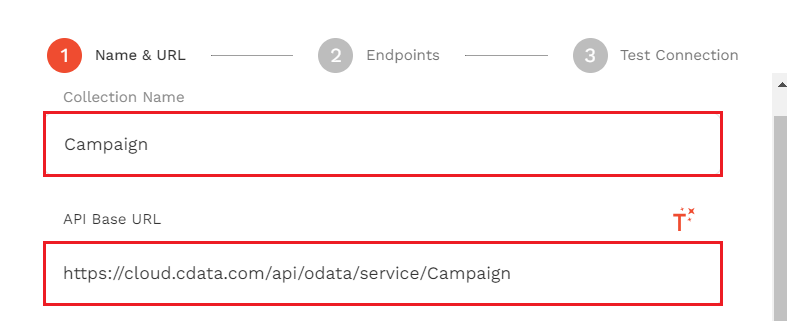
- On the External Collections registration screen, click on ADD COLLECTION to enter the collection name (any name of your choice), and provide the API base URL endpoint (OData endpoint registered on Connect Cloud). Make sure to add "/(table)" to the OData URL to access the specific endpoint. (Refer to the image given for reference)
![Add a name and provide an API URL endpoint or OData endpoint to the collection.]()
- In order to authenticate, you need a base64 authorization header comprising your username and PAT, joined by a colon. For example, [email protected]:MY_PAT. You can use a scripting tool, web tool, or other application to create this header.
Using Postman to generate the Authorization header
- Open the Postman application. Enter the OData URL mentioned in the previous step for a GET request on Postman. Click on the Authorization tab and select Auth Type as "Basic Auth". Enter the Username and Password as follows and click on Send:
- Username: Connect Cloud Username
- Password: PAT generated on Connect Cloud
![Add username and password to authorize the OData endpoint in Postman.]()
- Go to the Headers tab and copy/save the value of the Authorization key.
![Obtain the Authourization key from Postman.]()
- Open the Postman application. Enter the OData URL mentioned in the previous step for a GET request on Postman. Click on the Authorization tab and select Auth Type as "Basic Auth". Enter the Username and Password as follows and click on Send:
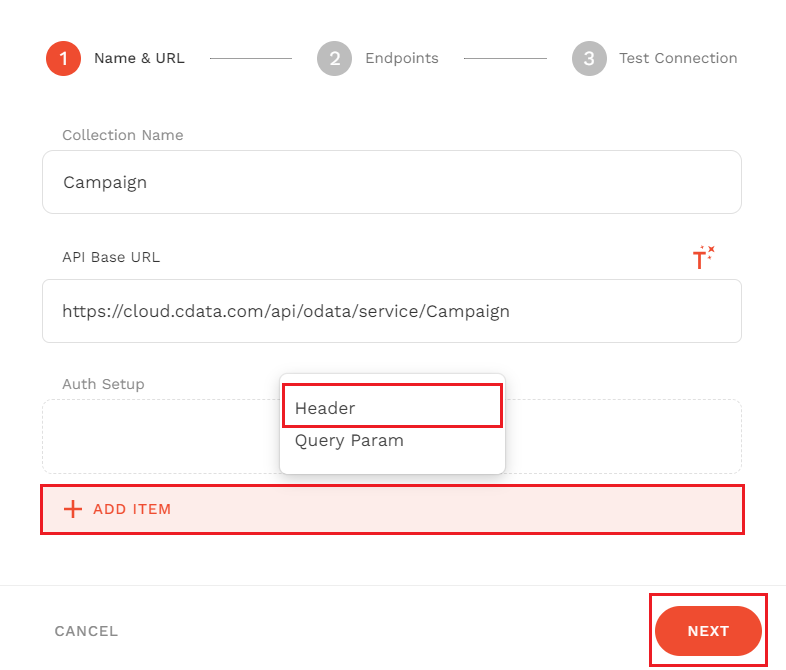
- Back in Adalo, click on ADD ITEM and select Header.
![Open to add the collection header.]()
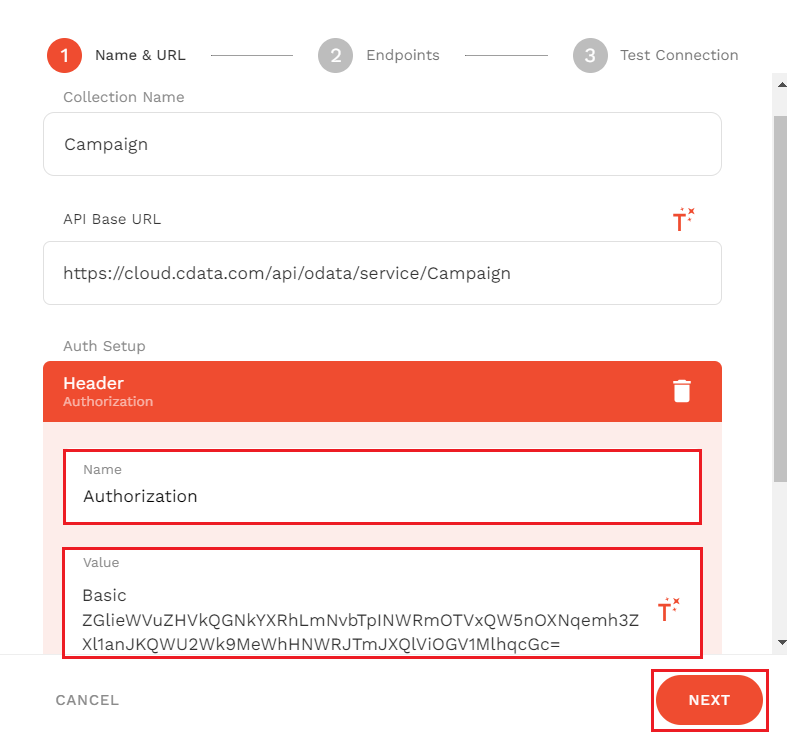
- Enter the details in the Header section as follows:
- Name: "Authorization"
- Value: Authorization key value copied in the previous step
![Configure the collection header with the Authorization key.]()
- Select Done and click on Next.
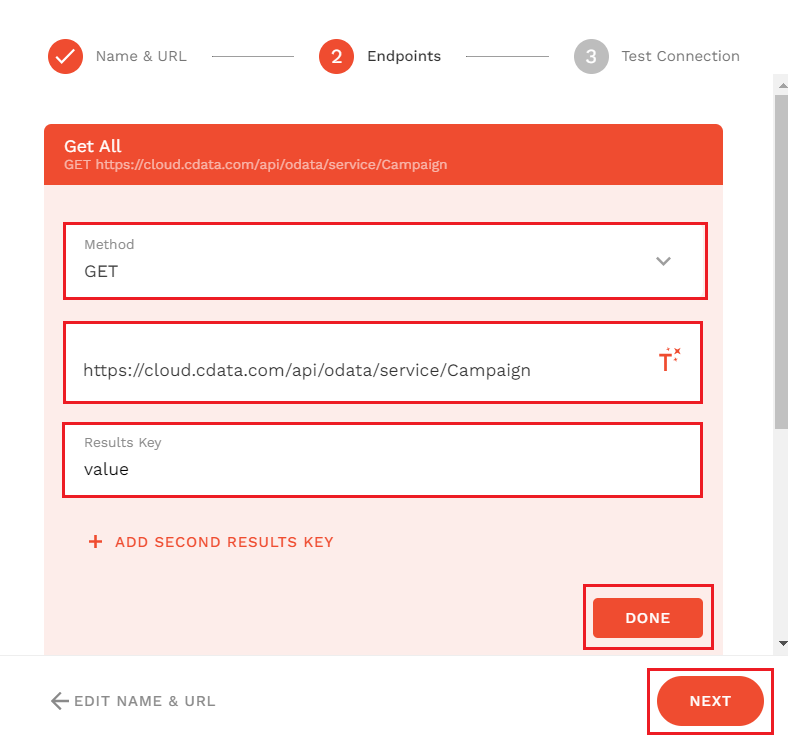
- Select Get All and enter "value" in the Results Key section. Click on Done and Next.
![Enter the results key.]()
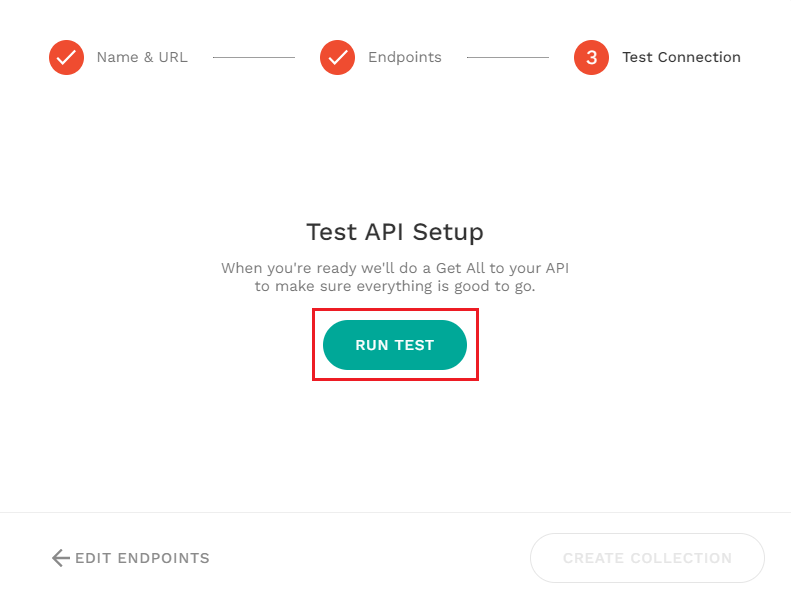
- Now, to test the API setup, click on RUN TEST. If you finally see the message and response shown below, the creation of External Collections is complete.
![Run the test.]()
Creating a list screen
After configuring CData Connect Cloud, you can now begin developing the app on Adalo using Zendesk data.
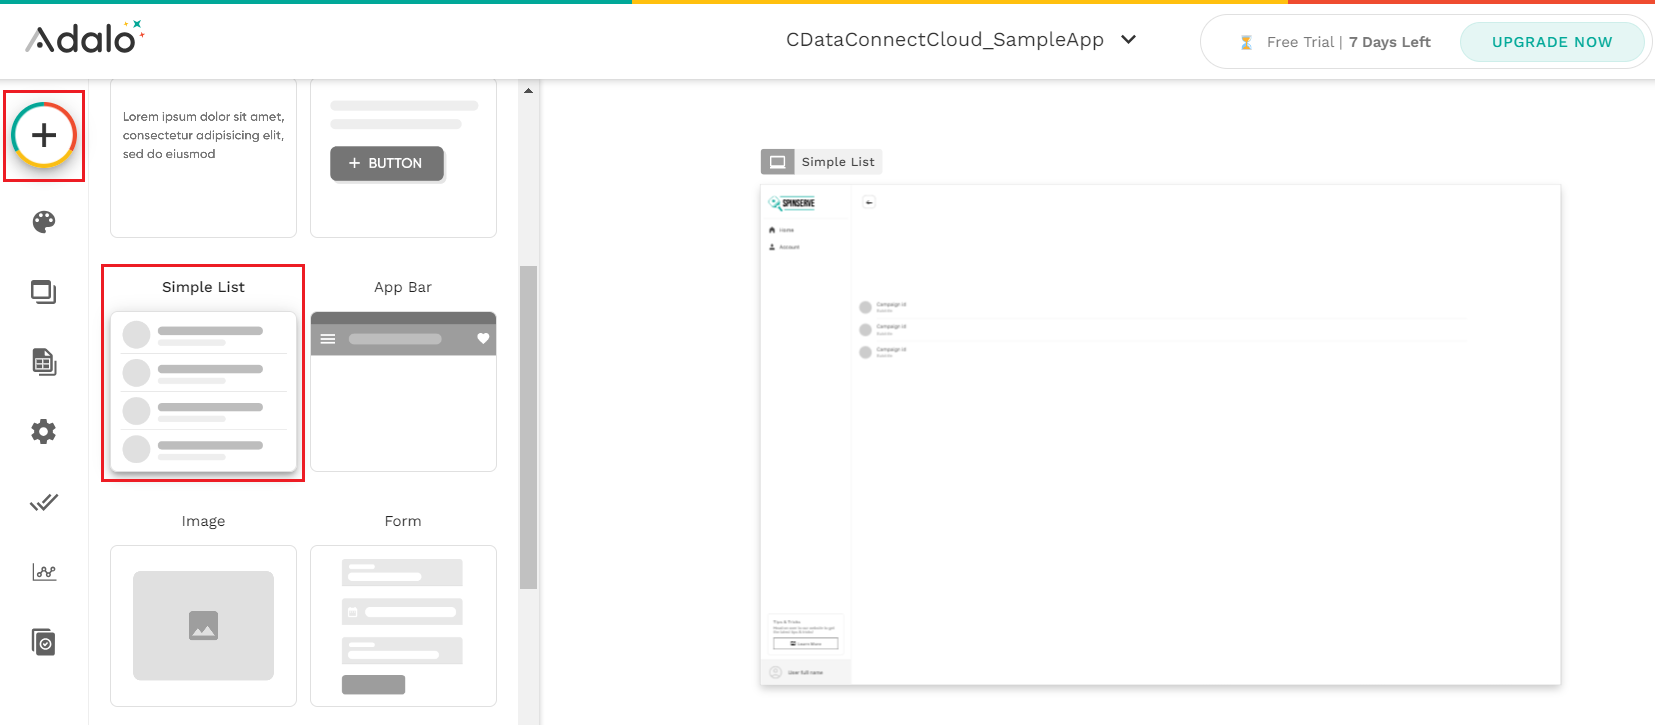
- First, click the + button in the upper right corner of the Adalo screen to display the list screen, then drag and drop "Simple List" onto the screen.
![Add a list to the app.]()
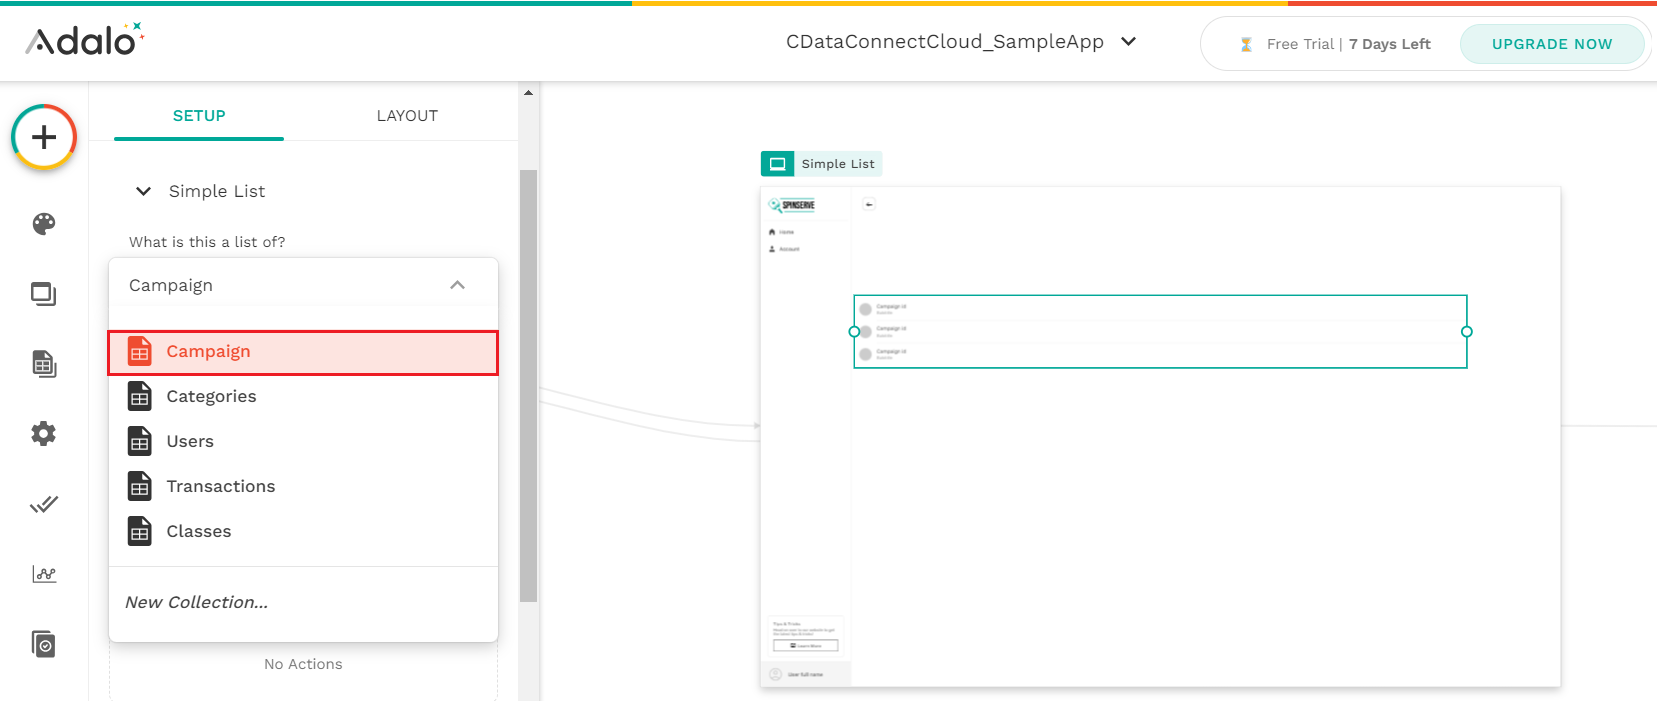
- Once the layout is complete as shown below, link the External Collections definition you created earlier to What is this a list of?
![Mention the list type]()
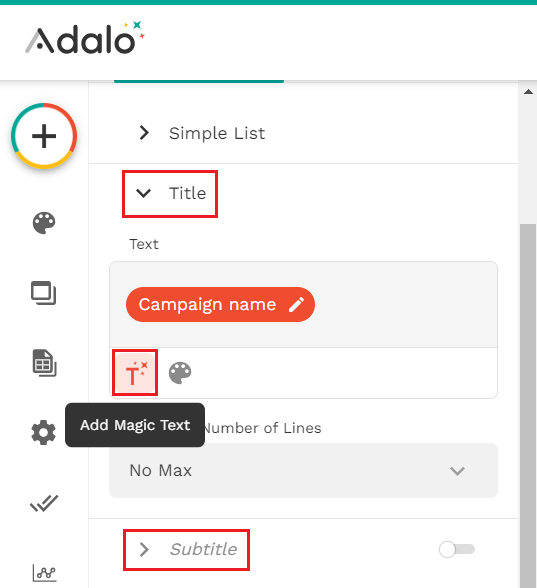
- Click on "Add Magic Text" button (as shown) to add the "Title" and "Subtitle" to the data items you want to obtain.
![Add the title and subtitle]()
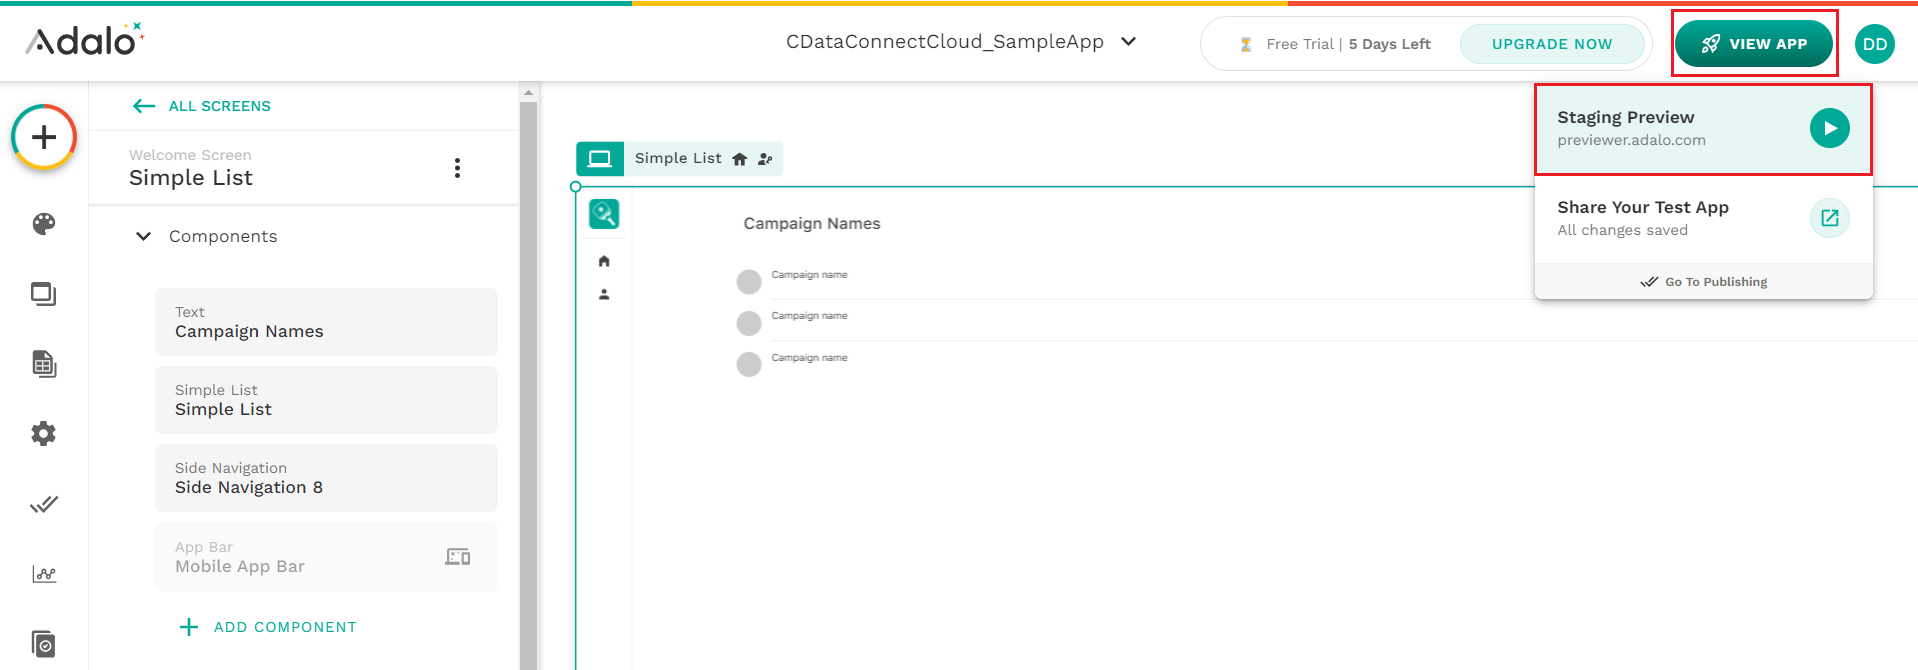
- Now, click on View App in the top right corner of the screen and select Staging Preview.
![Preview the app]()
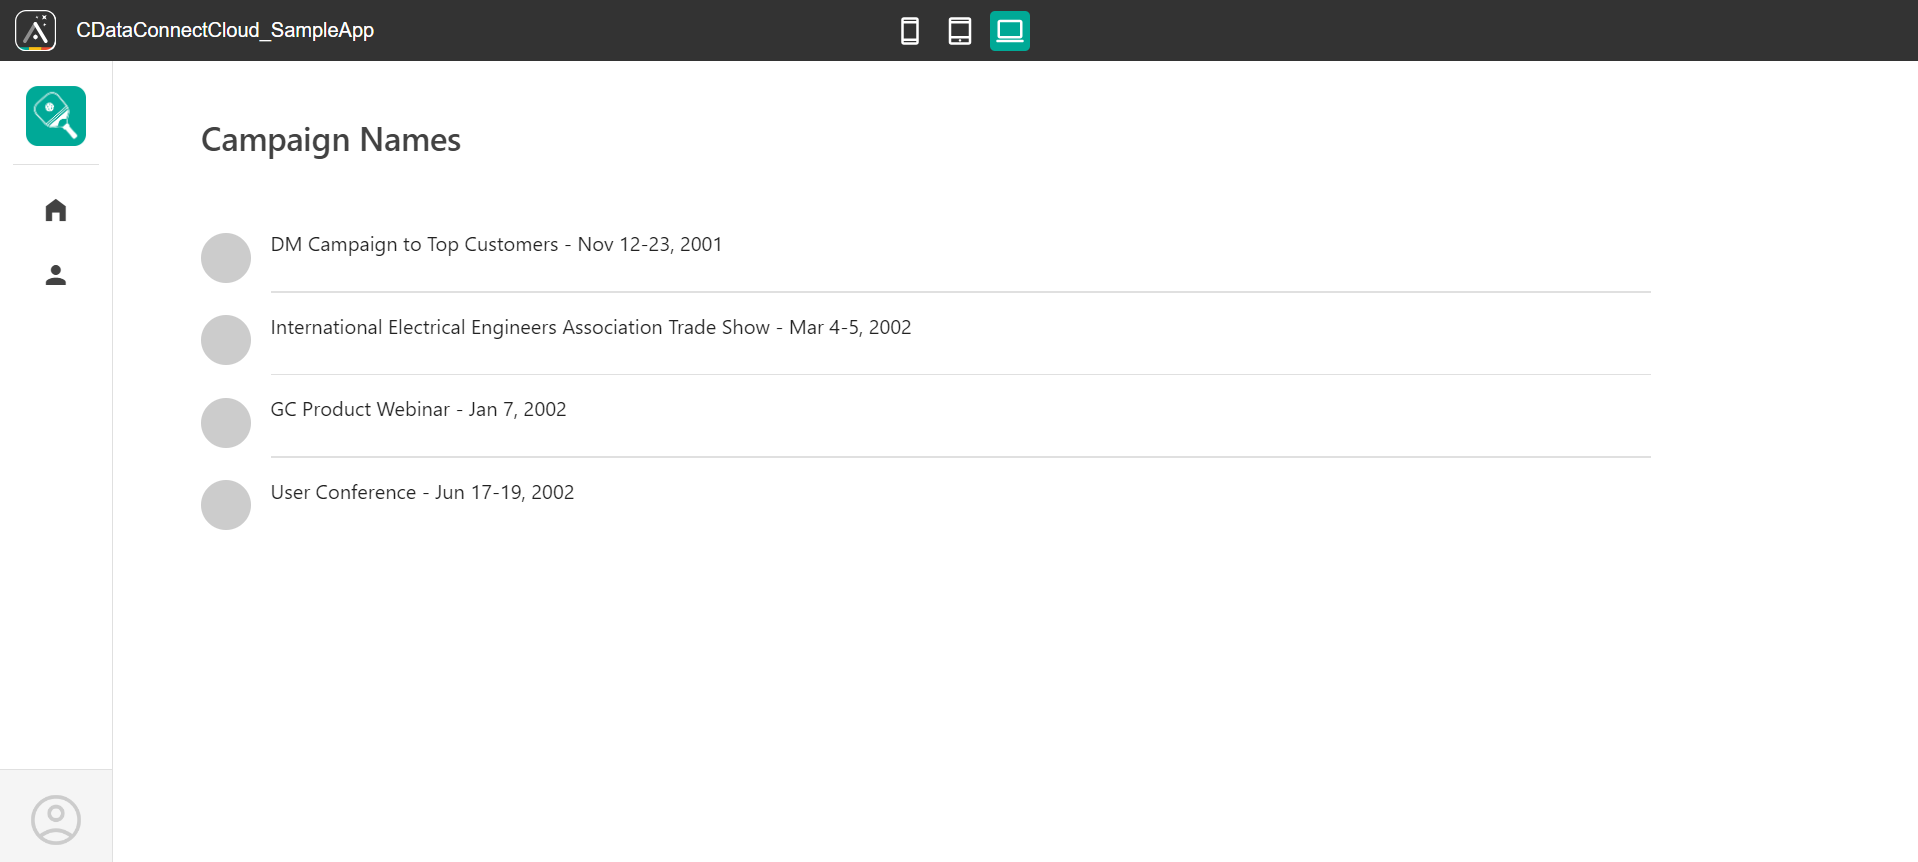
- You can now view the Zendesk data in the app created on Adalo.
![View Zendesk table data in the form of a list in Adalo app]()
Live connections to Zendesk data from cloud applications
Adalo now allows you to connect to live Zendesk data directly, allowing you to create more connections and apps without duplicating Zendesk data.
To get real-time data access to over 100 SaaS, big data, and NoSQL sources directly from your cloud applications, visit CData Connect Cloud.


