Discover how a bimodal integration strategy can address the major data management challenges facing your organization today.
Get the Report →Visualize Live WooCommerce Data of Power BI Report Builder in Power BI Service
Use CData Power BI Connectors to connect to live WooCommerce data using Power BI Report Builder and create custom reports in the Power BI Service through the On-Premises Gateway.
CData Power BI Connectors provide self-service integration with Microsoft Power BI. The CData Power BI Connector for WooCommerce links your Power BI reports to real-time WooCommerce data. You can monitor WooCommerce data through dashboards and ensure that your analysis reflects WooCommerce data in real time by scheduling refreshes or refreshing on demand. This article details how to use the Power BI Connector to create real-time visualizations of WooCommerce data in Microsoft Power BI Desktop.
Create and Configure a DSN
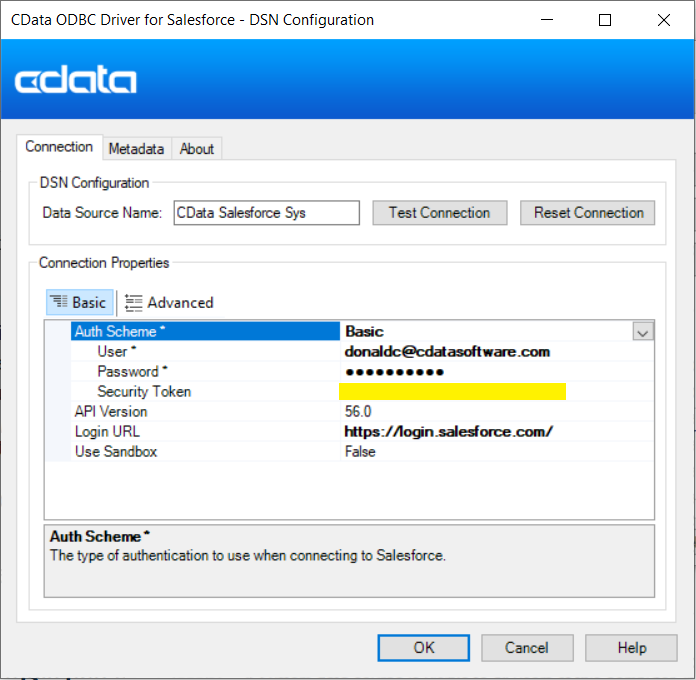
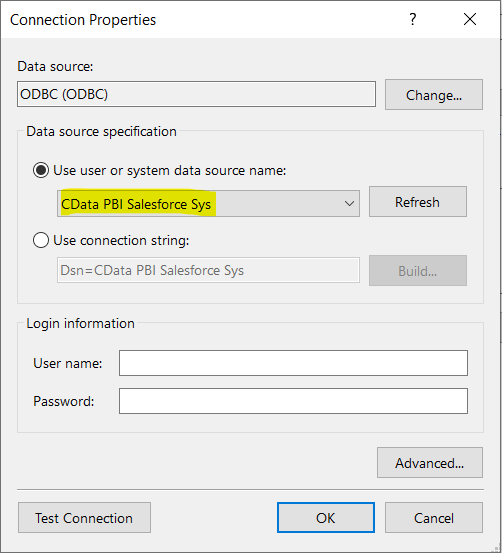
Installing the Power BI Connector creates a DSN (data source name) with the name CData PBI WooCommerce that Power BI uses to connect to the data source. Configure the DSN by filling in the required connection properties.
You can use the Microsoft ODBC Data Source Administrator to create a new DSN or configure (and rename) an existing DSN. From the Start menu, enter "ODBC Data Sources." Ensure that you run the version of the ODBC Administrator that corresponds to the bitness of your Power BI Desktop installation (32-bit or 64-bit).
WooCommerce supports the following authentication methods: one-legged OAuth1.0 Authentication and standard OAuth2.0 Authentication.
Connecting using one-legged OAuth 1.0 Authentication
Specify the following properties (NOTE: the below credentials are generated from WooCommerce settings page and should not be confused with the credentials generated by using WordPress OAuth2.0 plugin):
- ConsumerKey
- ConsumerSecret
Connecting using WordPress OAuth 2.0 Authentication
After having configured the plugin, you may connect to WooCommerce by providing the following connection properties:
In either case, you will need to set the Url property to the URL of the WooCommerce instance.
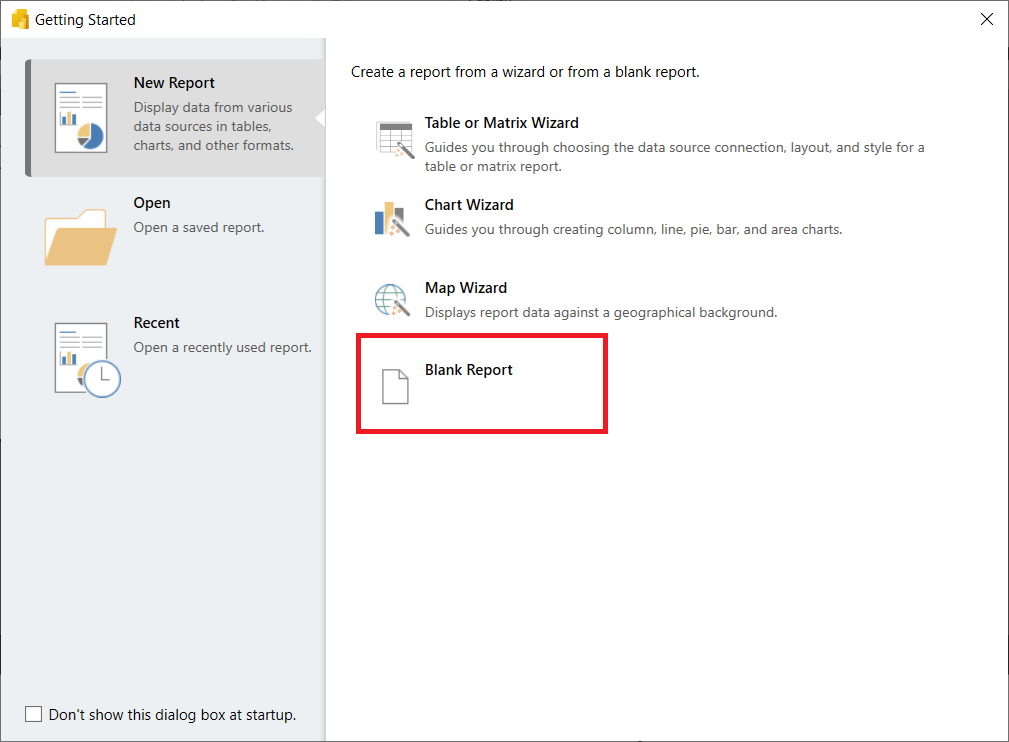
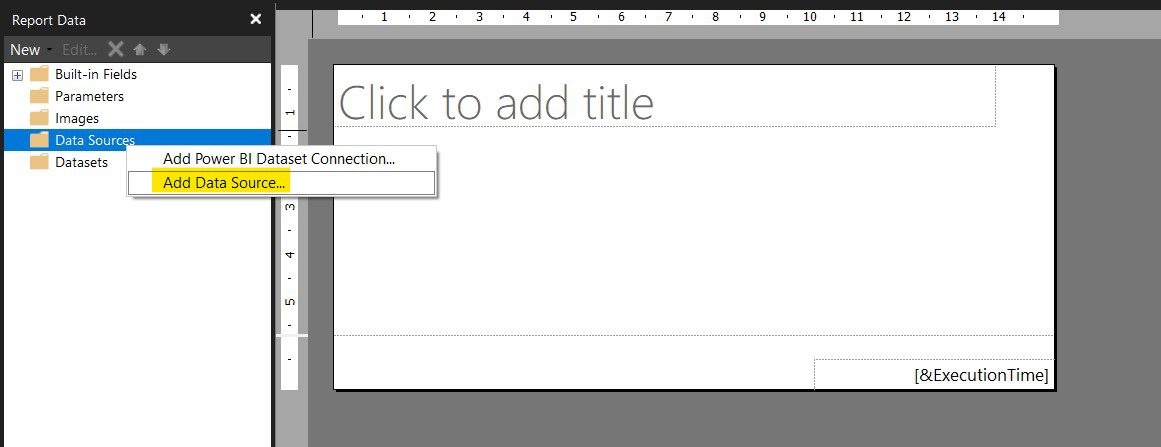
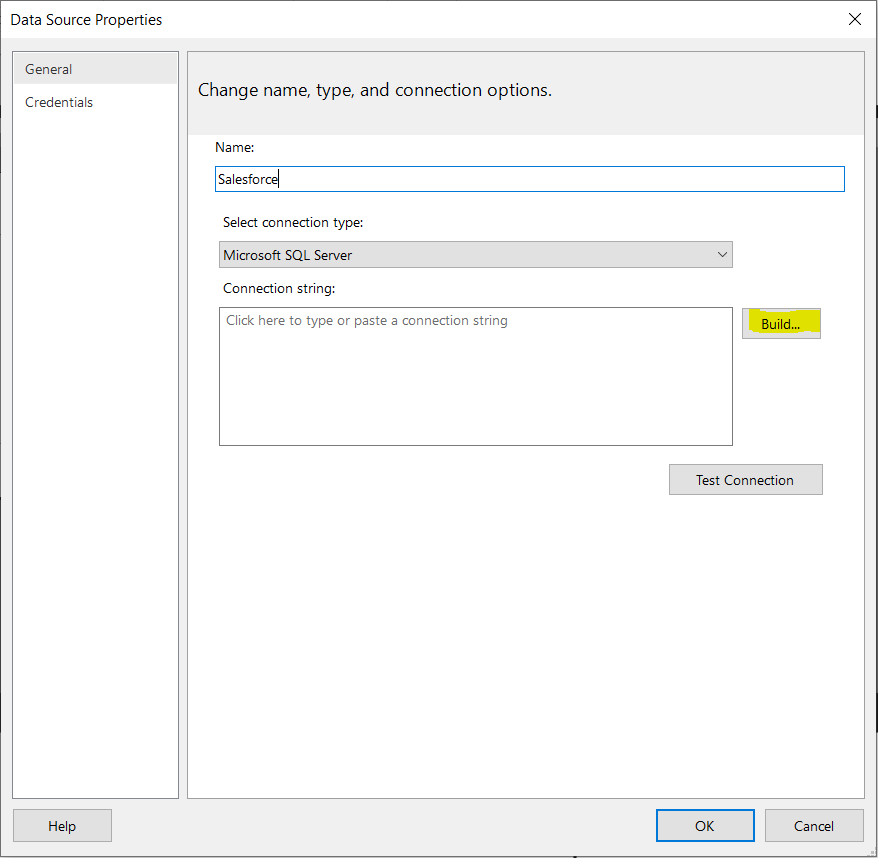
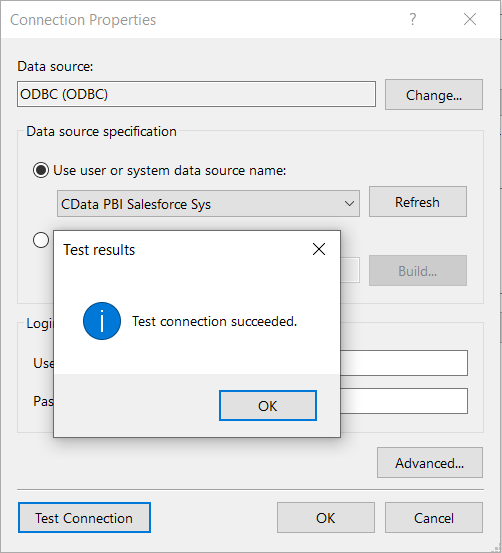
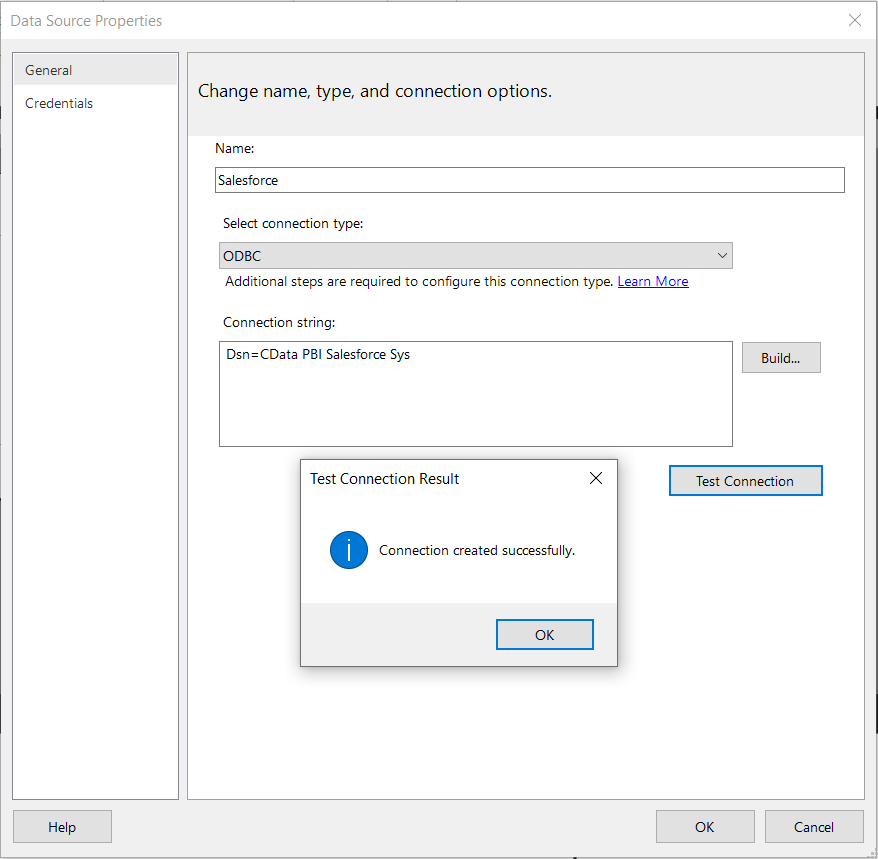
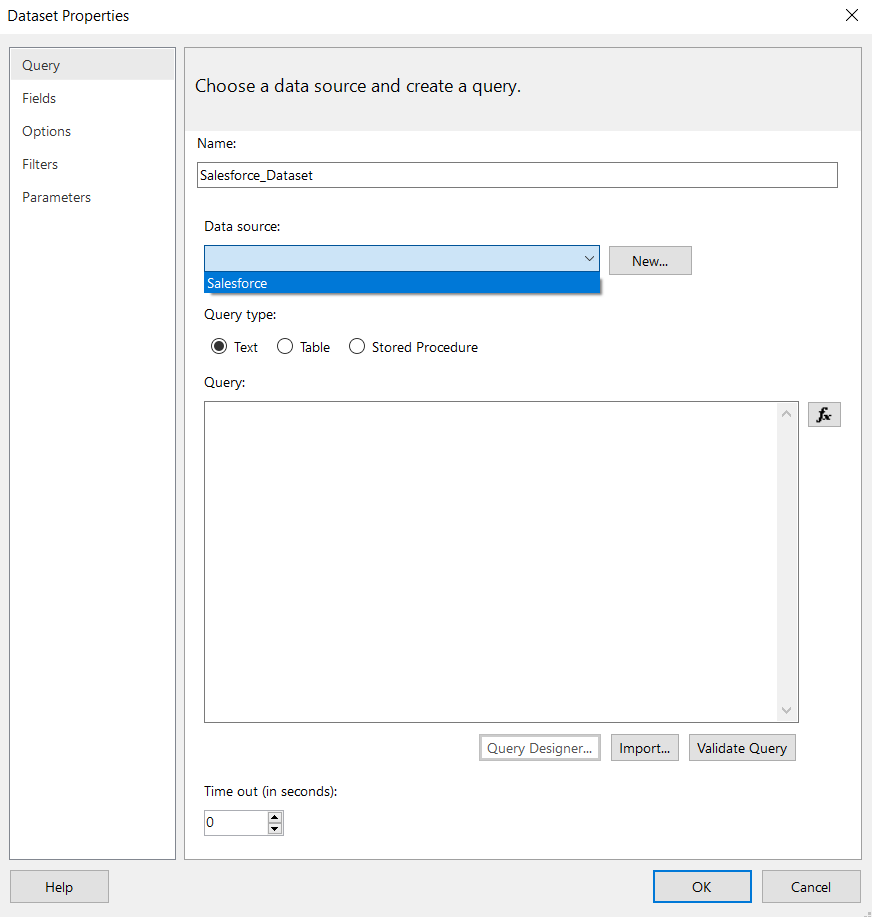
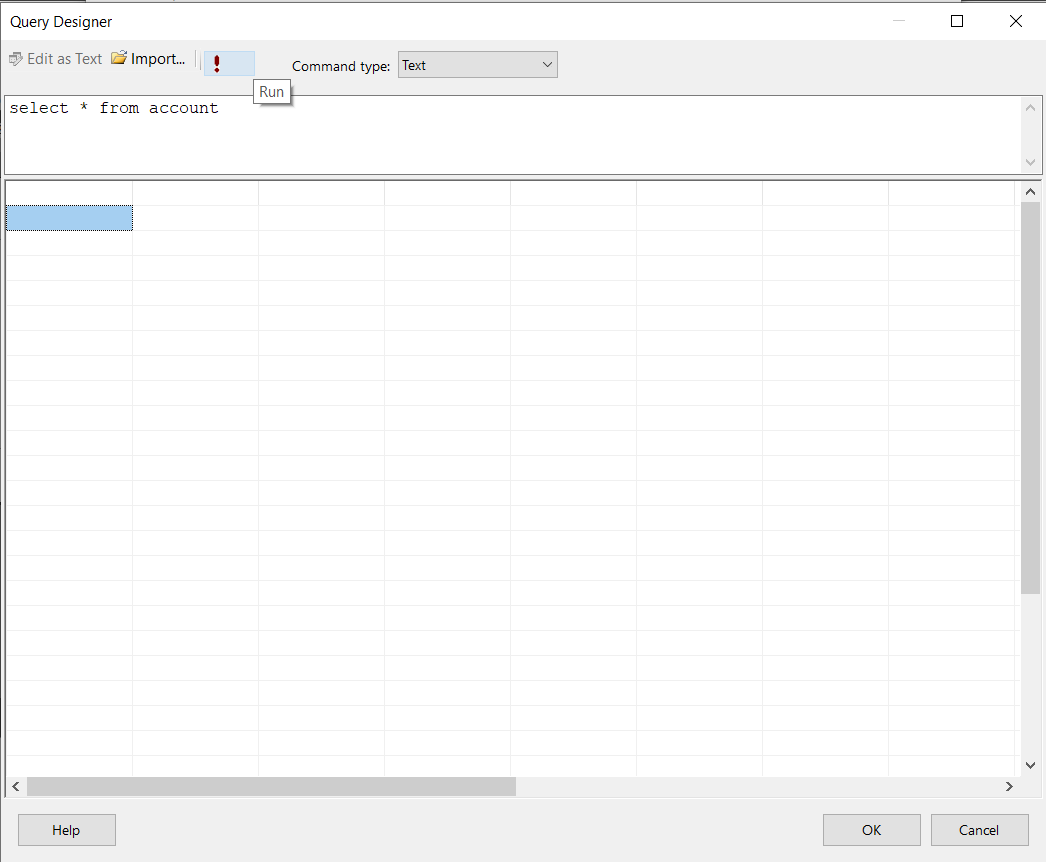
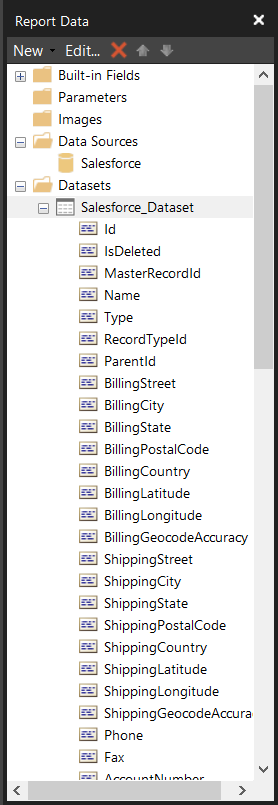
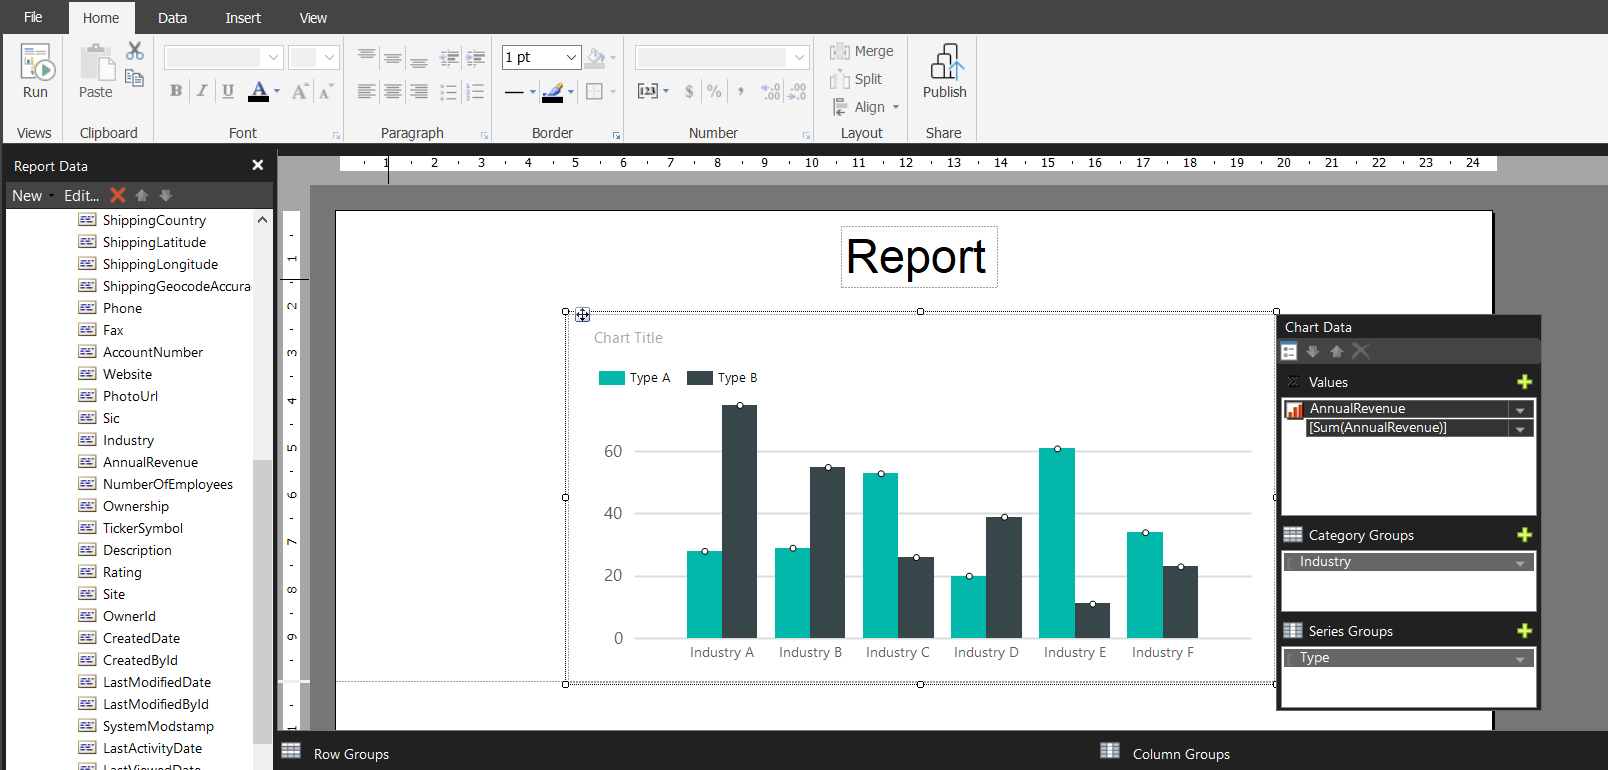
With the data source configured, follow the steps below to load data from WooCommerce tables into a dataset. After loading WooCommerce data into Power BI Report Builder, you can create data visualizations in the Report view by dragging fields from the Fields pane onto the canvas. Follow the steps below to create a chart:
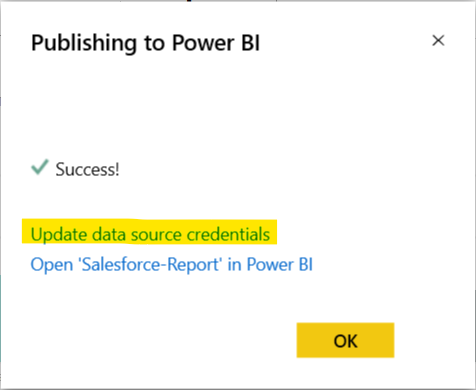
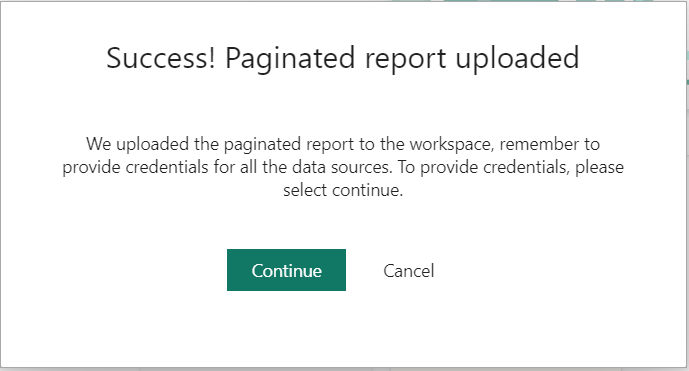
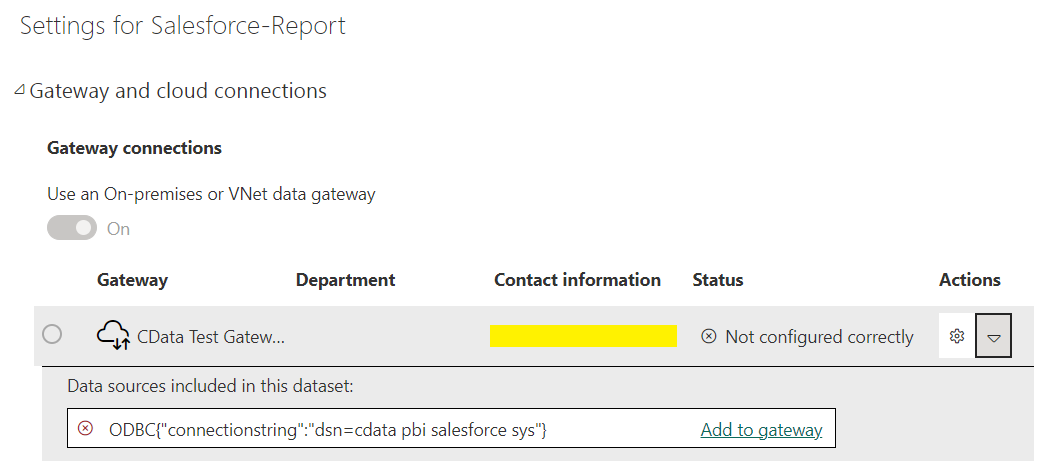
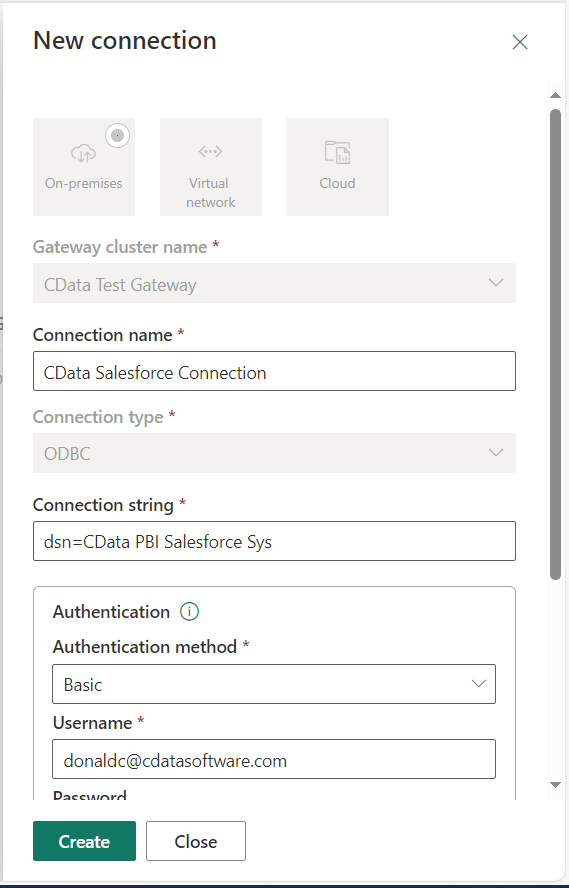
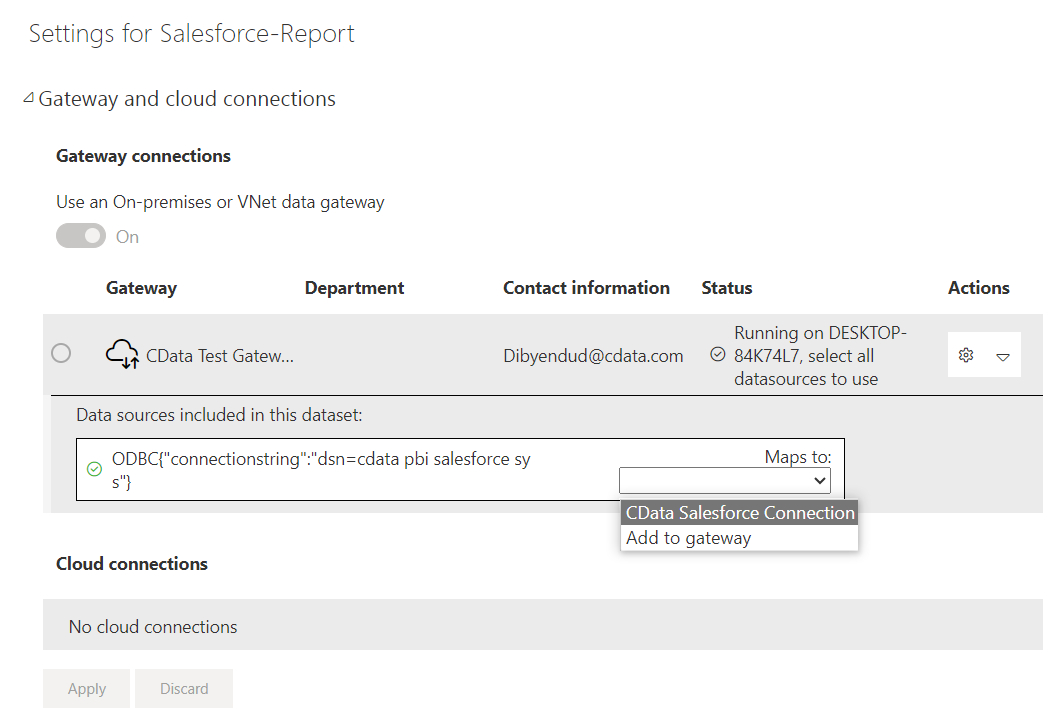
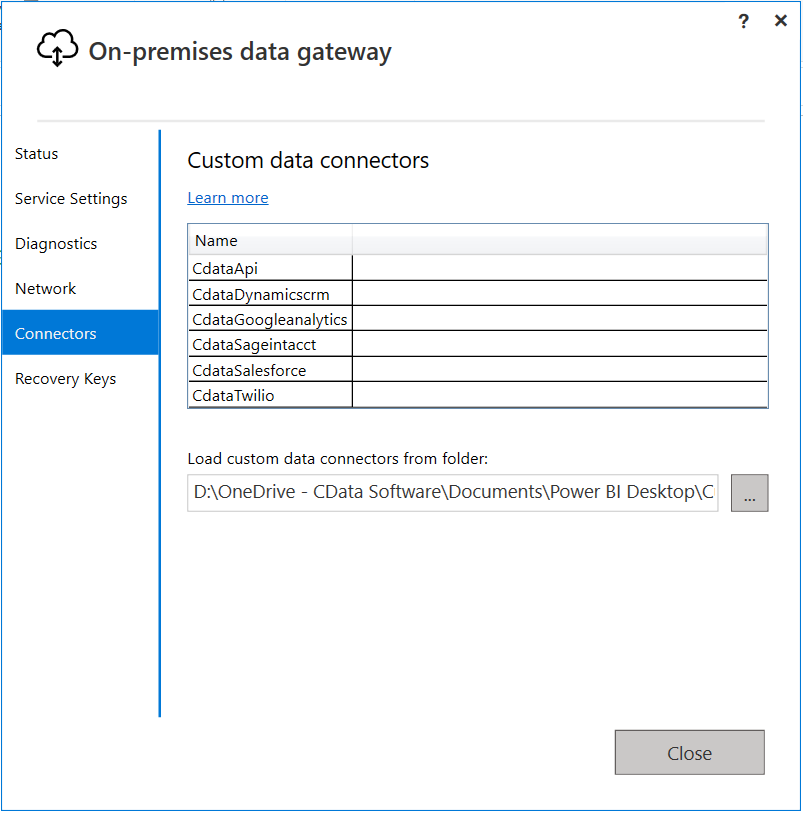
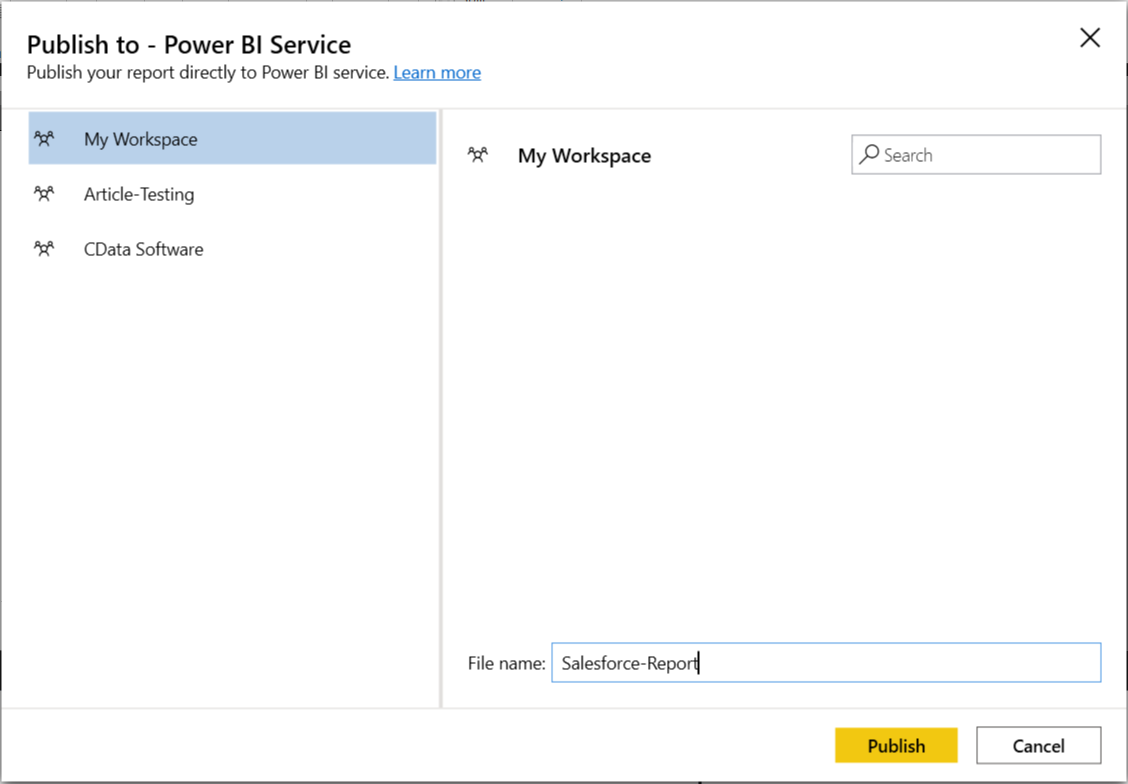
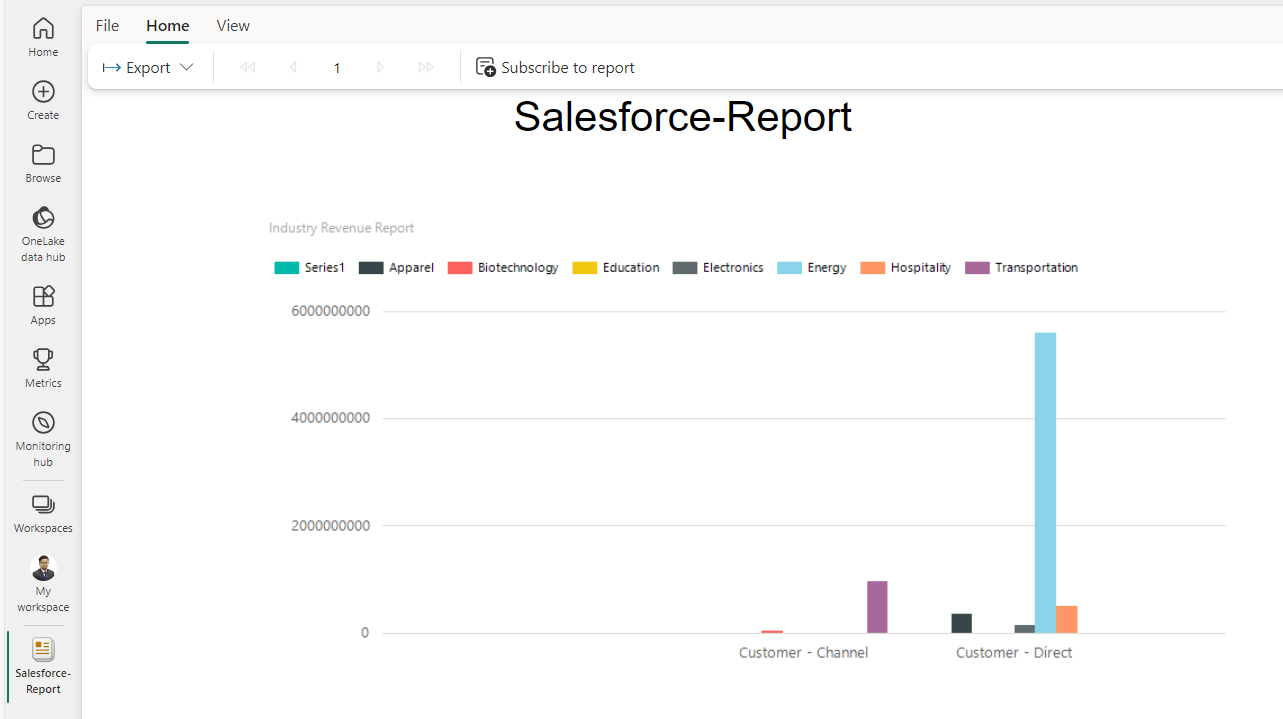
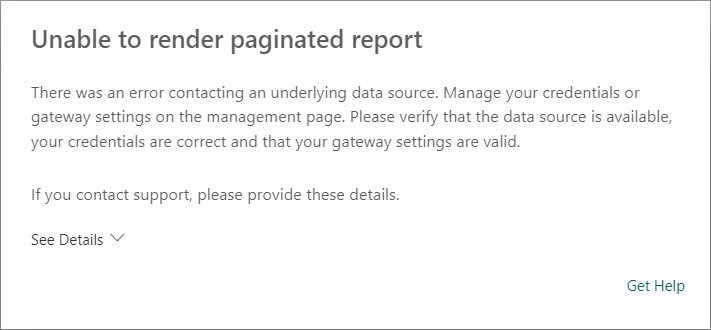
Follow the steps below to configure automatic data refresh through the Power BI Gateway. The gateway enables the Power BI cloud service to connect to the DSN on your machine. You need to select a gateway mode when you install the gateway: Publishing through the gateway in personal mode requires an installed gateway with access to custom connectors. Note: The CData Power BI Connectors install the .pqx files to the default folder. Path: "Your User Home\Documents\Power BI Desktop\Custom Connectors." Publishing through the gateway requires an installed gateway with access to customer connectors and a configured connection to the DSN for Salesforce from PowerBI.com. Follow the steps below to configure the gateway on your machine: Note: The account configured for the service (NT SERVICE\PBIEgwService) must be able to access the folder chosen for the gateway. If needed, you can change the service account in the Service Settings section of the gateway installer. You can now publish refreshable reports and their underlying datasets. Follow the steps below to publish and complete the data refresh configuration for a dataset. If you get an error message like "Unable to render paginated report," then you can follow the instructions below to resolve the error. At this point, you will have a Power BI report built on top of live WooCommerce data using Power BI Report Builder and CData Power BI connectors. Learn more about the CData Power BI Connectors for WooCommerce and download a free trial from the CData Power BI Connector for WooCommerce page. Let our Support Team know if you have any questions.
Get WooCommerce Data
Select Tables and Views to Load
Create Data Visualizations
Configure Data Refresh on PowerBI.com
Selecting a Gateway Mode
Configuring the Gateway (Personal Mode)
Configuring the Gateway (Standard Mode)
Set Up the Gateway
Connect to Salesforce Data from PowerBI.com
Publish to PowerBI.com
Error Encountered and Solution
Create a Data Source in the Power BI Service
