Discover how a bimodal integration strategy can address the major data management challenges facing your organization today.
Get the Report →Analyze QuickBooks Time Data in SAP Analytics Cloud
Use CData Connect Cloud to create an OData API on top of QuickBooks Time data and visualize QuickBooks Time data in SAP Analytics Cloud.
SAP Analytics Cloud is a cloud-based business intelligence platform. CData Connect Cloud creates a pure, cloud-to-cloud connection to QuickBooks Time and can be used to generate an OData API (natively supported in Analytics Cloud) for QuickBooks Time. By pairing SAP Analytics Cloud with CData Connect Cloud, you get true cloud-to-cloud connectivity to all of your SaaS and cloud-based Big Data and NoSQL sources — no need to migrate your data or write your integrations. Simply connect to Connect Cloud as you would any other OData service and get instant, consolidated access to all of your data.
In this article, we walk through connecting to QuickBooks Time from SAP Analytics Cloud (through CData Connect Cloud) to create a model and build a simple dashboard.
Connect to QuickBooks Time from SAP Analytics Cloud
To work with live QuickBooks Time data in SAP Analytics Cloud, we need to connect to QuickBooks Time from Connect Cloud, provide user access to the connection, and create OData endpoints for the QuickBooks Time data.
(Optional) Add a New Connect Cloud User
As needed, create Users to connect to QuickBooks Time through Connect Cloud.
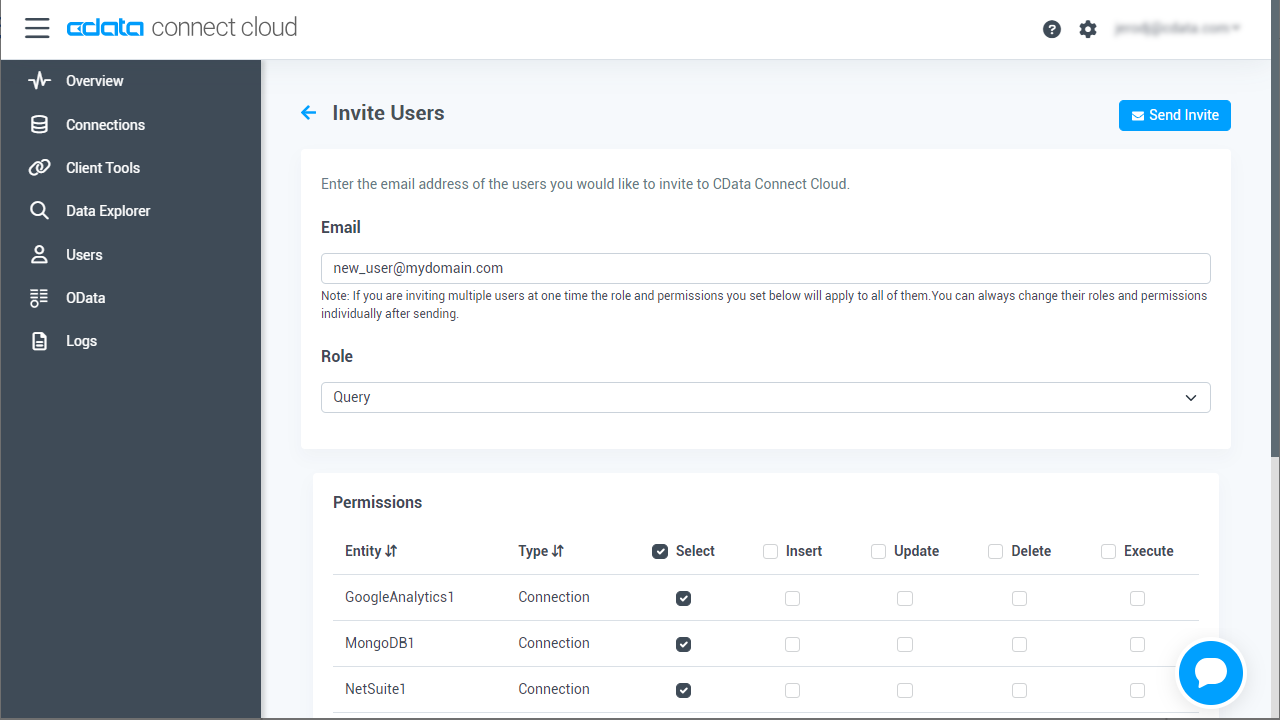
- Navigate to the Users page and click Invite Users
- Enter the new user's email address and click Send to invite the user
![Inviting a new user]()
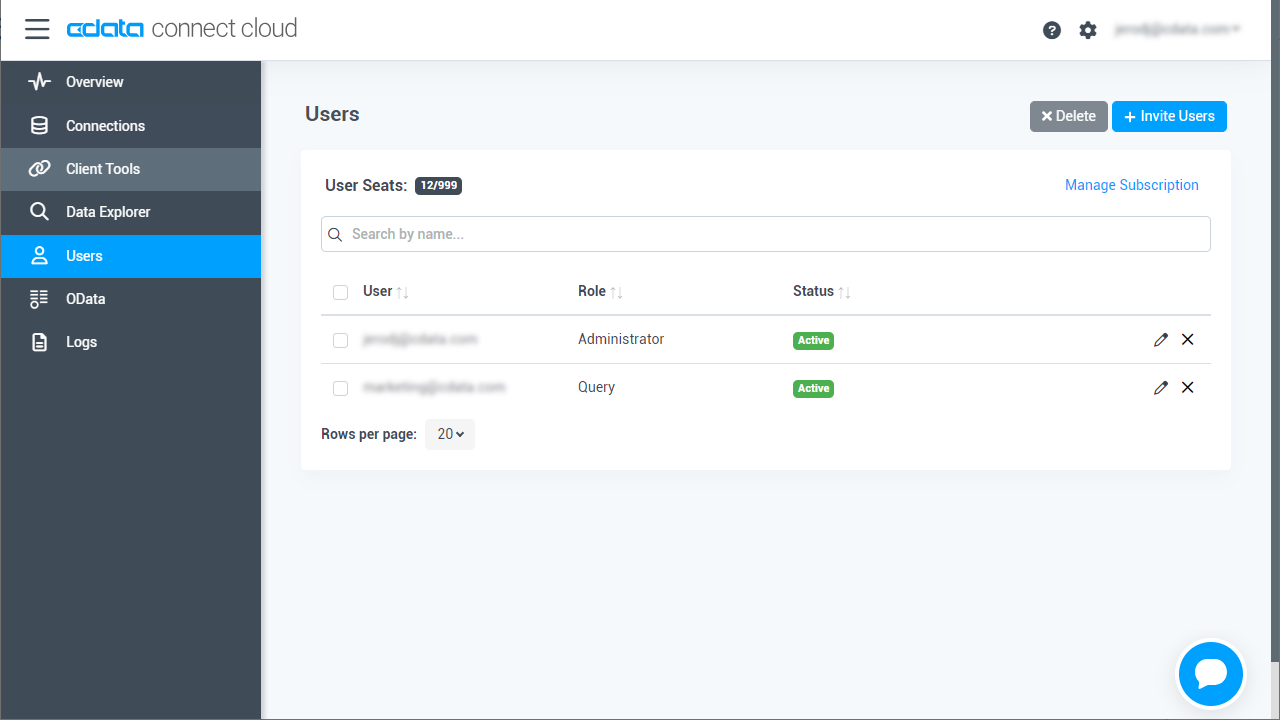
- You can review and edit users from the Users page
![Connect Cloud users]()
Add a Personal Access Token
If you are connecting from a service, application, platform, or framework that does not support OAuth authentication, you can create a Personal Access Token (PAT) to use for authentication. Best practices would dictate that you create a separate PAT for each service, to maintain granularity of access.
- Click on your username at the top right of the Connect Cloud app and click User Profile.
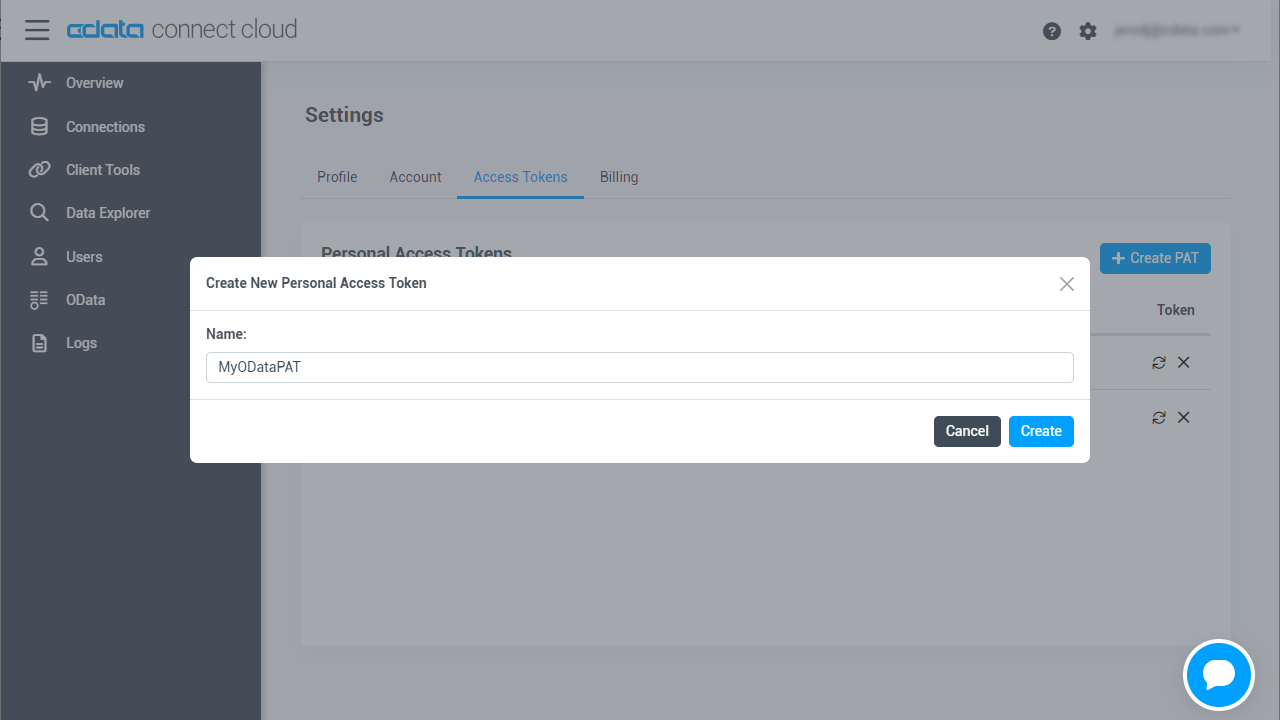
- On the User Profile page, scroll down to the Personal Access Tokens section and click Create PAT.
- Give your PAT a name and click Create.
![Creating a new PAT]()
- The personal access token is only visible at creation, so be sure to copy it and store it securely for future use.
Connect to QuickBooks Time from Connect Cloud
CData Connect Cloud uses a straightforward, point-and-click interface to connect to data sources.
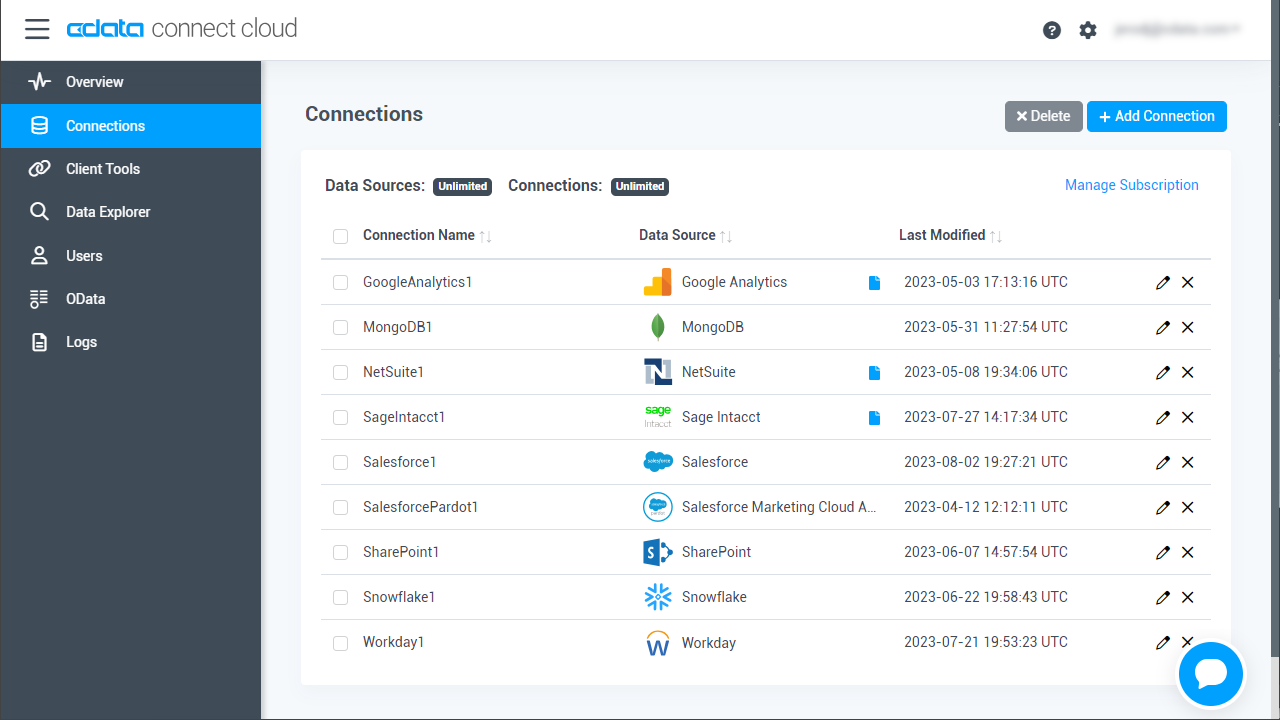
- Log into Connect Cloud, click Connections and click Add Connection
![Adding a Connection]()
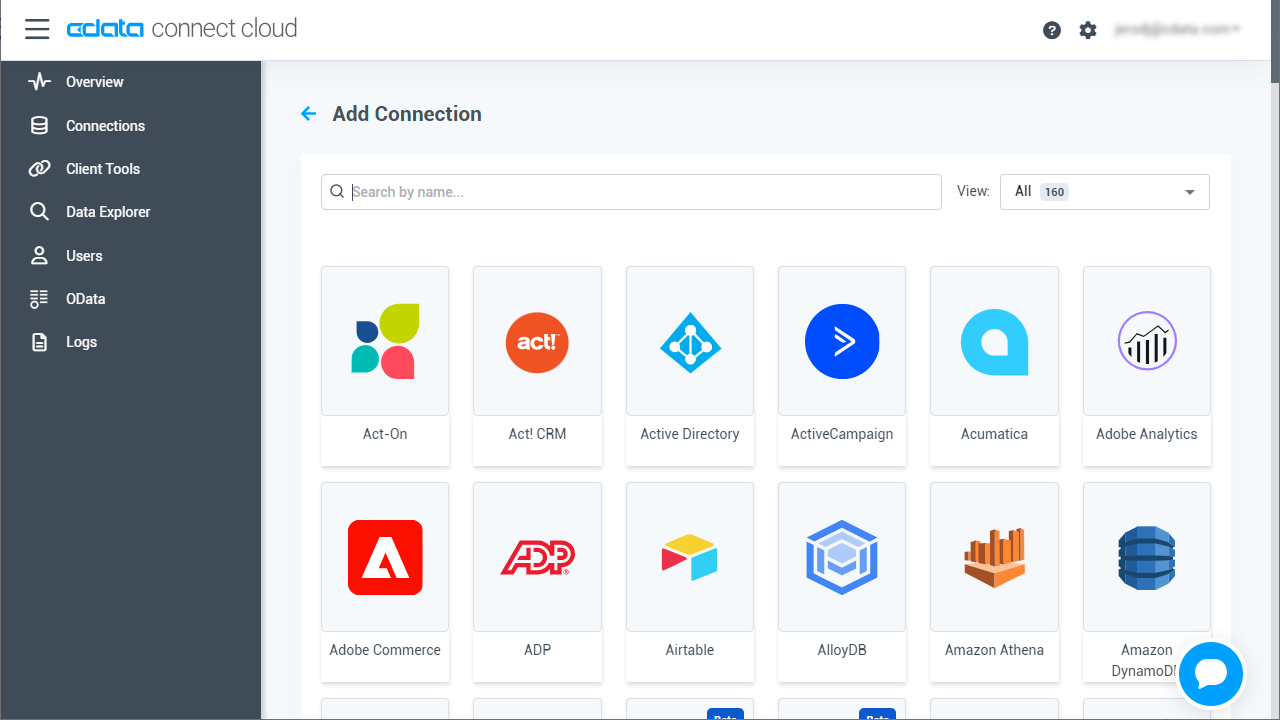
- Select "QuickBooks Time" from the Add Connection panel
![Selecting a data source]()
-
Enter the necessary authentication properties to connect to QuickBooks Time.
TSheets uses the OAuth2 standard for authentication and authorization. To construct your own OAuth app and connect to data, refer to OAuth section in the Help.
![Configuring a connection (Salesforce is shown)]()
- Click Create & Test
- Navigate to the Permissions tab in the Add QuickBooks Time Connection page and update the User-based permissions.
![Updating permissions]()
Configure QuickBooks Time Endpoints for SAP Analytics Cloud
After connecting to QuickBooks Time, create a workspace and virtual dataset for your desired table(s).
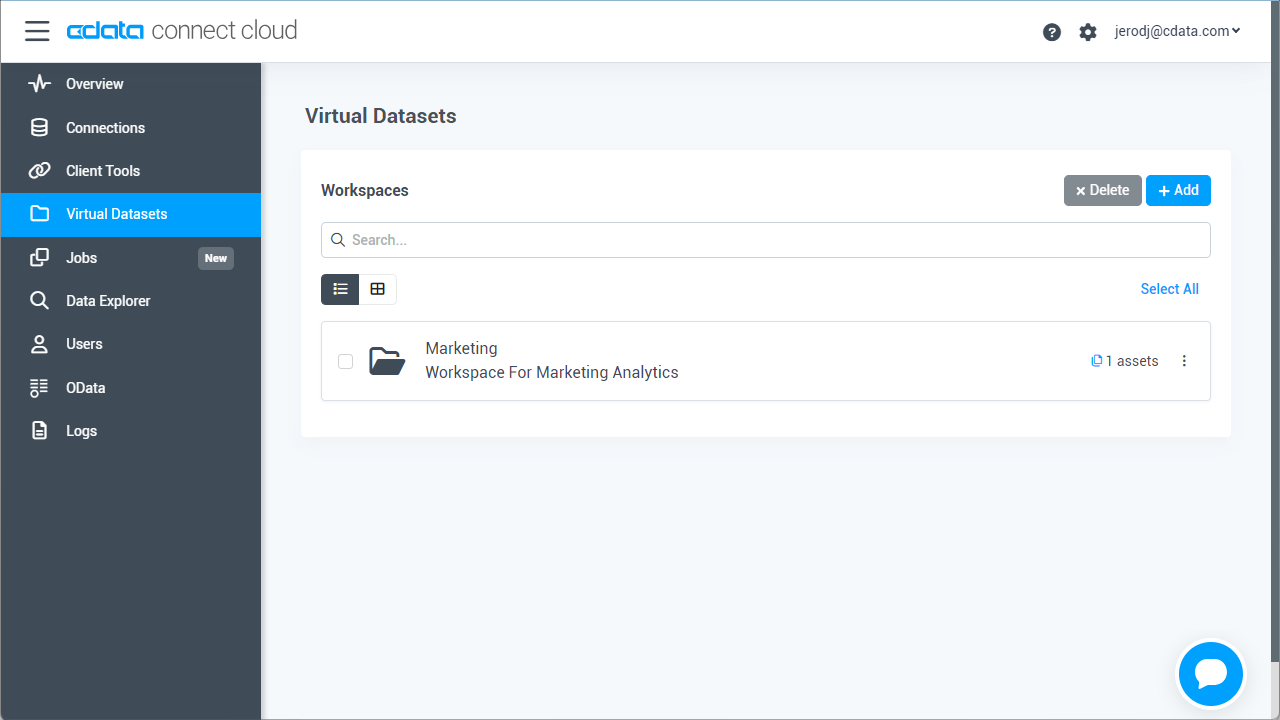
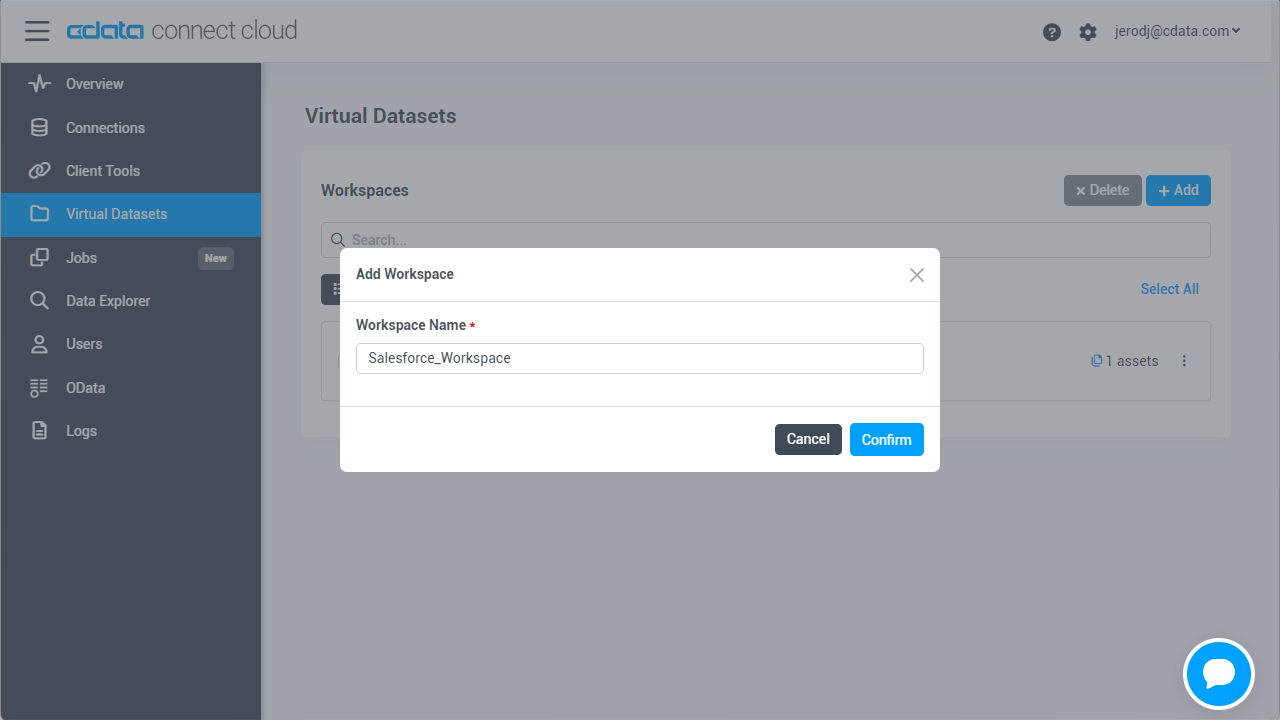
- Navigate to the Virtual Datasets page and click Add to create a new Workspace (or select an existing workspace).
![The Virtual Datasets page.]()
![Adding a new Workspace.]()
- Click Add to add new assets to the Workspace.
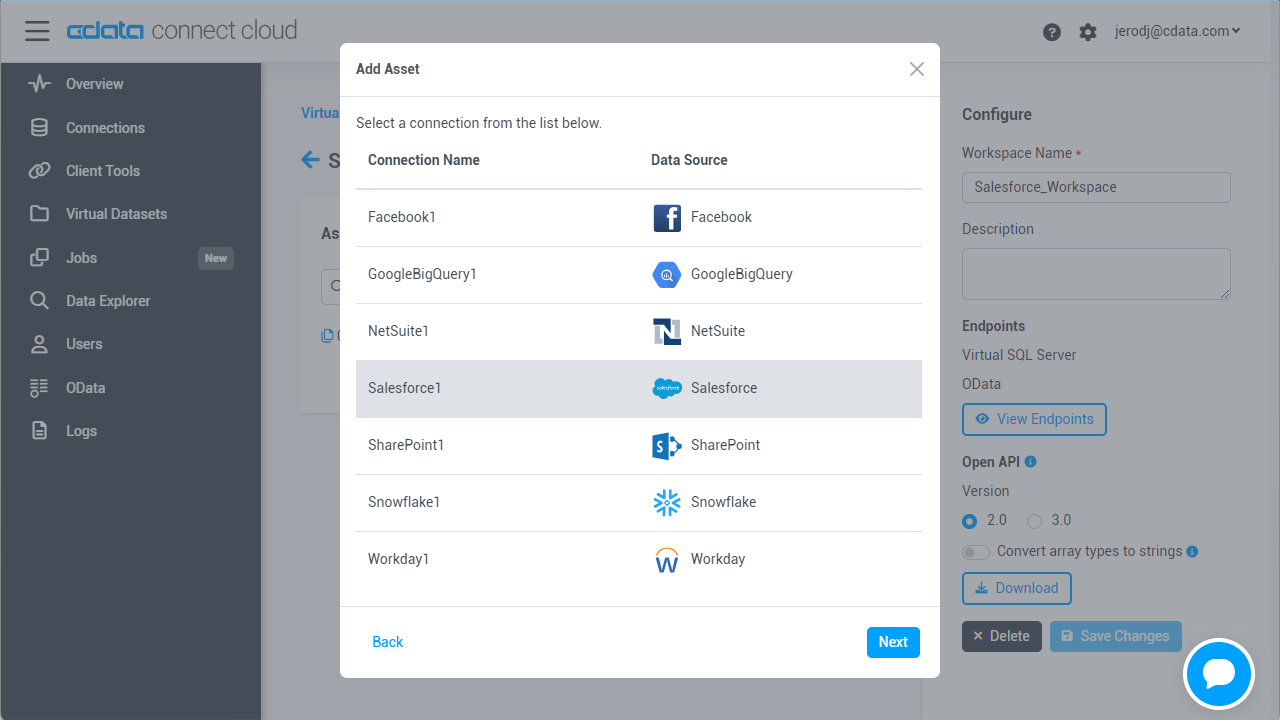
- Select the QuickBooks Time connection (e.g. TSheets1) and click Next.
![Selecting an Asset.]()
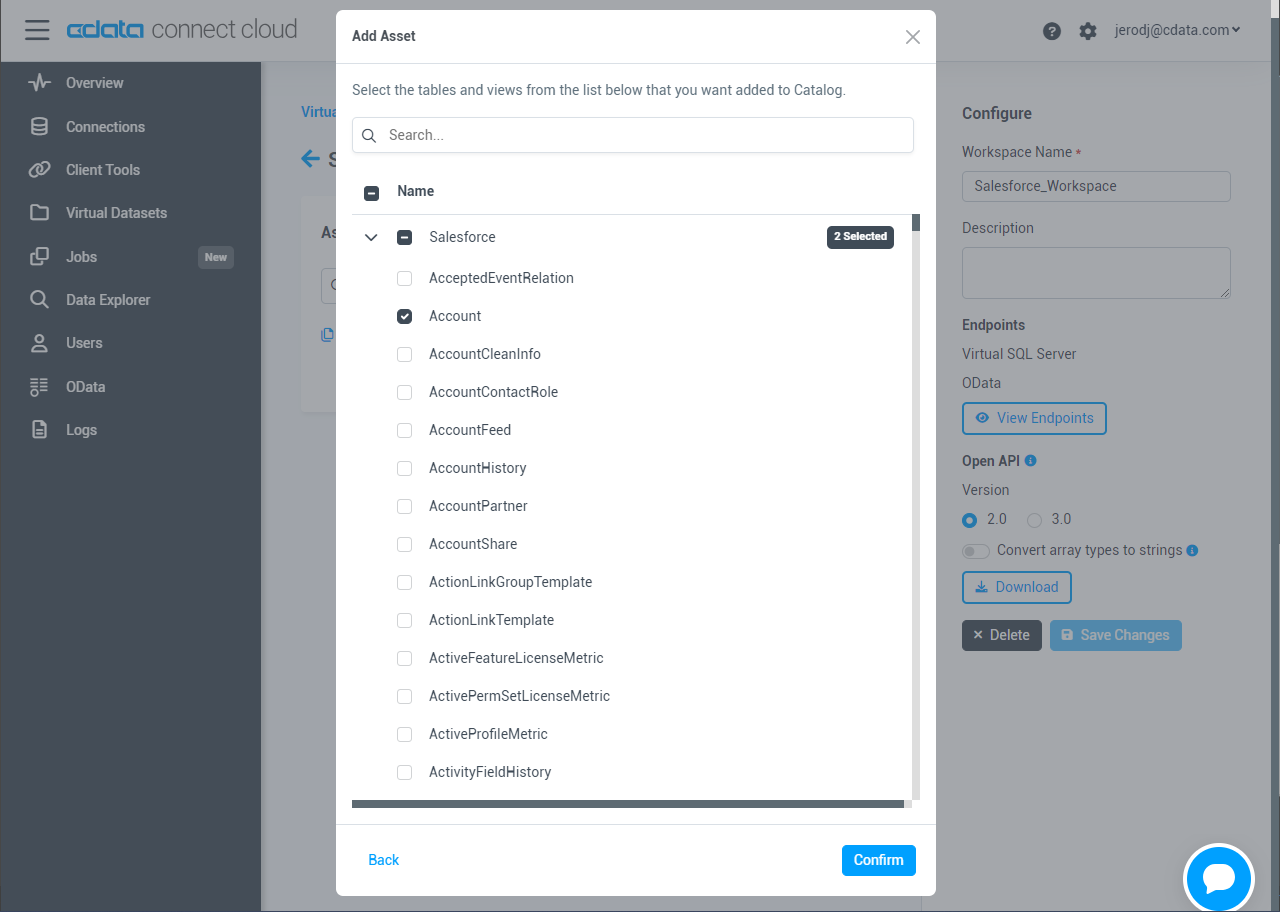
- Select the table(s) you wish to work with and click Confirm.
![Selecting Tables.]()
- Make note of the OData Service URL for your workspace, e.g. https://cloud.cdata.com/api/odata/{workspace_name}
With the connection and Workspace configured, you are ready to connect to QuickBooks Time data from SAP Analytics Cloud.
Create a Model of QuickBooks Time Data in SAP Analytics Cloud
With the connection to QuickBooks Time configured and the OData endpoint(s) created, we can create a Model for QuickBooks Time data in SAP Analytics Cloud.
- Log into your Analytics Cloud instance and click Create -> Model from the menu.
- Choose "Get data from a datasource" and select "OData Services"
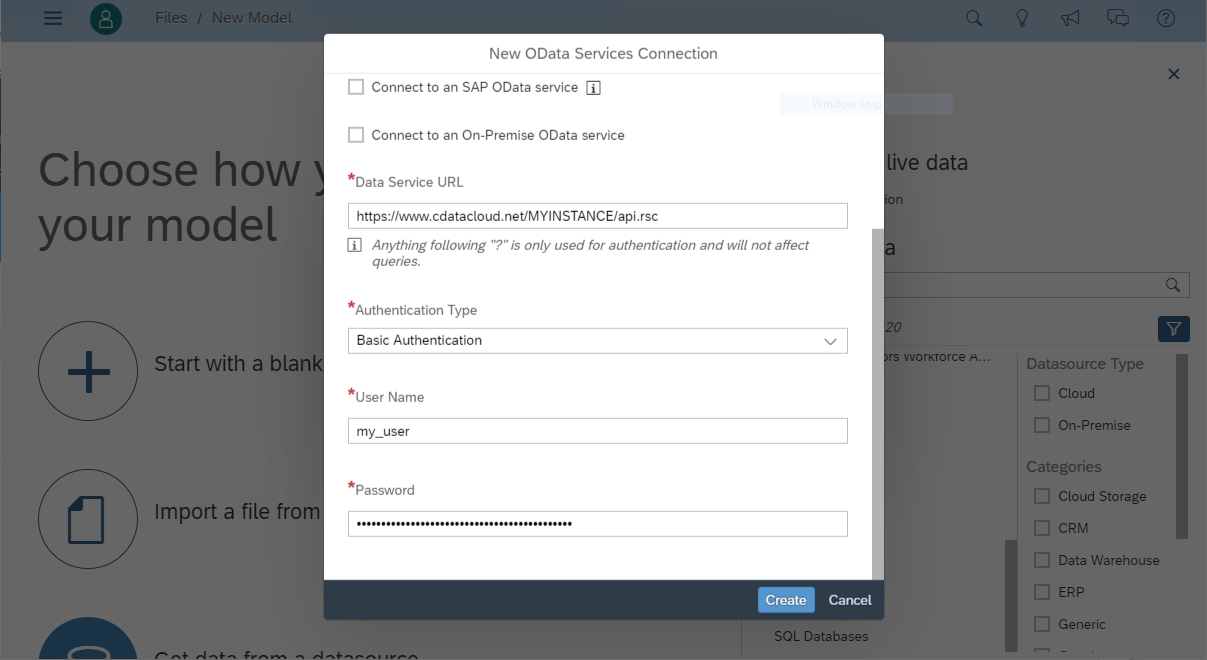
- Choose an existing connection to your Connect Cloud OData or Create a new one:
- Set Connection Name
- Set Data Service URL to the Base URL for your OData API: https://cloud.cdata.com/api/odata/{workspace_name}
- Set Authentication Type to Basic Authentication
- Set User Name to the Connect Cloud user (e.g. [email protected])
- Set Password to the PAT for the above user
![Creating a new OData Services Connection]()
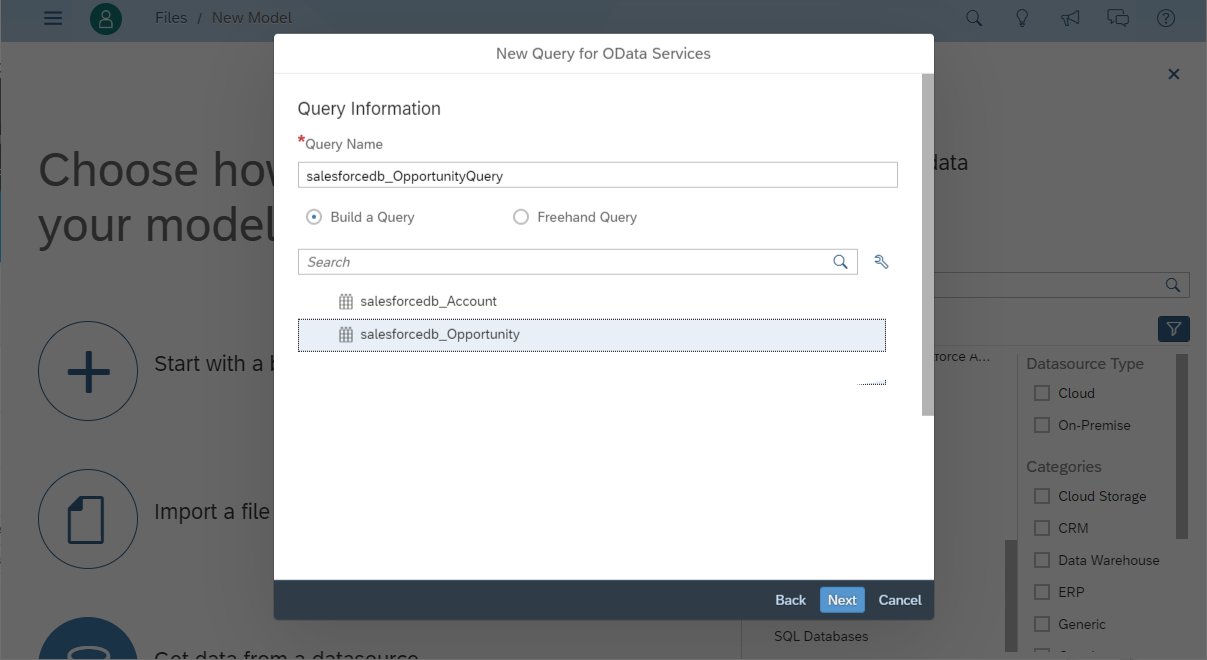
- Choose "Create a new query" and click Next
- Name the Execute, select an OData endpoint (like Timesheets) and click Next
![Choosing a Connect Cloud OData endpoint to query]()
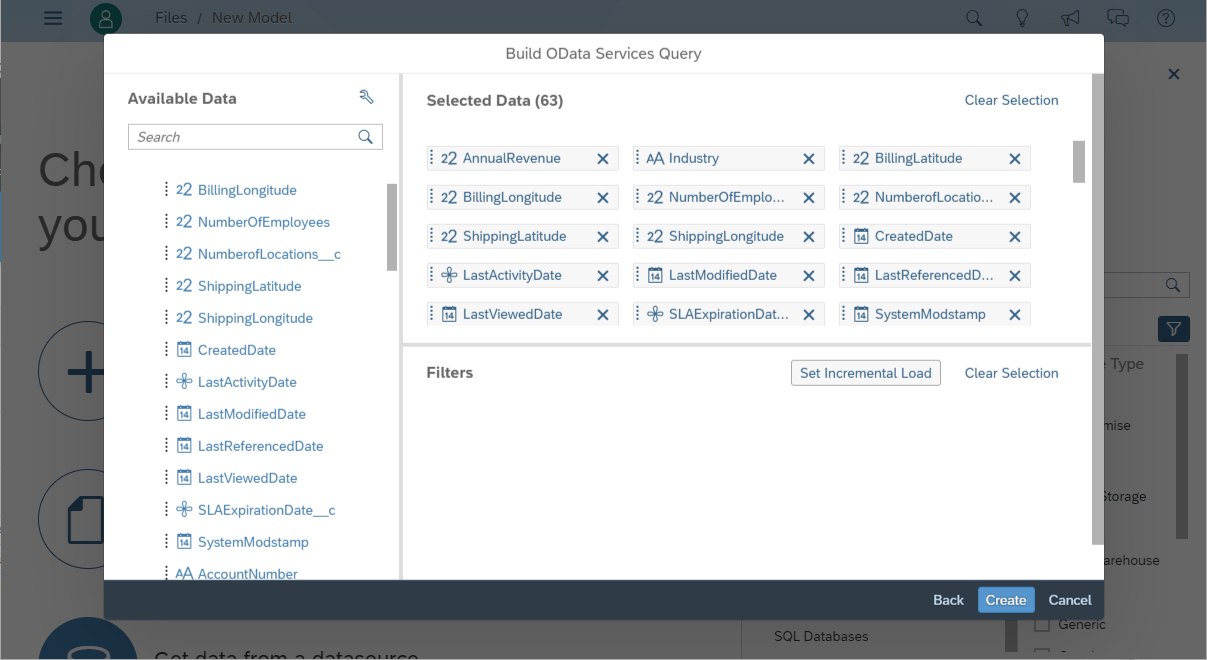
- Drag the columns you wish to work with into the Selected Data workspace and click Create
![Selecting fields (columns) from the OData endpoint]()
- At this point, a Draft Data source is created; click the draft to finalize the model
- Perform any transformations, including creating calculated dimensions, location dimensions, and combining data sources, then click Create Model
![Finalizing the model]()
- Name your model and click OK
Build a Dashboard in SAP Analytics Cloud
With the model created, you are ready to create a dashboard in SAP Analytics Cloud based on QuickBooks Time data.
- From the menu, click Create -> Story
- Click on SAP Analytics Template (this article uses the "Dashboard" template)
- Choose a layout and click Apply
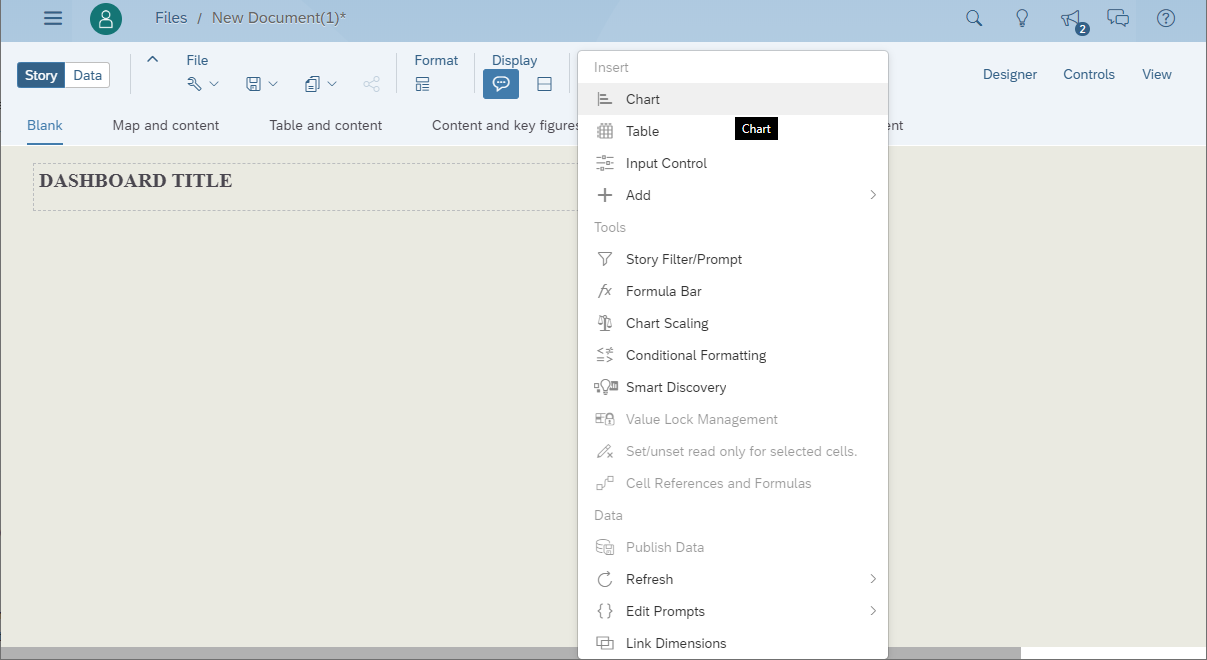
- From the More menu, select a visualization to insert (Chart)
![Inserting a visualization]()
- Select a model to visualize
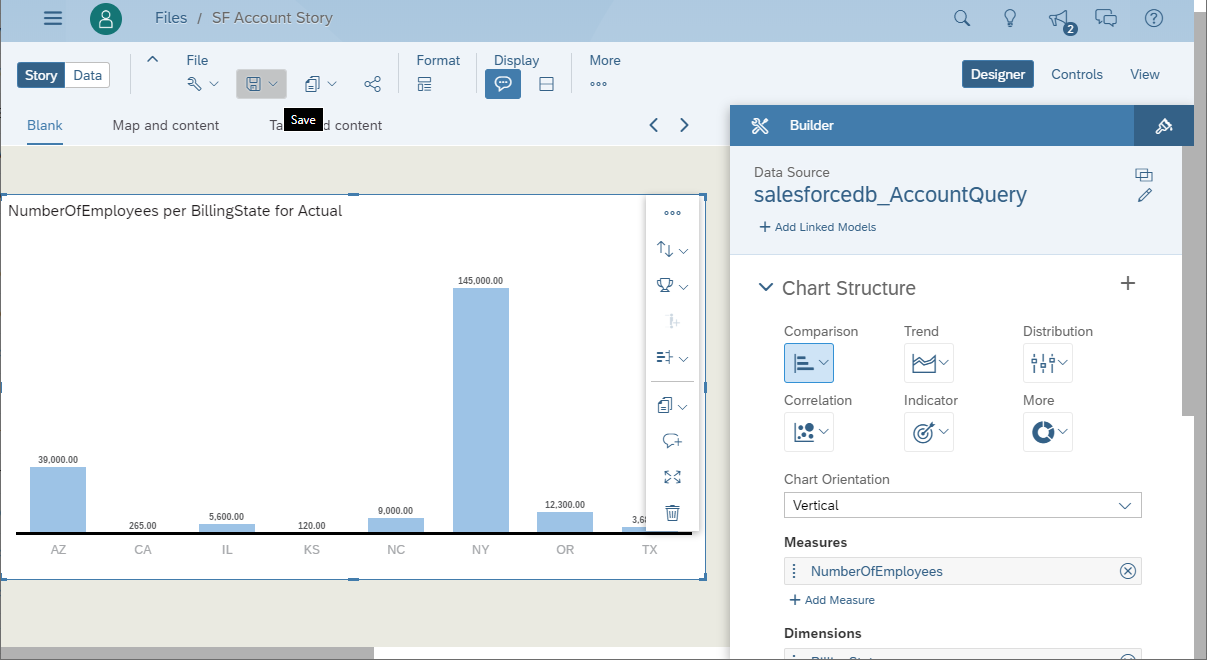
- Select a structure and the required Measures and Dimensions
- Save the store
![Saving the Story]()
More Information & Free Trial
Now, you have created a simple but powerful dashboard from live QuickBooks Time data. For more information on creating OData feeds from QuickBooks Time (and more than 100 other data sources), visit the Connect Cloud page. Sign up for a free trial and start working with live QuickBooks Time data in SAP Analytics Cloud.


