Discover how a bimodal integration strategy can address the major data management challenges facing your organization today.
Get the Report →Query Printify Data in MySQL Workbench
Create a virtual MySQL database for Printify data in CData Connect (or Connect Server) and work with live Printify data in MySQL Workbench.
MySQL Workbench allows users to administer MySQL environments and gain better visibility into databases. When paired with CData Connect (on-premise or Connect Server), you get live access to Printify data as if it were a MySQL database. This article shows how to create a virtual database for Printify in Connect and work with live Printify data in MySQL Workbench.
Create a Virtual MySQL Database for Printify Data
CData Connect uses a straightforward, point-and-click interface to connect to data sources and generate APIs.
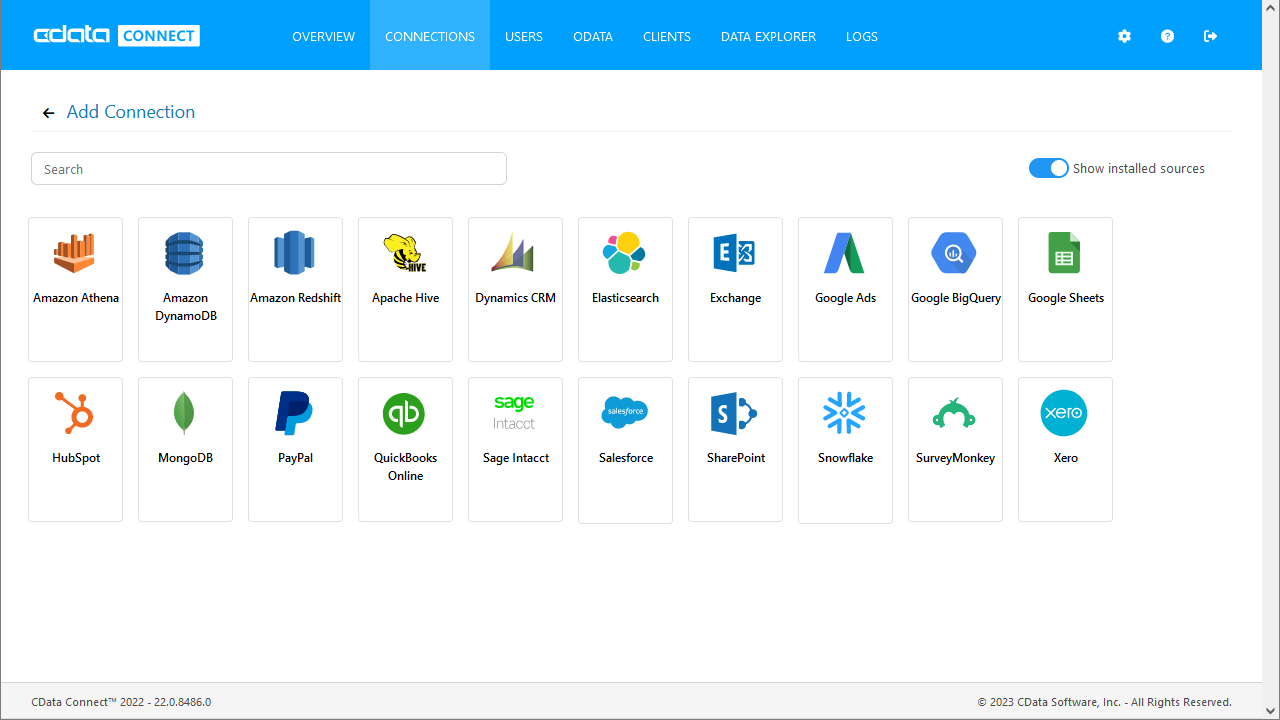
- Login to Connect and click Connections.
![Adding a connection]()
- Select "Printify" from Available Data Sources.
-
Enter the necessary authentication properties to connect to Printify.
Start by setting the Profile connection property to the location of the Printify Profile on disk (e.g. C:\profiles\Profile.apip). Next, set the ProfileSettings connection property to the connection string for Printify (see below).
Printify API Profile Settings
In order to authenticate to Printify, you'll need to provide your API Key. To get your API Key navigate to My Profile, then Connections. In the Connections section you will be able to generate your Personal Access Token (API Key) and set your Token Access Scopes. Personal Access Tokens are valid for one year. An expired Personal Access Token can be re-generated using the same steps after it expires. Set the API Key to your Personal Access Token in the ProfileSettings property to connect.
![Configuring a connection (SQL Server is shown).]()
- Click Save Changes
- Click Privileges -> Add and add the new user (or an existing user) with the appropriate permissions.
With the virtual database created, you are ready to connect to Printify from MySQL Workbench.
Query Printify from MySQL Workbench
The steps below outline connecting to the virtual Printify database in Connect from MySQL Workbench and issuing basic queries to work with live Printify data.
Connect to Printify through Connect
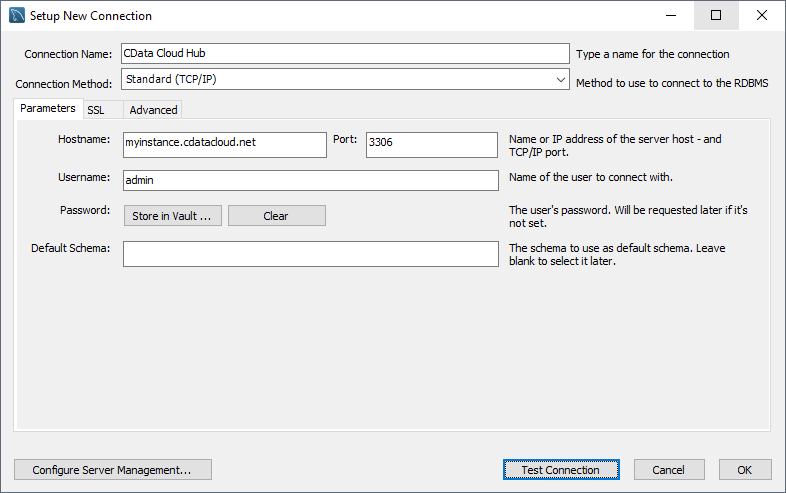
- In MySQL Workbench, click to add a new MySQL connection.
- Name the connection (CData Connect).
- Set the Hostname, Port, and Username parameters to connect to the SQL Gateway.
- Click Store in Vault to set and store the password.
- Click Test Connection to ensure the connection is configured properly and click OK.

Query Printify Data
- Open the connection you just created (CData Connect).
- Click File -> New Query Tab.
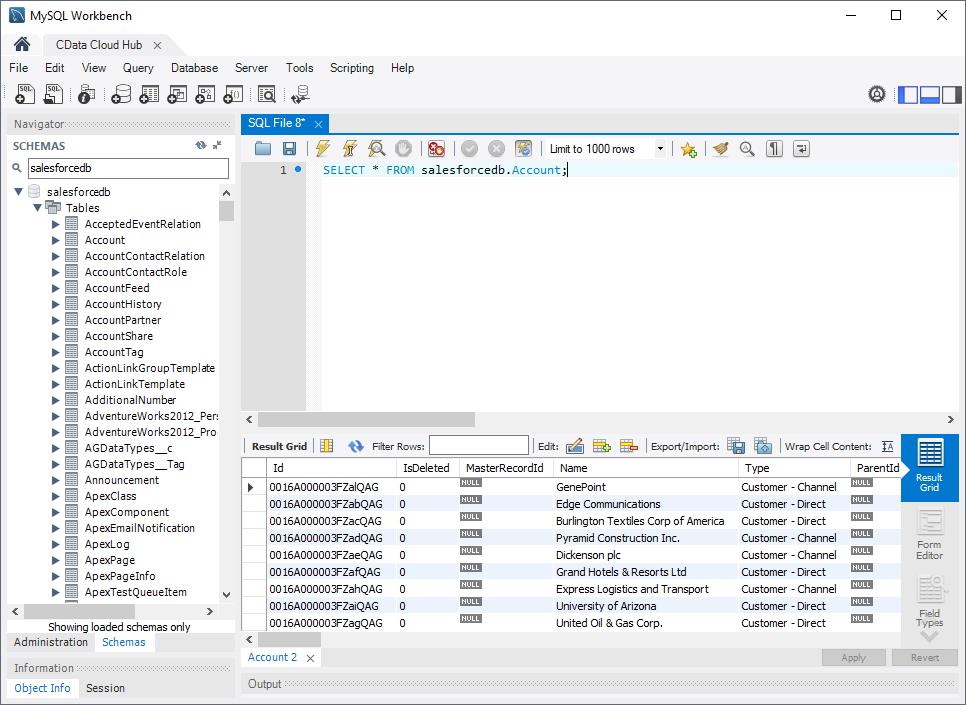
- Write a SQL query to retrieve Printify data, like SELECT * FROM printifydb.Tags;

With access to live Printify data from MySQL Workbench, you can easily query and update Printify, just like you would a MySQL database. Request a demo of the CData Connect and start working with Printify just like a MySQL database today.


