Discover how a bimodal integration strategy can address the major data management challenges facing your organization today.
Get the Report →Import and Visualize Odoo Data in Power View
Create data visualizations based on Odoo data in Excel.
NOTE: For Excel for the web (Excel 365) and Excel 2019 or higher, Power View is no longer supported. Microsoft encourages the use of Power BI for those users. Please read our article on working with Odoo in Power BI using our Power BI connector for more information.
You can use the built-in ODBC support in Excel to rapidly create Power View reports featuring Odoo data. This article shows how to use the Data Connection Wizard, accessible from the Data ribbon, to import Odoo data into a Power View report.
Connect to Odoo as an ODBC Data Source
If you have not already, first specify connection properties in an ODBC DSN (data source name). This is the last step of the driver installation. You can use the Microsoft ODBC Data Source Administrator to create and configure ODBC DSNs.
To connect, set the Url to a valid Odoo site, User and Password to the connection details of the user you are connecting with, and Database to the Odoo database.
When you configure the DSN, you may also want to set the Max Rows connection property. This will limit the number of rows returned, which is especially helpful for improving performance when designing reports and visualizations.
About Odoo Data Integration
Accessing and integrating live data from Odoo has never been easier with CData. Customers rely on CData connectivity to:
- Access live data from both Odoo API 8.0+ and Odoo.sh Cloud ERP.
-
Extend the native Odoo features with intelligent handling of many-to-one, one-to-many, and many-to-many data properties. CData's connectivity solutions also intelligently handle complex data properties within Odoo. In addition to columns with simple values like text and dates, there are also columns that contain multiple values on each row. The driver decodes these kinds of values differently, depending upon the type of column the value comes from:
- Many-to-one columns are references to a single row within another model. Within CData solutions, many-to-one columns are represented as integers, whose value is the ID to which they refer in the other model.
- Many-to-many columns are references to many rows within another model. Within CData solutions, many-to-many columns are represented as text containing a comma-separated list of integers. Each value in that list is the ID of a row that is being referenced.
- One-to-many columns are references to many rows within another model - they are similar to many-to-many columns (comma-separated lists of integers), except that each row in the referenced model must belong to only one in the main model.
- Use SQL stored procedures to call server-side RFCs within Odoo.
Users frequently integrate Odoo with analytics tools such as Power BI and Qlik Sense, and leverage our tools to replicate Odoo data to databases or data warehouses.
Getting Started
Connect with the Data Connection Wizard
Follow the steps below to connect to the DSN from the Data Connection Wizard in Excel.
- In recent versions of Excel the Data Connection Wizard is not visible by default. To enable the Data Connection Wizard in Excel, go to File -> Options -> Data and under Show legacy data import wizards check the From Data Connection Wizard (Legacy).
- After enabling the Data Connection Wizard, on the Data tab you can click Get Data -> Legacy Wizards -> From Data Connection Wizard (Legacy).
- In the Data Connection Wizard, select the ODBC DSN option.
- Select the ODBC DSN for Odoo from the list.
Select the tables you want to work with.
If you want to import multiple tables, deselect the "Connect to a specific table" option. After you connect to the data source, you can select multiple tables: After you click Finish to close the Data Connection Wizard, select the "Enable selection of multiple tables" option in the Select Table dialog.
- In the Import Data dialog, select the destination for your data. For example, select the Table option and the Existing worksheet option. Then click the cell in your worksheet where results should be output.
- Click Insert -> Power View to create a new Power View report.
Create a Table
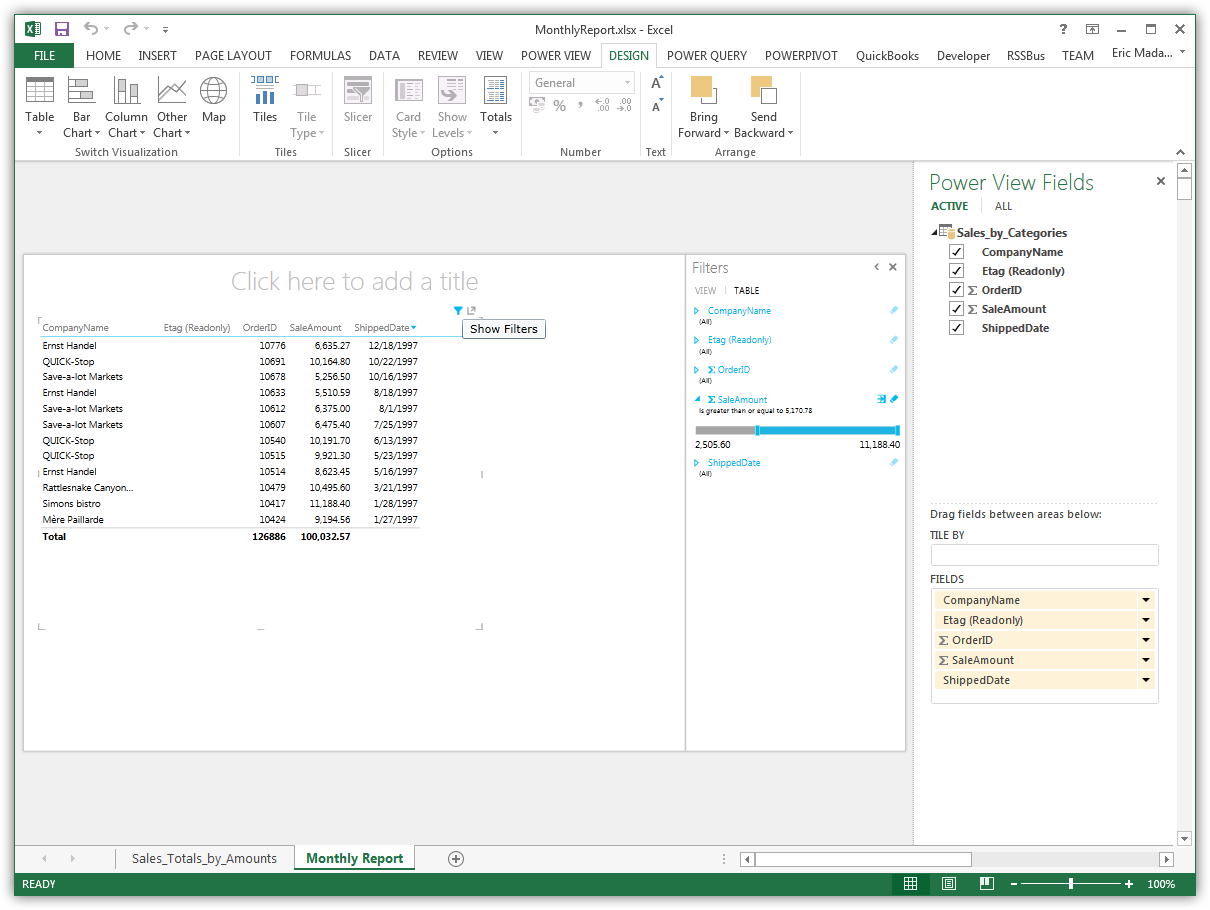
Tables are the starting point for charts and other representations of your data. To create a table, select a column in the field list. You can also drag and drop table names and column names onto the view.

Create Data Visualizations
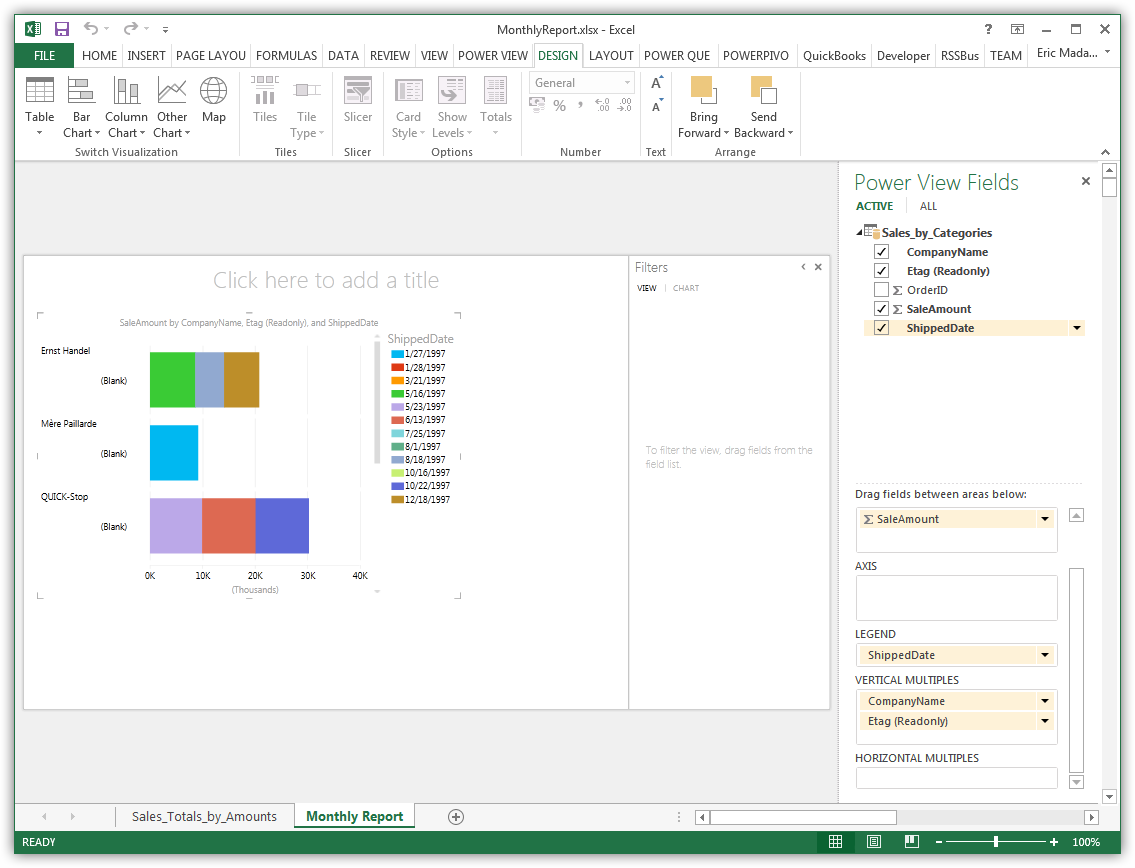
On the Design tab, you can change tables into charts and other visualizations.


