Discover how a bimodal integration strategy can address the major data management challenges facing your organization today.
Get the Report →Query Dynamics 365 Data in ColdFusion
Write standard ColdFusion data access code to connect to Dynamics 365 data.
The CData JDBC driver for Dynamics 365 seamlessly integrates connectivity to Dynamics 365 data with the rapid development tools in ColdFusion. This article shows how to connect to Dynamics 365 data in ColdFusion and query Dynamics 365 tables.
About Dynamics 365 Data Integration
CData simplifies access and integration of live Microsoft Dynamics 365 data. Our customers leverage CData connectivity to:
- Read and write data in the full Dynamics 365 ecosystem: Sales, Customer Service, Finance & Operations, Marketing, and more.
- Extend the native features of Dynamics CRM with customizable caching and intelligent query aggregation and separation.
- Authenticate securely with Dynamics 365 in a variety of ways, including Azure Active Directory, Azure Managed Service Identity credentials, and Azure Service Principal using either a client secret or a certificate.
- Use SQL stored procedures to manage their Dynamics 365 entities - listing, creating, and removing associations between entities.
CData customers use our Dynamics 365 connectivity solutions for a variety of reasons, whether they're looking to replicate their data into a data warehouse (alongside other data sources)or analyze live Dynamics 365 data from their preferred data tools inside the Microsoft ecosystem (Power BI, Excel, etc.) or with external tools (Tableau, Looker, etc.).
Getting Started
Create a JDBC Data Source for Dynamics 365 in ColdFusion
The JDBC data source enables you to execute SQL from standard ColdFusion tags like cfquery and CFScript like executeQuery.
-
Copy the driver JAR and .lic file from the installation directory onto the ColdFusion classpath. For example, copy the files into C:\MyColdFusionDirectory\cfusion\wwwroot\WEB-INF\lib. Or, open the Java and JVM page in the ColdFusion Administrator and enter the path to the files in the ColdFusion Class Path box.
The JAR and license for the driver are located in the lib subfolder of the installation directory.
Restart the server after this step.
-
Add the driver as a data source:
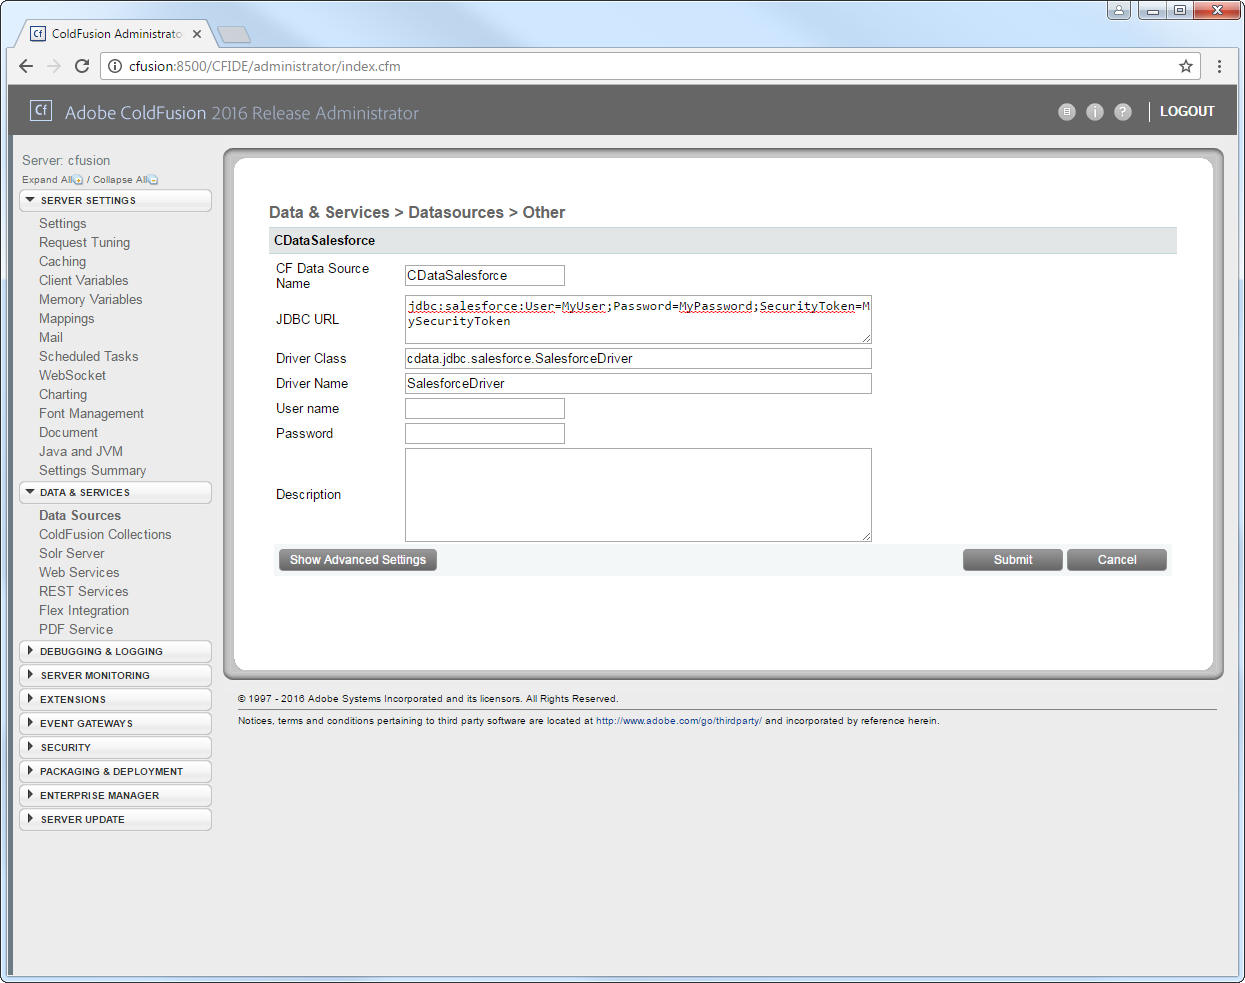
From the ColdFusion administrator interface, expand the Data & Services node and click Data Sources. In the Add New Data Source section, enter a name for the data source and select Other in the Driver menu.
![Adding a JDBC data source to ColdFusion. (Salesforce is shown.)]()
-
Populate the driver properties:
JDBC URL: Enter connection properties in the JDBC URL. The JDBC URL begins with jdbc:dynamics365: and is followed by the connection properties in a semicolon-separated list of name=value pairs.
Edition and OrganizationUrl are required connection properties. The Dynamics 365 connector supports connecting to the following editions: CustomerService, FieldService, FinOpsOnline, FinOpsOnPremise, HumanResources, Marketing, ProjectOperations and Sales.
For Dynamics 365 Business Central, use the separate Dynamics 365 Business Central driver.
OrganizationUrl is the URL to your Dynamics 365 organization. For instance, https://orgcb42e1d0.crm.dynamics.com
Built-in Connection String Designer
For assistance in constructing the JDBC URL, use the connection string designer built into the Dynamics 365 JDBC Driver. Either double-click the JAR file or execute the jar file from the command-line.
java -jar cdata.jdbc.dynamics365.jarFill in the connection properties and copy the connection string to the clipboard.
![Using the built-in connection string designer to generate a JDBC URL (Salesforce is shown.)]()
A typical JDBC URL is below:
jdbc:dynamics365:OrganizationUrl=https://myaccount.operations.dynamics.com/;Edition=Sales;InitiateOAuth=GETANDREFRESH- Driver Class: Enter the driver class. The driver class is cdata.jdbc.dynamics365.Dynamics365Driver.
- Driver Name: Enter a user-defined name for the driver.
- Username: Enter the username used to authenticate.
- Password: Enter the password used to authenticate.

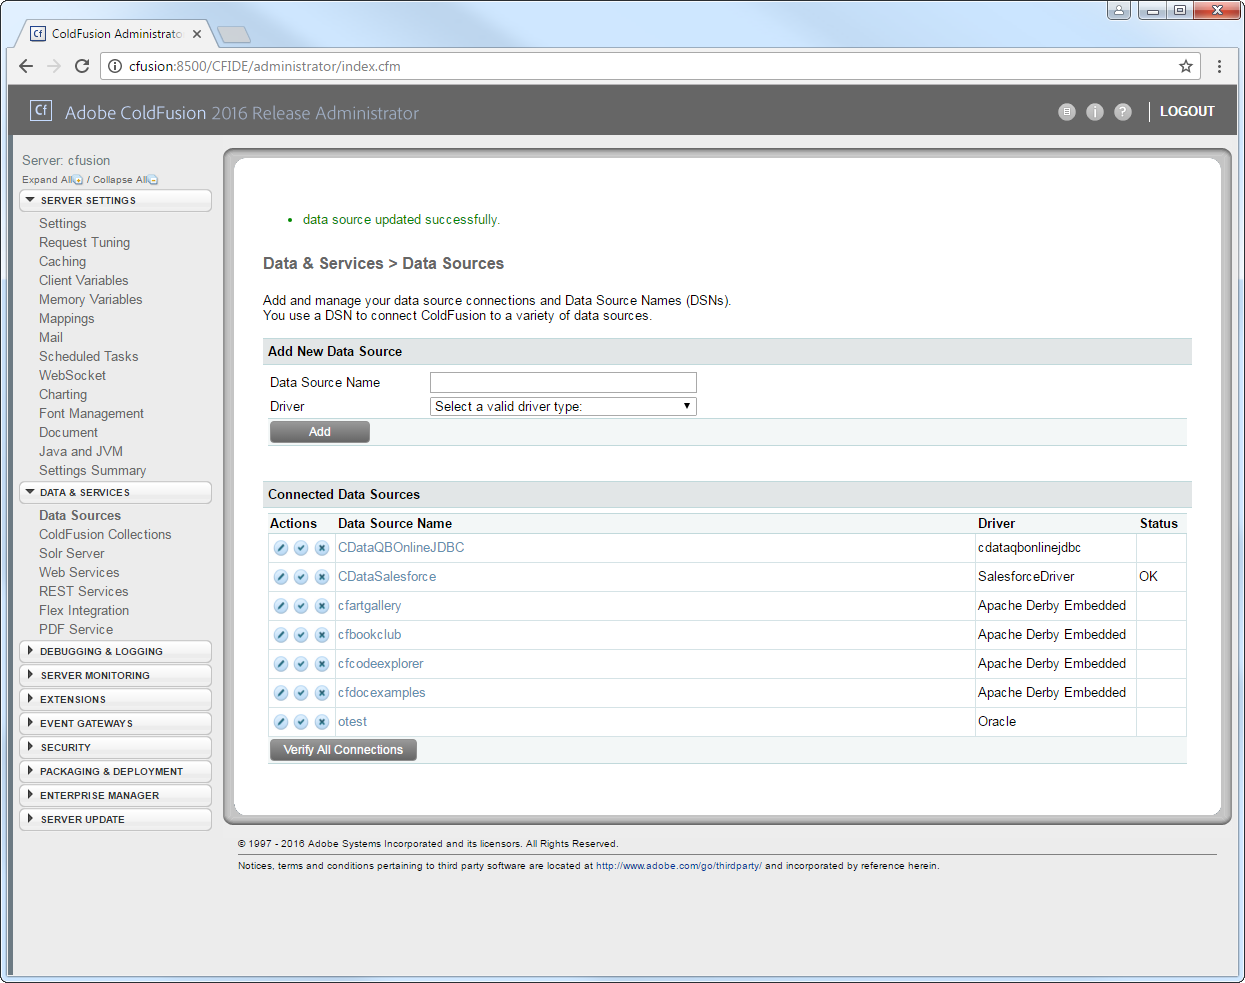
You can now test the connection by enabling the CData Dynamics 365 data source in the Actions column. After reporting a status of OK, the Dynamics 365 data source is ready for use.

Execute Queries
The cfquery tag can pass SQL statements to Dynamics 365, including INSERT, UPDATE, and DELETE.. Use the cfqueryparam tag to create parameterized queries and prevent SQL injection through the query string.
Note: To use the cfquery and cfscript, create a .cfm file. Inside the .cfm file, write the code to execute the query (see below). Place the file directly in the root directory of your web server (e.g., wwwroot in Adobe ColdFusion). Restart the service after placing the file for the changes to take effect.
<cfquery name="Dynamics365Query" dataSource="CDataDynamics365">
  SELECT * FROM GoalHeadings WHERE Name = <cfqueryparam value="#Name#" cfsqltype="cf_sql_varchar">
</cfquery>
<cfdump var="#Dynamics365Query#">
Below is the equivalent in CFScript:
<cfscript>
result = queryExecute(
  "SELECT * FROM GoalHeadings WHERE Name = ?",
  [
    { value="MyAccount", cfsqltype="cf_sql_varchar" }
  ],
  { datasource="CDataDynamics365" }
);

writeDump( var= result );
</cfscript>
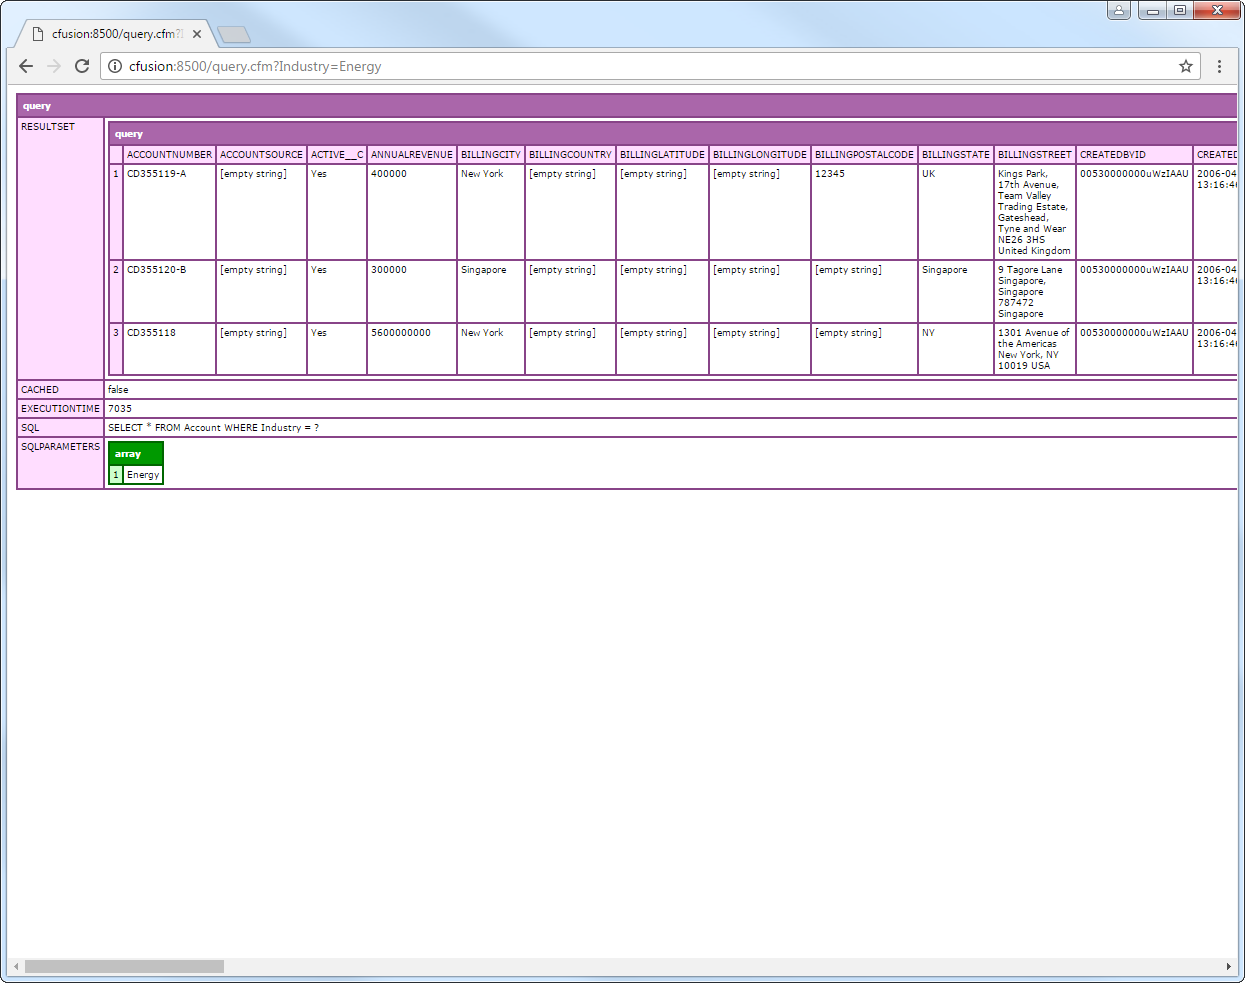
You can then make requests to your .cfm like the following:
http://MyServer:8500/query.cfm?Name=MyAccount


