Discover how a bimodal integration strategy can address the major data management challenges facing your organization today.
Get the Report →Connect to Dynamics 365 Data in Aqua Data Studio
Access Dynamics 365 data from tools in Aqua Data Studio such as the Visual Query Builder and the Table Data Editor.
The CData JDBC Driver for Dynamics 365 integrates Dynamics 365 data with wizards and analytics in IDEs like Aqua Data Studio. This article shows how to connect to Dynamics 365 data through the connection manager and execute queries.
About Dynamics 365 Data Integration
CData simplifies access and integration of live Microsoft Dynamics 365 data. Our customers leverage CData connectivity to:
- Read and write data in the full Dynamics 365 ecosystem: Sales, Customer Service, Finance & Operations, Marketing, and more.
- Extend the native features of Dynamics CRM with customizable caching and intelligent query aggregation and separation.
- Authenticate securely with Dynamics 365 in a variety of ways, including Azure Active Directory, Azure Managed Service Identity credentials, and Azure Service Principal using either a client secret or a certificate.
- Use SQL stored procedures to manage their Dynamics 365 entities - listing, creating, and removing associations between entities.
CData customers use our Dynamics 365 connectivity solutions for a variety of reasons, whether they're looking to replicate their data into a data warehouse (alongside other data sources)or analyze live Dynamics 365 data from their preferred data tools inside the Microsoft ecosystem (Power BI, Excel, etc.) or with external tools (Tableau, Looker, etc.).
Getting Started
Create a JDBC Data Source
You can use the connection manager to define connection properties and save them in a new JDBC data source. The Dynamics 365 data source can then be accessed from Aqua Data Studio tools.
- In Aqua Data Studio, select Register Server from the Servers menu.
- In the Register Server form, select the 'Generic - JDBC' connection.
- Enter the following JDBC connection properties:
- Name: Enter a name for the data source; for example, Dynamics 365.
- Driver Location: Click the Browse button and select the cdata.jdbc.dynamics365.jar file, located in the lib subfolder of the installation directory.
- Driver: Enter the Driver's class name, cdata.jdbc.dynamics365.Dynamics365Driver.
URL: Enter the JDBC URL, which starts with jdbc:dynamics365: and is followed by a semicolon-separated list of connection properties.
Edition and OrganizationUrl are required connection properties. The Dynamics 365 connector supports connecting to the following editions: CustomerService, FieldService, FinOpsOnline, FinOpsOnPremise, HumanResources, Marketing, ProjectOperations and Sales.
For Dynamics 365 Business Central, use the separate Dynamics 365 Business Central driver.
OrganizationUrl is the URL to your Dynamics 365 organization. For instance, https://orgcb42e1d0.crm.dynamics.com
Built-in Connection String Designer
For assistance in constructing the JDBC URL, use the connection string designer built into the Dynamics 365 JDBC Driver. Either double-click the JAR file or execute the jar file from the command-line.
java -jar cdata.jdbc.dynamics365.jarFill in the connection properties and copy the connection string to the clipboard.
![Using the built-in connection string designer to generate a JDBC URL (Salesforce is shown.)]() A typical JDBC URL is below:
A typical JDBC URL is below:jdbc:dynamics365:OrganizationUrl=https://myaccount.operations.dynamics.com/;Edition=Sales;InitiateOAuth=GETANDREFRESH
![The JDBC data source, defined by the JAR path, driver class, and JDBC URL. (QuickBooks is shown.)]()
Query Dynamics 365 Data
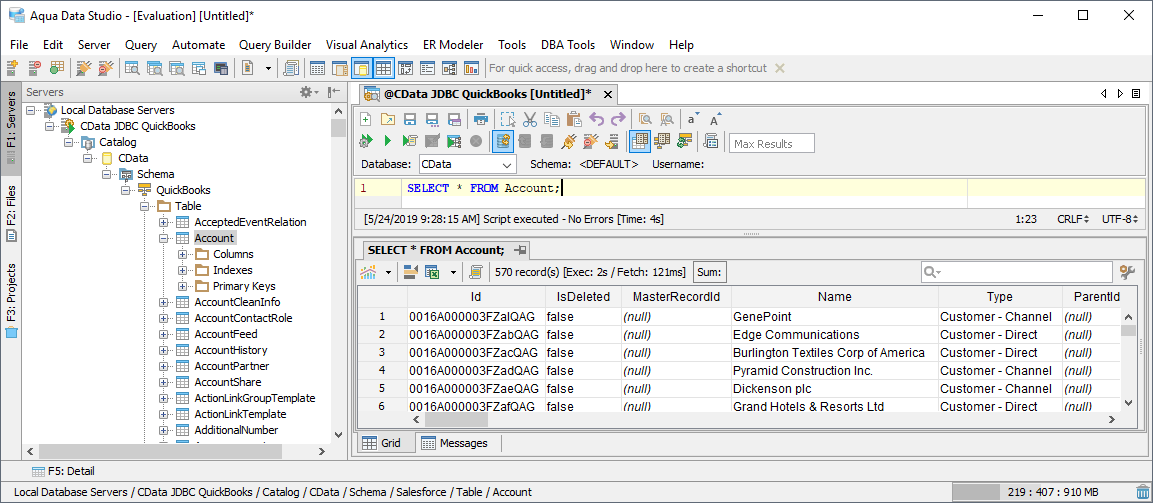
You can now query the tables exposed.


 A typical JDBC URL is below:
