Discover how a bimodal integration strategy can address the major data management challenges facing your organization today.
Get the Report →Connect Cloud Guide: Derived Views, Saved Queries, and Custom Reports
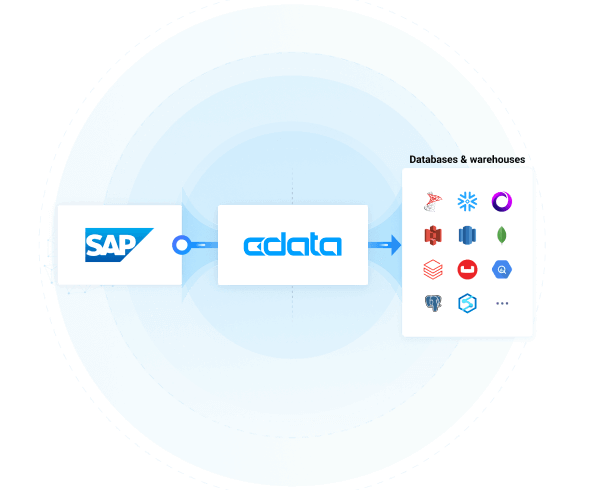
CData Connect Cloud is a consolidated connectivity platform that links applications to a broad ecosystem of real-time data sources through consistent, standards-compliant interfaces. CData Connect Cloud provides tools to access data seamlessly from any system, anywhere. Some of the key features of CData Connect Cloud are broad data connectivity, real-time data access, CRUD support, secure access, and comprehensive data modeling and dynamic discovery.
This article explores the Derived Views, Saved Queries, and Custom Reports features in Connect Cloud — and how to implement them.
Derived Views
Users are able to create views based on SQL queries that are stored in the Data Explorer. The views can display a multitude of entities, including a subset of an existing table, data that has been joined from several tables (even those from different data connections), the result of a SQL aggregate function (such as, COUNT or SUM), and an aliased version of an existing view.
How to Create a Derived View
Follow these steps to create a Derived View:
- Log-in to Connect Cloud and select Data Explorer from the left sidebar.
-
Next, click Create Derived View in the top-right section of the interface.
![]()
-
Fill out the name of the Derived View and the code for the SQL query and then click Confirm.
![]()
-
The new Derived View should now appear under the Derived Views Folder. Click the three vertical dots
to the right of the new Derived View and then click Query to populate the text editor with code.
![]()
Saved Queries
Saved Queries are SQL queries that can now be saved in the Data Explorer for instant access and reusability. The Saved Queries can also be shared across an organization. What's more, queries can be modified at a later time. Finally, multiple queries may be stored concurrently.
How to Create a Saved Query
Follow these steps to create a Saved Query:
- Log-in to Connect Cloud and select Data Explorer from the left sidebar.
- Next, enter the code for your SQL query in the text editor and click Save.
- In the modal, give your Saved Query a name and click Confirm.
![]()
- You should now see your new Saved Query in the Saved Queries folder.
![]()
Custom Reports
Custom Reports allow access to cube-like data, which is often a major feature of certain data sources. This feature is available for QuickBooks Online, NetSuite, Google AdWords, and Google Analytics, with more sources to be functional in the near future.
How to Create a Custom Report
Follow these steps to create a Custom Report:
- Log-in to Connect Cloud and select Connections from the left sidebar.
-
Next, select an existing Connection (alternatively, create a new Connection, but Custom Reports are not available
until the connection has been saved and tested).
![]()
-
Now, click the Custom Reports tab and then the +Add button to add a new report.
![]()
-
Select one of the report options from the list that appears.
![]()
-
On the following screen, fill out the parameters for the Custom Report and click Save.
![]()
-
Click the back arrow to view your new Custom Report.
![]()
-
The new Custom Report can also be viewed within Data Explorer and from 3rd party client applications like any other table or view.
![]()
More Information & Free Trial
To learn more about CData Connect Cloud and get live data access to 100+ SaaS, Big Data, and NoSQL sources directly from your cloud applications, visit our CData Connect Cloud page or sign up for a free trial today!


