Discover how a bimodal integration strategy can address the major data management challenges facing your organization today.
Get the Report →Access Live Zenefits Data in TIBCO Data Virtualization
Use the CData TIBCO DV Adapter for Zenefits to create a Zenefits data source in TIBCO Data Virtualization Studio and gain access to live Zenefits data from your TDV Server.
TIBCO Data Virtualization (TDV) is an enterprise data virtualization solution that orchestrates access to multiple and varied data sources. When paired with the CData TIBCO DV Adapter for Zenefits, you get federated access to live Zenefits data directly within TIBCO Data Virtualization. This article walks through deploying an adapter and creating a new data source based on Zenefits.
With built-in optimized data processing, the CData TIBCO DV Adapter offers unmatched performance for interacting with live Zenefits data. When you issue complex SQL queries to Zenefits, the adapter pushes supported SQL operations, like filters and aggregations, directly to Zenefits. Its built-in dynamic metadata querying allows you to work with and analyze Zenefits data using native data types.
Deploy the Zenefits TIBCO DV Adapter
In a console, navigate to the bin folder in the TDV Server installation directory. If there is a current version of the adapter installed, you will need to undeploy it.
.\server_util.bat -server localhost -user admin -password ******** -undeploy -version 1 -name API
Extract the CData TIBCO DV Adapter to a local folder and deploy the JAR file (tdv.api.jar) to the server from the extract location.
.\server_util.bat -server localhost -user admin -password ******** -deploy -package /PATH/TO/tdv.api.jar
You may need to restart the server to ensure the new JAR file is loaded properly, which can be accomplished by running the composite.bat script located at: C:\Program Files\TIBCO\TDV Server <version>\bin. Note that reauthenticating to the TDV Studio is required after restarting the server.
Sample Restart Call
.\composite.bat monitor restartOnce you deploy the adapter, you can create a new data source in TDV Studio for Zenefits.
Create a Zenefits Data Source in TDV Studio
With the CData TIBCO DV Adapter for Zenefits, you can easily create a data source for Zenefits and introspect the data source to add resources to TDV.
Create the Data Source
- Right-click on the folder you wish to add the data source to and select New -> New Data Source.
- Scroll until you find the adapter (e.g. Zenefits) and click Next.
- Name the data source (e.g. CData Zenefits Source).
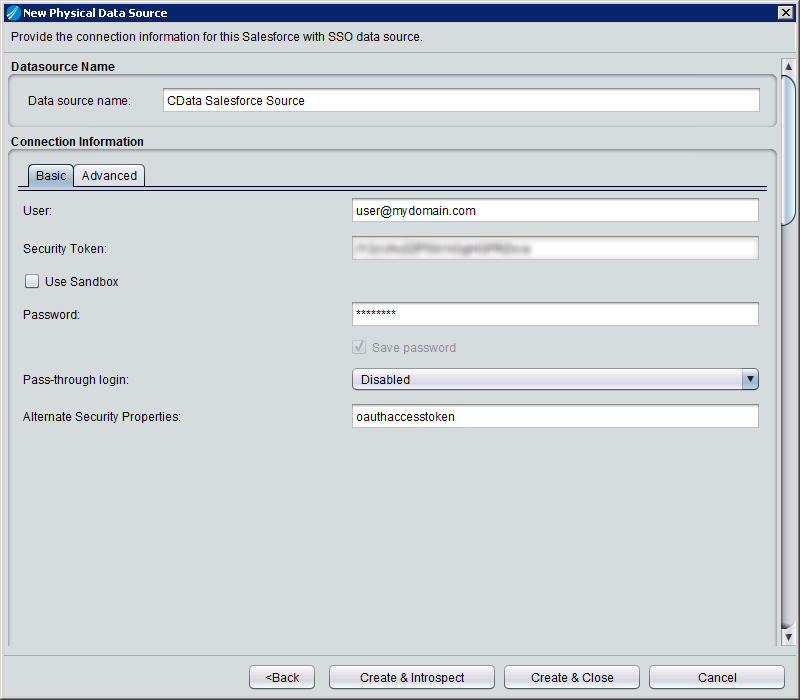
Fill in the required connection properties.
Start by setting the Profile connection property to the location of the Zenefits Profile on disk (e.g. C:\profiles\Zenefits.apip). Next, set the ProfileSettings connection property to the connection string for Zenefits (see below).
Zenefits API Profile Settings
In order to authenticate to Zenefits, you'll need to provide your API Key. To create an API Key, from your account head over to Company Overview > Custom Integrations, then besides Rest API Access select Add Token. Set the API Key in the ProfileSettings property to connect.
![Filling in Connection Information (Salesforce is shown.)]()
- Click Create & Close.
Introspect the Data Source
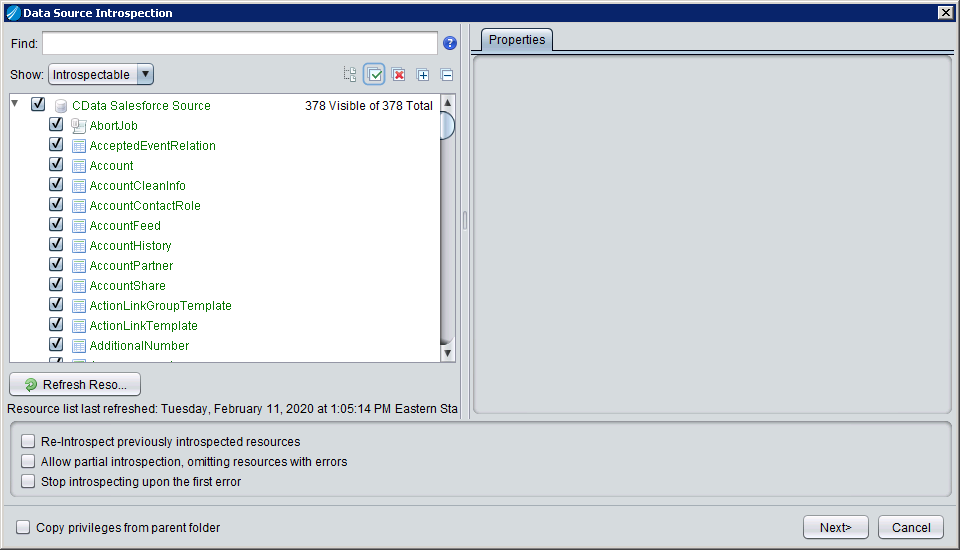
Once the data source is created, you can introspect the data source by right-clicking and selecting Open. In the dashboard, click Add/Remove Resources and select the Tables, Views, and Stored Procedures to include as part of the data source. Click Next and Finish to add the selected Zenefits tables, views, and stored procedures as resources.

After creating and introspecting the data source, you are ready to work with Zenefits data in TIBCO Data Virtualization just like you would any other relational data source. You can create views, query using SQL, publish the data source, and more.


