Discover how a bimodal integration strategy can address the major data management challenges facing your organization today.
Get the Report →Build Semantic Layer Views for Sage 200 Data in APOS Live Data Gateway
Use the CData Connect Cloud and APOS Live Data Gateway to build Semantic Layer Views for Sage 200 data.
APOS Live Data Gateway (LDG) serves as a data connection and data transformation solution, facilitating live data connectivity and broadening data source possibilities for SAP Analytics Cloud and other SAP solutions. When integrated with CData Connect Cloud, users have the capability to construct semantic layer views for real-time access to Sage 200 data, enabling real-time analytics on Sage 200 in a manner akin to working with a relational database.
CData Connect Cloud offers a dedicated SQL Server interface for Sage 200, enabling data querying directly from Sage 200 without the need to replicate data to a native database. With pre-optimized data processing capabilities, CData Connect Cloud efficiently directs all supported SQL operations, including filters and JOINs, directly to Sage 200. This harnesses server-side processing to swiftly retrieve the requested Sage 200 data.
Configure Sage 200 Connectivity for APOS Live Data Gateway
Connectivity to Sage 200 from APOS Live Data Gateway is made possible through CData Connect Cloud. To work with Sage 200 data from APOS Live Data Gateway, we start by creating and configuring a Sage 200 connection.
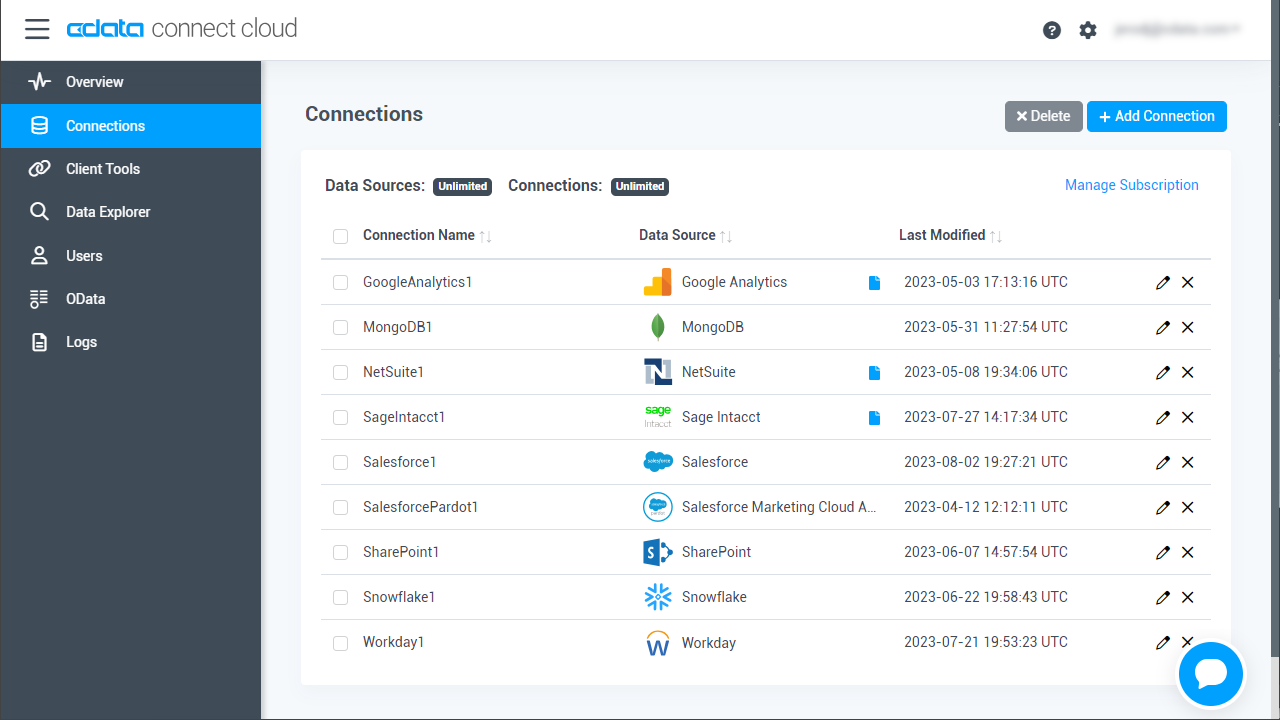
- Log into Connect Cloud, click Connections and click Add Connection
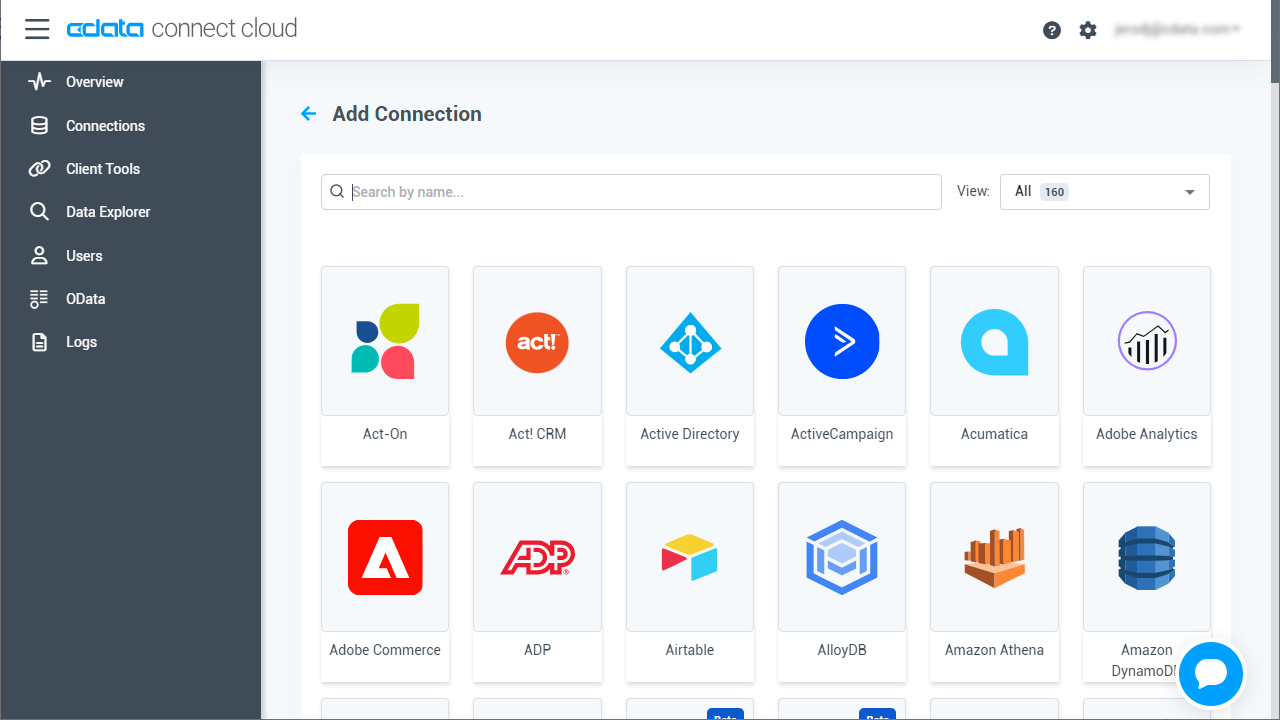
- Select "Sage 200" from the Add Connection panel
-
Enter the necessary authentication properties to connect to Sage 200.
- Schema: Determines which Sage 200 edition you are connecting to. Specify either StandardUK or ProfessionalUK.
- Subscription Key: Provides access to the APIs that are used to establish a connection. You will first need to log into the Sage 200 API website and subscribe to the API edition that matches your account. You can do so here: https://developer.columbus.sage.com/docs/services/api/uk. Afterwards, the subscription key may be found in your profile after logging into Sage 200.
![Configuring a connection (Salesforce is shown)]()
- Click Create & Test
-
Navigate to the Permissions tab in the Add Sage 200 Connection page and update the User-based permissions.
![Updating permissions]()
Add a Personal Access Token
If you are connecting from a service, application, platform, or framework that does not support OAuth authentication, you can create a Personal Access Token (PAT) to use for authentication. Best practices would dictate that you create a separate PAT for each service, to maintain granularity of access.
- Click on your username at the top right of the Connect Cloud app and click User Profile.
- On the User Profile page, scroll down to the Personal Access Tokens section and click Create PAT.
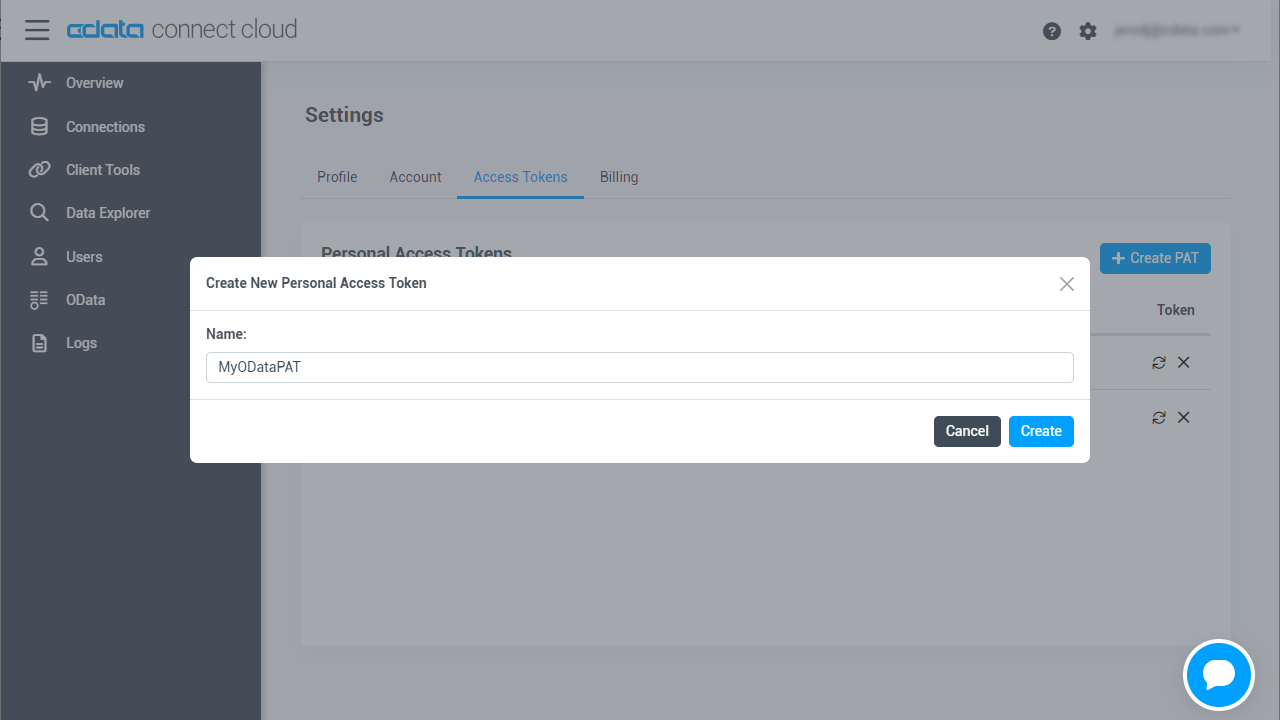
- Give your PAT a name and click Create.
- The personal access token is only visible at creation, so be sure to copy it and store it securely for future use.
Connecting to Sage 200 & Creating a Semantic Layer View
After configuring the connection in CData Connect Cloud you are ready to connect to Sage 200 in the Live Data Gateway Admin tool and build a semantic layer view in the Live Data Gateway Web UI.
Configuring the Connection to Sage 200
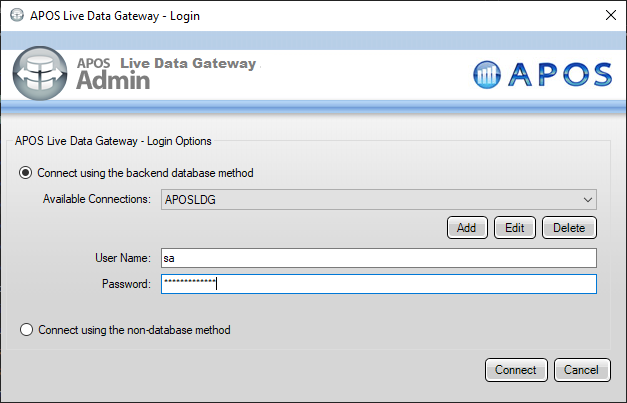
- Log into your APOS Live Data Gateway Manager
![Logging into the APOS LDG Manager]()
- If you haven't already, update your APOS LDG license file
- Click File -> Configurations
- Click on the "..." Menu for the License
- Select the license file from the APOS team that includes your CData Connect Cloud license
- In the APOS Live Data Gateway Manager, click "Add"
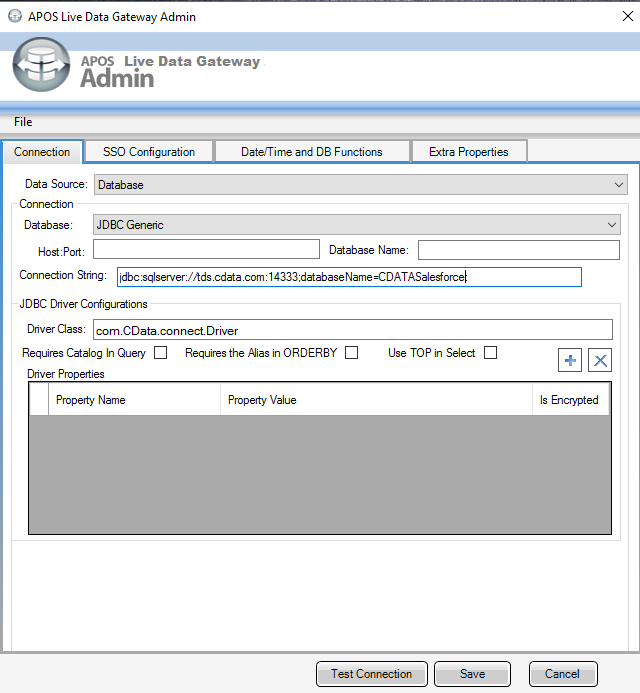
- In the APOS Live Data Gateway On the Connection tab, configure the connection:
- Set Data Source to "Database"
- Set Database to "JDBC Generic"
- Set Connection String to a connection string similar to the following, using the name of the connection you configured earlier, e.g.
jdbc:sqlserver://tds.cdata.com:14333;databaseName=Sage2001 - Set Driver Class to "com.CData.connect.Driver" (this should be set by default)
![Configuring the Connection (Salesforce is shown).]()
- Click Test Connection
- Click Save
- Give your connection a unique prefix (e.g. "sage200")
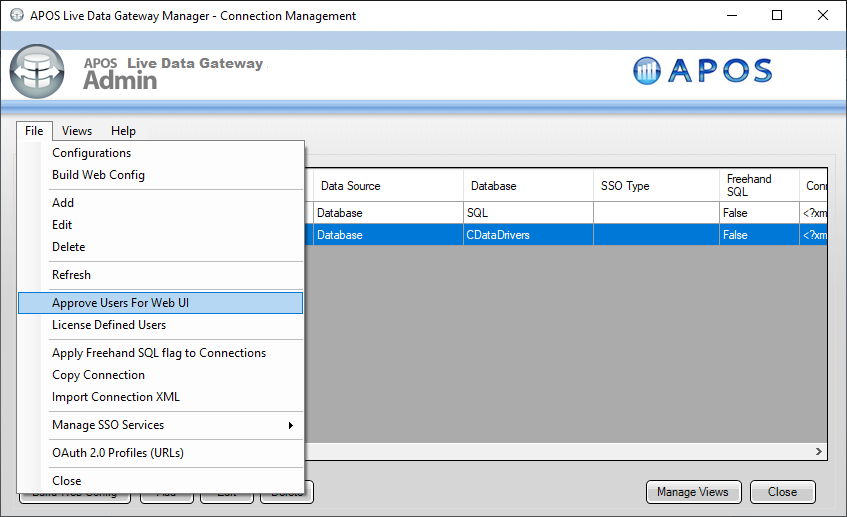
- Highlight the newly created connection and click File -> "Approve Users For Web UI"
![Approving Users For Web UI.]()
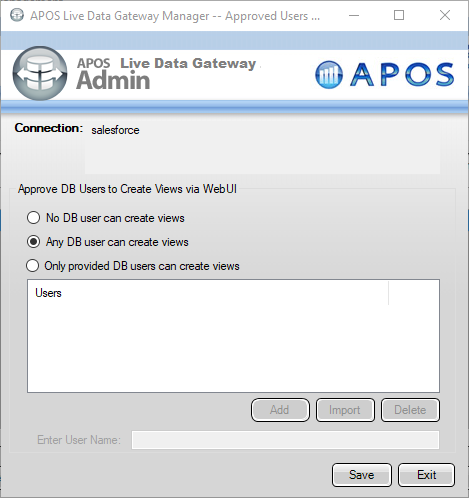
- Approve the appropriate DB users to create views and click "Save"
![Configuring which DB users can create views.]()
At this point, we are ready to build our semantic layer view in the Live Data Gateway Web UI.
Creating a Semantic Layer View
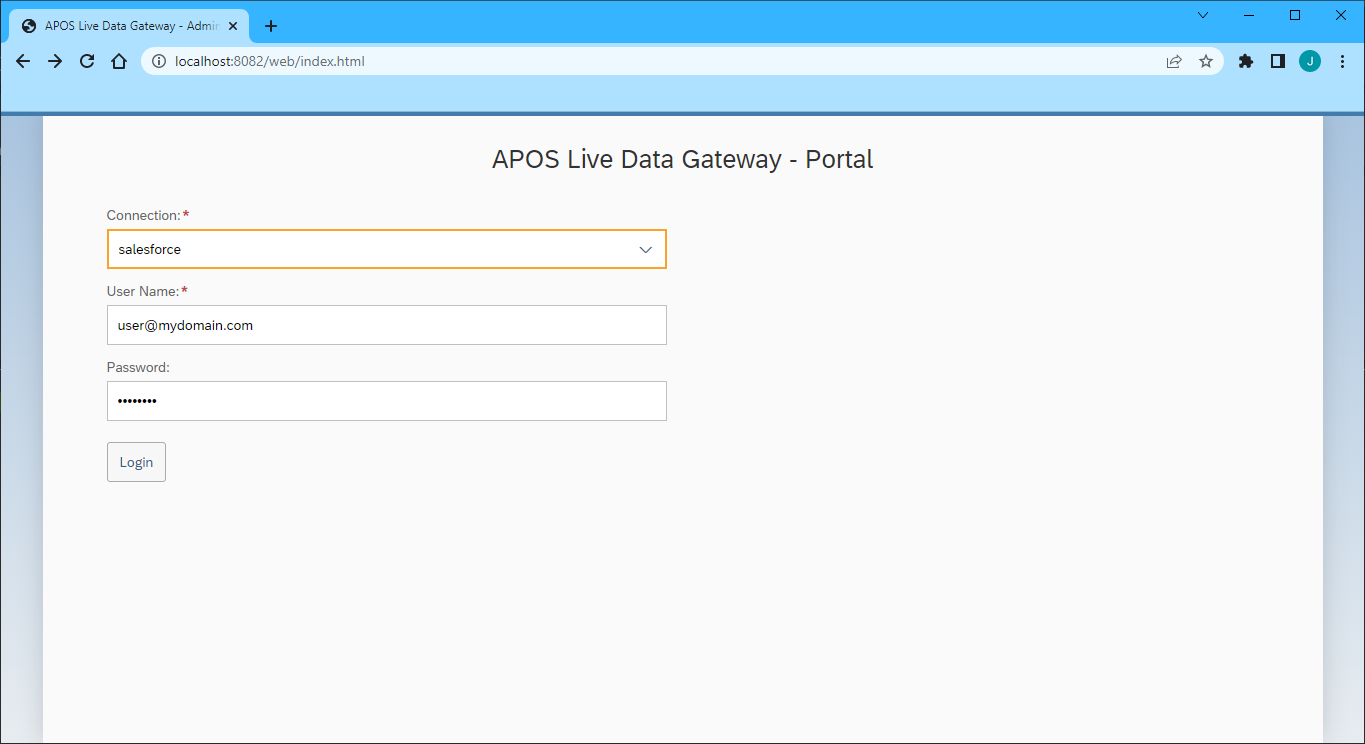
- In your browser, navigate to the APOS Live Data Gateway Portal
- Select a Connection (e.g. "sage200")
- Set User Name and Password to your Connect Cloud username and PAT .
- Click "Login"
![Connecting from the Web UI (Salesforce is shown).]()
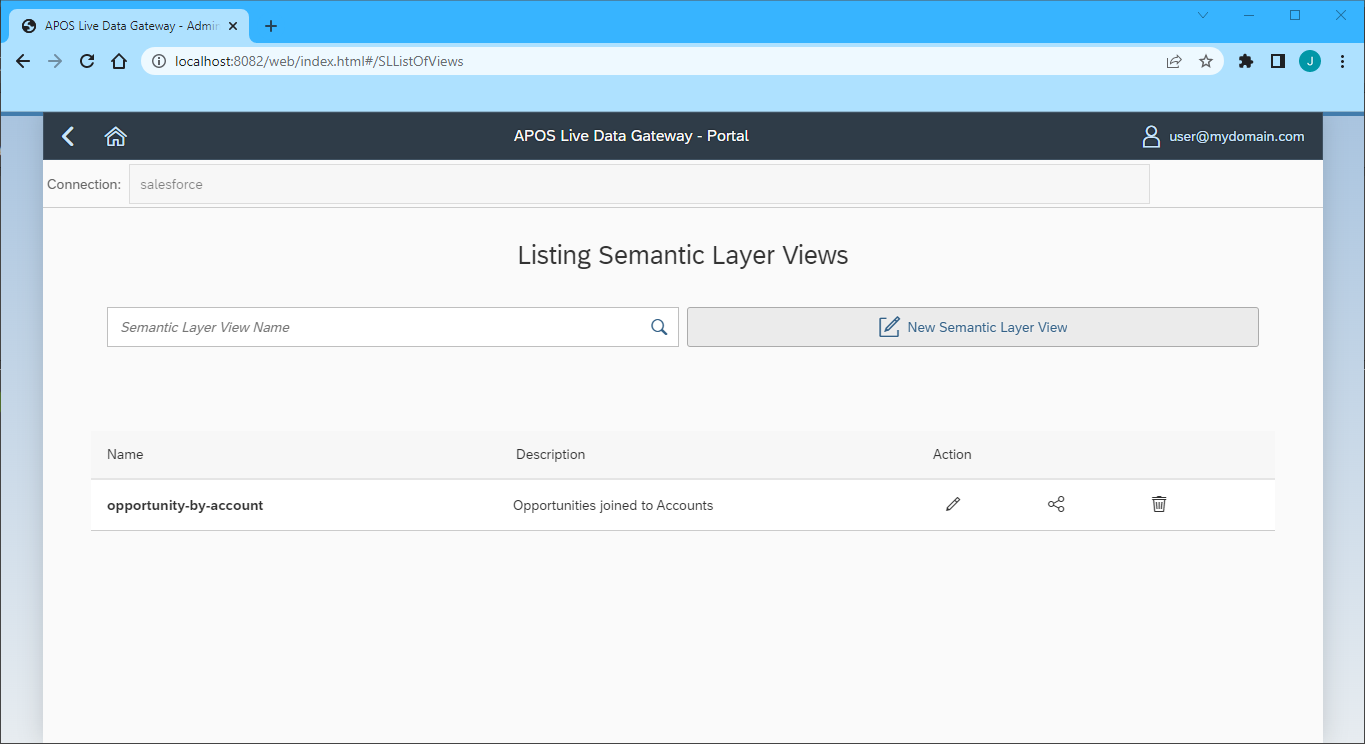
- Once connected, click "Semantic Layer" to create a new semantic layer view
- Click "New Semantic Layer View"
![Adding a new semantic layer view.]()
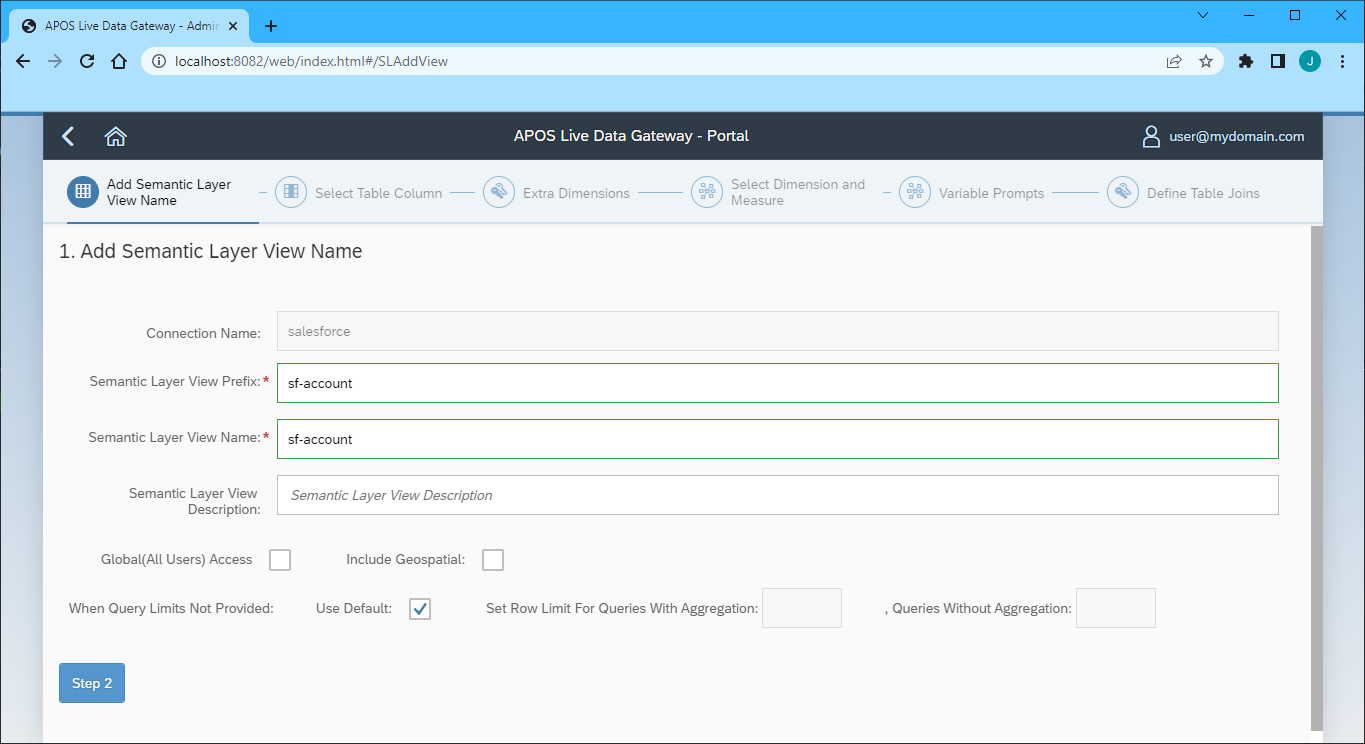
- Set the Semantic Layer View Prefix and Semantic Layer View Name
![Setting the semantic layer view prefix and name.]()
- Click "Step 2"
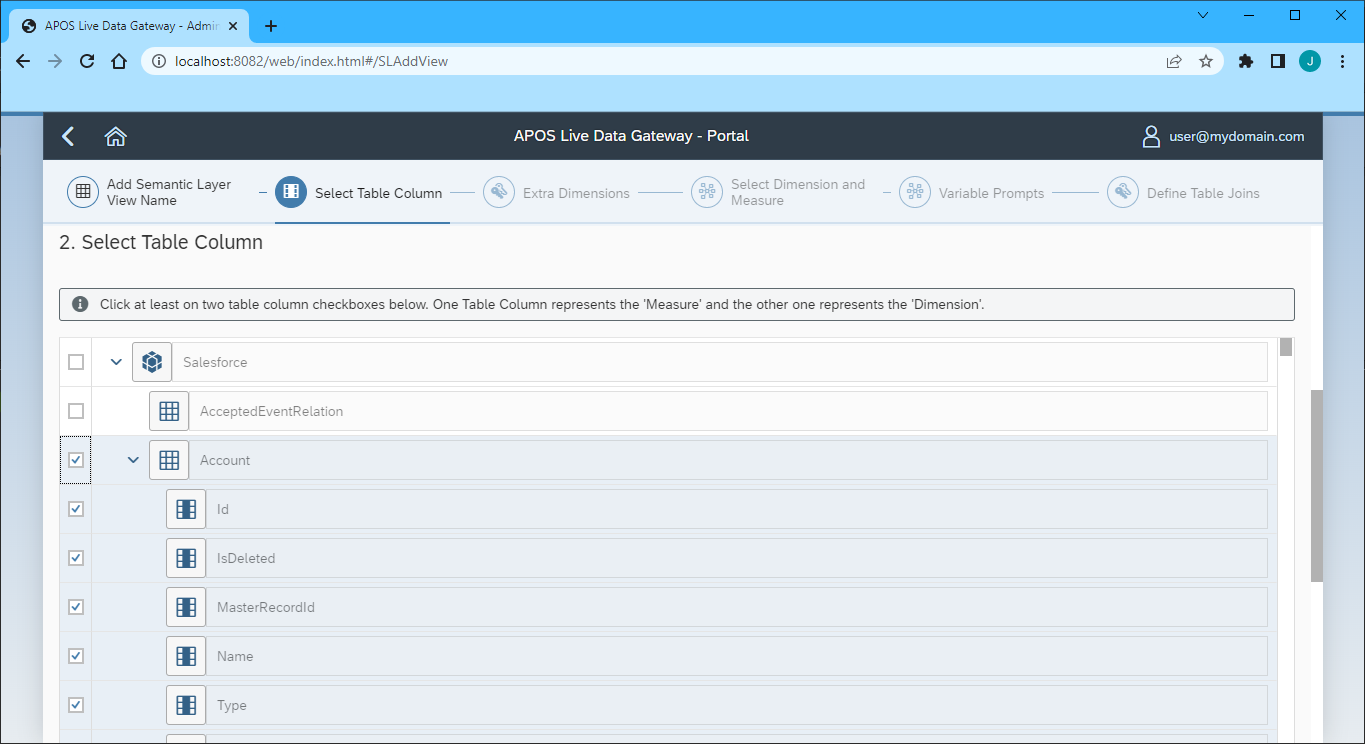
- Select the table(s) and column(s) you wish to include in your view
![Selecting table(s) and column(s).]()
- Click "Step 3"
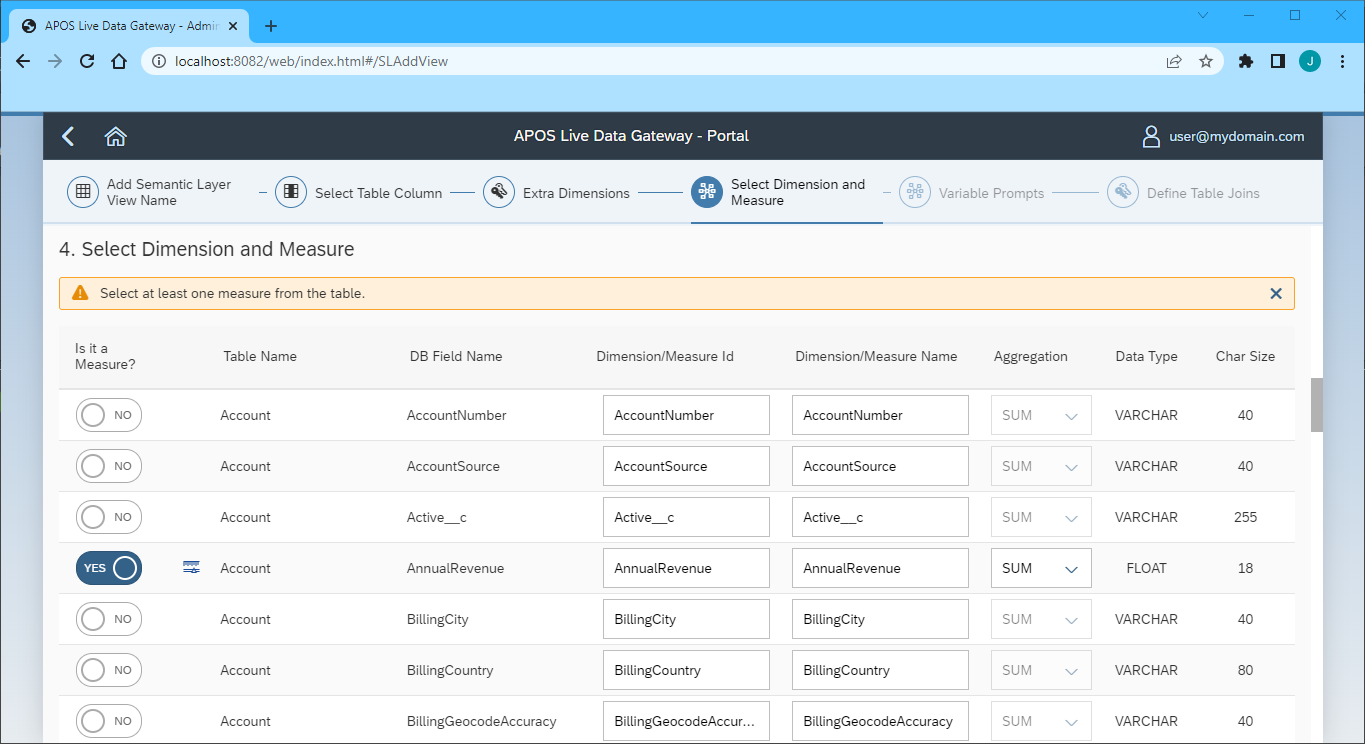
- Select the Measures from the available table columns
![Selecting the measure(s).]()
- Click "Step 5" (we skipped the "Extra Dimensions" step)
- Add any Variable Prompts
- Click "Step 6"
- Define any Table Joins
- Click "Review"
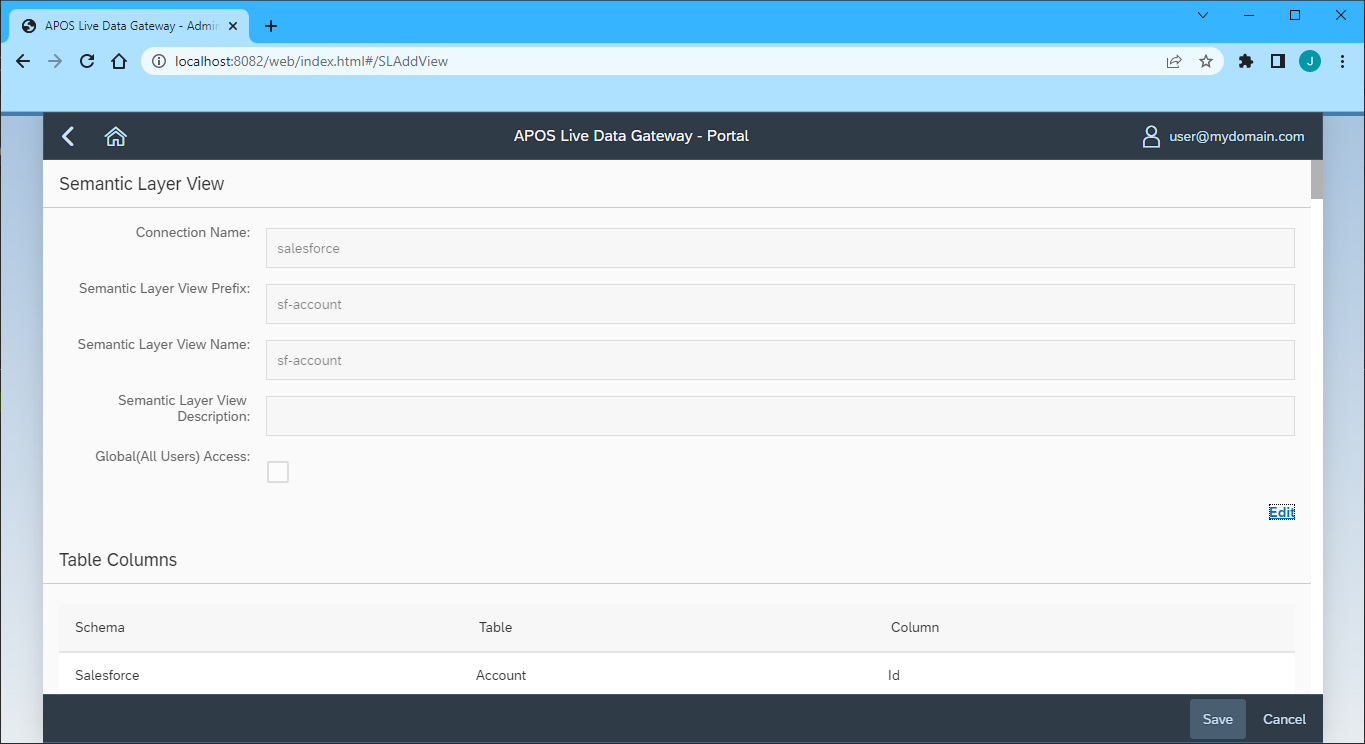
- Review you semantic layer view and click "Save"
![Saving the semantic layer view.]()
With the Semantic Layer View created, you are ready to access your Sage 200 data through the APOS Live Data Gateway, enabling real-time data connectivity to Sage 200 data from SAP Analytics Cloud and other SAP solutions.
Get CData Connect Cloud
To get live data access to 100+ SaaS, Big Data, and NoSQL sources directly from your SQL Server database, try CData Connect Cloud today!


