Discover how a bimodal integration strategy can address the major data management challenges facing your organization today.
Get the Report →How to Visualize Okta Data in Python with pandas
Use pandas and other modules to analyze and visualize live Okta data in Python.
The rich ecosystem of Python modules lets you get to work quickly and integrate your systems more effectively. With the CData Python Connector for Okta, the pandas & Matplotlib modules, and the SQLAlchemy toolkit, you can build Okta-connected Python applications and scripts for visualizing Okta data. This article shows how to use the pandas, SQLAlchemy, and Matplotlib built-in functions to connect to Okta data, execute queries, and visualize the results.
With built-in optimized data processing, the CData Python Connector offers unmatched performance for interacting with live Okta data in Python. When you issue complex SQL queries from Okta, the driver pushes supported SQL operations, like filters and aggregations, directly to Okta and utilizes the embedded SQL engine to process unsupported operations client-side (often SQL functions and JOIN operations).
Connecting to Okta Data
Connecting to Okta data looks just like connecting to any relational data source. Create a connection string using the required connection properties. For this article, you will pass the connection string as a parameter to the create_engine function.
To connect to Okta, set the Domain connection string property to your Okta domain.
You will use OAuth to authenticate with Okta, so you need to create a custom OAuth application.
Creating a Custom OAuth Application
From your Okta account:
- Sign in to your Okta developer edition organization with your administrator account.
- In the Admin Console, go to Applications > Applications.
- Click Create App Integration.
- For the Sign-in method, select OIDC - OpenID Connect.
- For Application type, choose Web Application.
- Enter a name for your custom application.
- Set the Grant Type to Authorization Code. If you want the token to be automatically refreshed, also check Refresh Token.
- Set the callback URL:
- For desktop applications and headless machines, use http://localhost:33333 or another port number of your choice. The URI you set here becomes the CallbackURL property.
- For web applications, set the callback URL to a trusted redirect URL. This URL is the web location the user returns to with the token that verifies that your application has been granted access.
- In the Assignments section, either select Limit access to selected groups and add a group, or skip group assignment for now.
- Save the OAuth application.
- The application's Client Id and Client Secret are displayed on the application's General tab. Record these for future use. You will use the Client Id to set the OAuthClientId and the Client Secret to set the OAuthClientSecret.
- Check the Assignments tab to confirm that all users who must access the application are assigned to the application.
- On the Okta API Scopes tab, select the scopes you wish to grant to the OAuth application. These scopes determine the data that the app has permission to read, so a scope for a particular view must be granted for the driver to have permission to query that view. To confirm the scopes required for each view, see the view-specific pages in Data Model < Views in the Help documentation.
Follow the procedure below to install the required modules and start accessing Okta through Python objects.
Install Required Modules
Use the pip utility to install the pandas & Matplotlib modules and the SQLAlchemy toolkit:
pip install pandas
pip install matplotlib
pip install sqlalchemy
Be sure to import the module with the following:
import pandas
import matplotlib.pyplot as plt
from sqlalchemy import create_engine
Visualize Okta Data in Python
You can now connect with a connection string. Use the create_engine function to create an Engine for working with Okta data.
engine = create_engine("okta:///?Domain=dev-44876464.okta.com&InitiateOAuth=GETANDREFRESH&OAuthSettingsLocation=/PATH/TO/OAuthSettings.txt")
Execute SQL to Okta
Use the read_sql function from pandas to execute any SQL statement and store the resultset in a DataFrame.
df = pandas.read_sql("SELECT Id, ProfileFirstName FROM Users WHERE Status = 'Active'", engine)
Visualize Okta Data
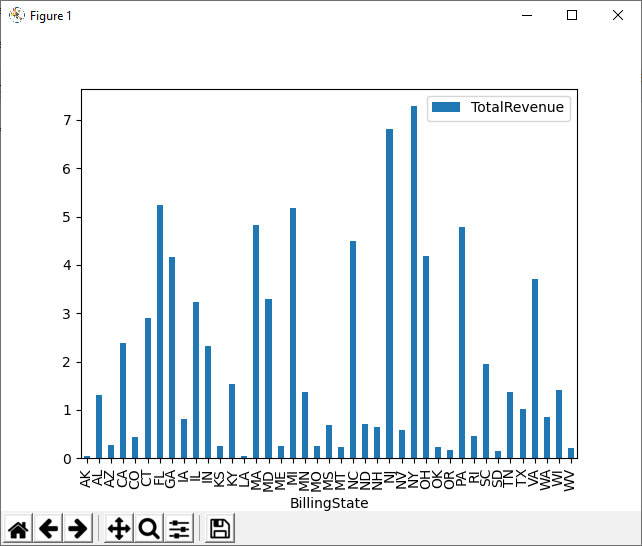
With the query results stored in a DataFrame, use the plot function to build a chart to display the Okta data. The show method displays the chart in a new window.
df.plot(kind="bar", x="Id", y="ProfileFirstName")
plt.show()

Free Trial & More Information
Download a free, 30-day trial of the CData Python Connector for Okta to start building Python apps and scripts with connectivity to Okta data. Reach out to our Support Team if you have any questions.
Full Source Code
import pandas
import matplotlib.pyplot as plt
from sqlalchemy import create_engin

engine = create_engine("okta:///?Domain=dev-44876464.okta.com&InitiateOAuth=GETANDREFRESH&OAuthSettingsLocation=/PATH/TO/OAuthSettings.txt")
df = pandas.read_sql("SELECT Id, ProfileFirstName FROM Users WHERE Status = 'Active'", engine)

df.plot(kind="bar", x="Id", y="ProfileFirstName")
plt.show()


