Discover how a bimodal integration strategy can address the major data management challenges facing your organization today.
Get the Report →Connect to Okta Data as a Linked Server
Use CData Connect to set up a linked server for Okta data.
You can use CData Connect to set up a linked server for Okta data. After you configure CData Connect, you can use the UI in SQL Server Management Studio or call stored procedures to create the linked server. You can then work with Okta data just as you would a linked SQL Server instance.
CData Connect provides a pure SQL interface for Okta, allowing you to easily integrate with live Okta data in SQL Server — without replicating the data. Connect looks exactly like another SQL Server database and uses optimized data processing out of the box to push all supported SQL operations (filters, JOINs, etc) directly to Okta, leveraging server-side processing to quickly return Okta data.
Create a Virtual SQL Database for Okta Data
CData Connect Server uses a straightforward, point-and-click interface to connect to data sources and generate APIs.
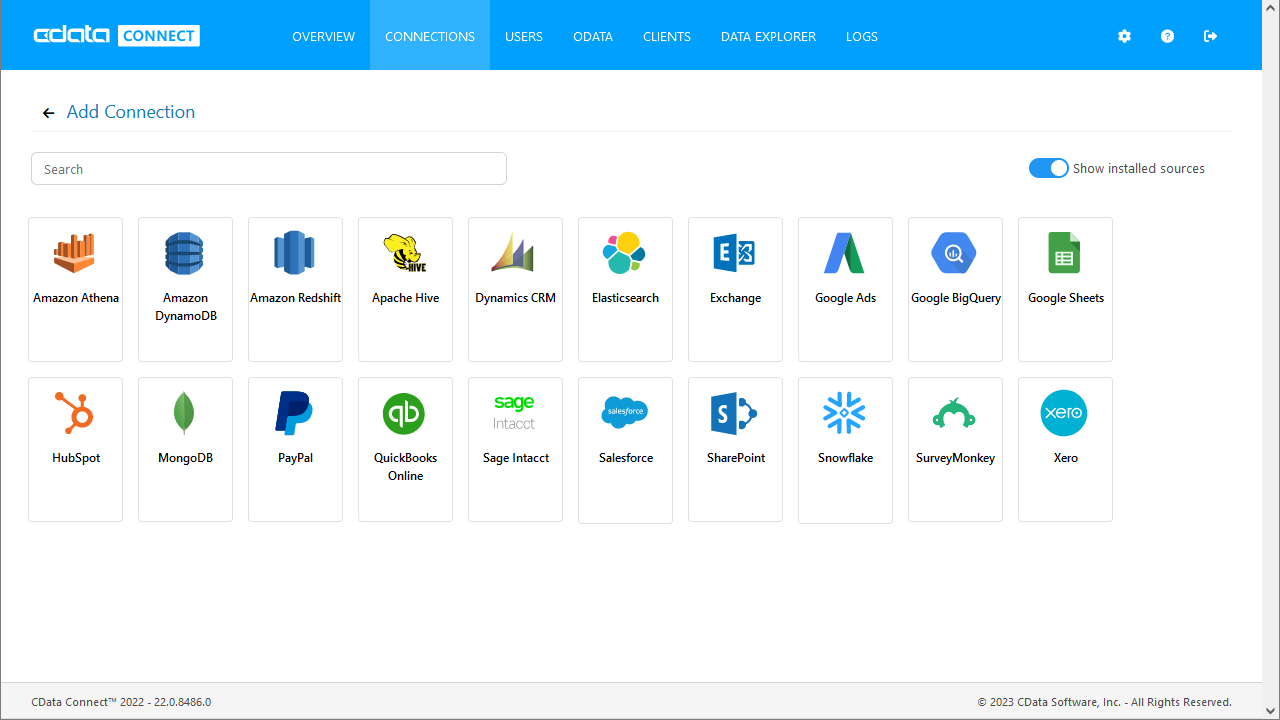
- Log into Connect Server and click Connections.
![Adding a connection]()
- Select "Okta" from Available Data Sources.
-
Enter the necessary authentication properties to connect to Okta.
To connect to Okta, set the Domain connection string property to your Okta domain.
You will use OAuth to authenticate with Okta, so you need to create a custom OAuth application.
Creating a Custom OAuth Application
From your Okta account:
- Sign in to your Okta developer edition organization with your administrator account.
- In the Admin Console, go to Applications > Applications.
- Click Create App Integration.
- For the Sign-in method, select OIDC - OpenID Connect.
- For Application type, choose Web Application.
- Enter a name for your custom application.
- Set the Grant Type to Authorization Code. If you want the token to be automatically refreshed, also check Refresh Token.
- Set the callback URL:
- For desktop applications and headless machines, use http://localhost:33333 or another port number of your choice. The URI you set here becomes the CallbackURL property.
- For web applications, set the callback URL to a trusted redirect URL. This URL is the web location the user returns to with the token that verifies that your application has been granted access.
- In the Assignments section, either select Limit access to selected groups and add a group, or skip group assignment for now.
- Save the OAuth application.
- The application's Client Id and Client Secret are displayed on the application's General tab. Record these for future use. You will use the Client Id to set the OAuthClientId and the Client Secret to set the OAuthClientSecret.
- Check the Assignments tab to confirm that all users who must access the application are assigned to the application.
- On the Okta API Scopes tab, select the scopes you wish to grant to the OAuth application. These scopes determine the data that the app has permission to read, so a scope for a particular view must be granted for the driver to have permission to query that view. To confirm the scopes required for each view, see the view-specific pages in Data Model < Views in the Help documentation.
![Configuring a connection (SQL Server is shown).]()
- Click Save Changes
- Click Privileges -> Add and add the new user (or an existing user) with the appropriate permissions.
Create a Linked Server for Okta Data
After you have configured and started the daemon, create the linked server and connect. You can use the UI in SQL Server Management Studio or call stored procedures.
Create a Linked Server from the UI
Follow the steps below to create a linked server from the Object Explorer.
- Open SQL Server Management Studio and connect to an instance of SQL Server.
- In the Object Explorer, expand the node for the SQL Server database. In the Server Objects node, right-click Linked Servers and click New Linked Server. The New Linked Server dialog is displayed.
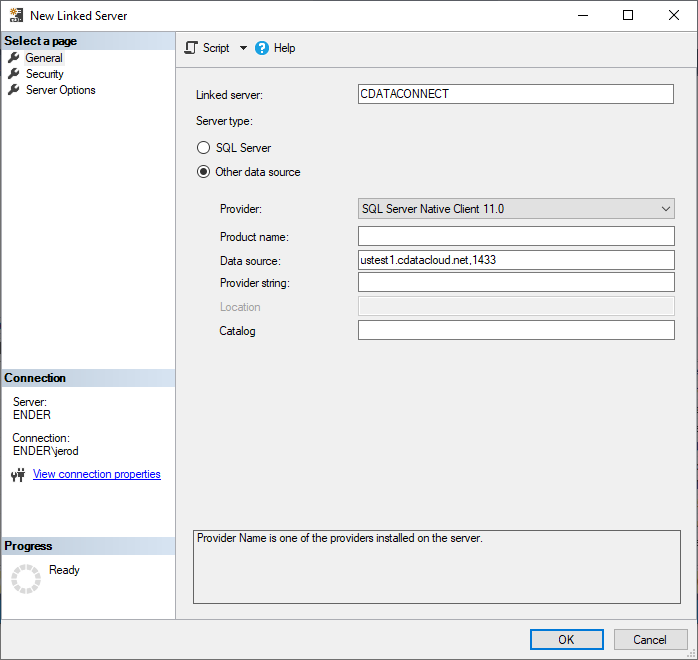
- In the General section, click the Other Data Source option and enter the following information after naming the linked server:
- Provider: Select the SQL Server Native Client Provider that corresponds to your version of SQL Server. For example, SQL Server Native Client 11.0.
Data Source: Enter the host and port, separated by a comma, where the TDS remoting service is running.
Note that a value of "localhost" in this input refers to the machine where SQL Server is running, so be careful if you create a linked server in Management Studio on a different machine.
- Catalog: Enter the CData system DSN, CData Okta Sys.
![Linked Server properties. (SQL Server is shown.)]()
-
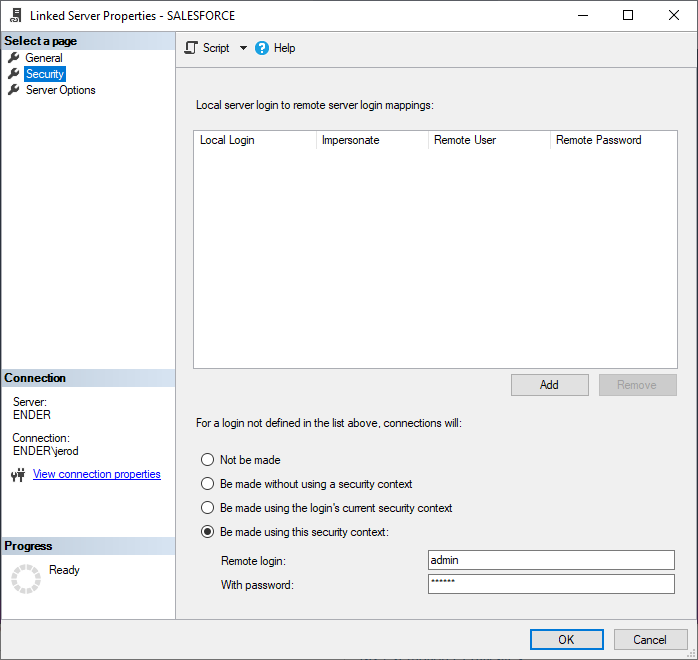
In the Security section, select the option to have the connection "made using this security context" and enter the username and password of a user you created in the Users tab of the SQL Gateway.
![A user known to the daemon in the Linked Server security properties.]()
Create a Linked Server Programmatically
In addition to using the SQL Server Management Studio UI to create a linked server, you can use stored procedures. The following inputs are required:
- server: The linked server name.
- provider: Enter "SQLNCLI" for the SQL Server Native Client Provider.
datasrc: The host and port, separated by a comma, where the service is running.
Note that a value of "localhost" in the datasrc input refers to the machine where SQL Server is running, so be careful if you create a linked server in Management Studio on a different machine.
- catalog: Leave this empty.
- srvproduct: Enter the product name of the data source; this can be an arbitrary value like "CData Connect" or an empty string.
Follow the steps below to create the linked server and configure authentication to the SQL Gateway:
-
Call sp_addlinkedserver to create the linked server:
EXEC sp_addlinkedserver @server='CDataConnect', @provider='SQLNCLI', @datasrc='< MachineIPAddress >,1434', @catalog='', @srvproduct=''; GO -
Call the sp_addlinkedsrvlogin stored procedure to allow SQL Server users to connect with the credentials of an authorized user of the service. Note that the credentials you use to connect to the service must specify a user you configured on the Users tab of the SQL Gateway.
EXEC sp_addlinkedsrvlogin @rmtsrvname='CDataConnect',
  @rmtuser='< CData Connect user >',
  @rmtpassword='< CData Connect password >',
  @useself='FALSE',
  @locallogin=NULL;
GO
Connect from SQL Server Management Studio
Since CData Connect provides a virtual SQL Server interface, there is no further configuration needed to work with your Okta data directly from SQL Server. Simply execute queries against CData Connect just like you would any other Linked Server.
Execute Queries
You can now execute queries to the Okta linked server from any tool that can connect to SQL Server. Set the table name accordingly:
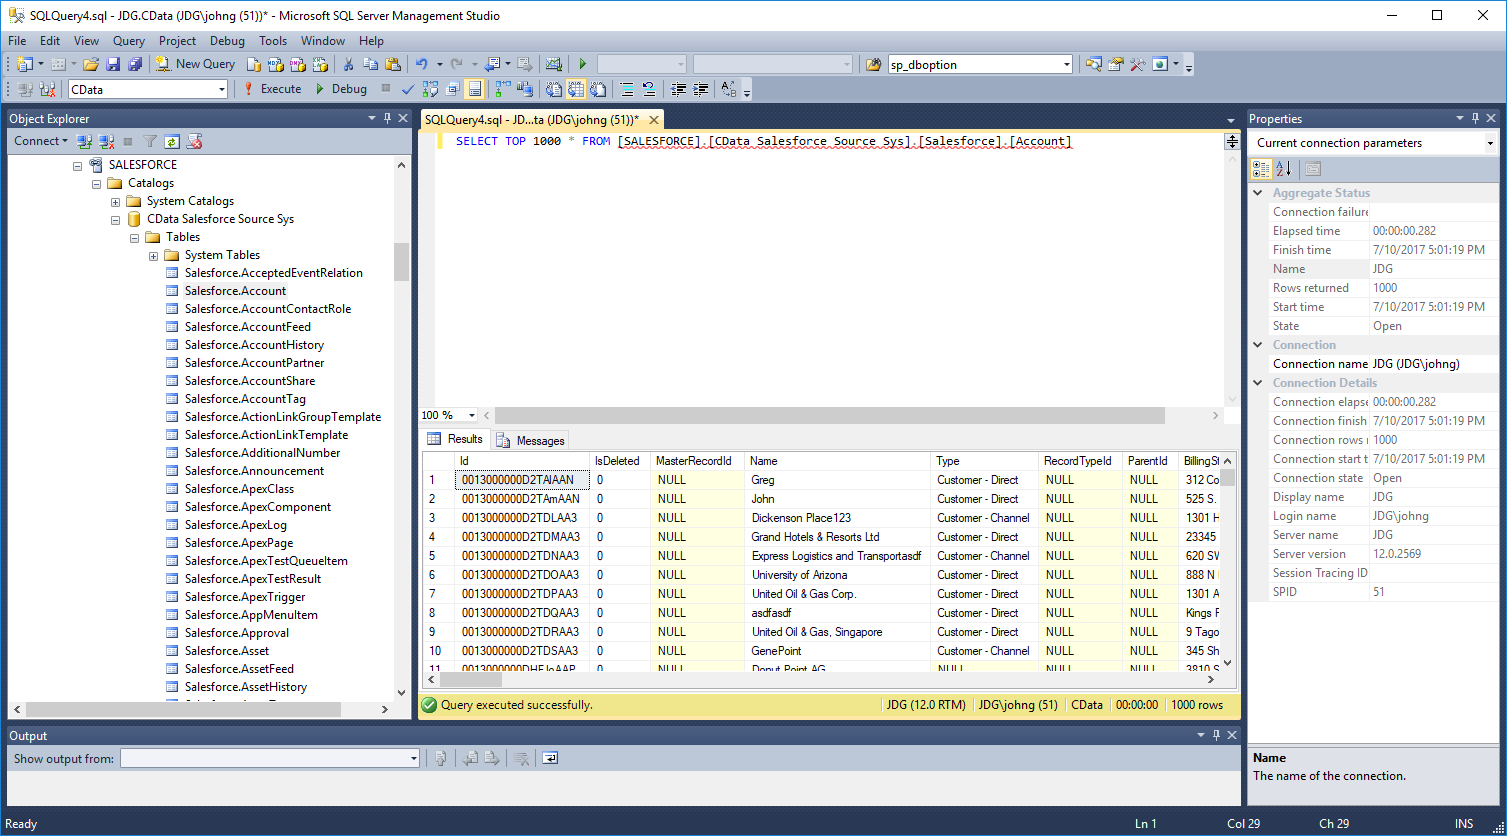
SELECT * FROM [linked server name].[CData Okta Sys].[Okta].[Users]

SQL Access to Okta Data
At this point, you have a direct connection to live Okta data from your SQL Server instance. You can work with live Okta data just like you would any other SQL Server database, with no need to replicate the data. For more information on gaining SQL access to data from more than 100 SaaS, Big Data, and NoSQL sources, refer to our CData Connect page.


