Discover how a bimodal integration strategy can address the major data management challenges facing your organization today.
Get the Report →Create an SAP BusinessObjects Universe on the CData ODBC Driver for FTP
Provide connectivity to FTP data through an SAP BusinessObjects universe.
This article shows how to create and publish an SAP BusinessObjects universe on the CData ODBC Driver for FTP. You will connect to FTP data from the Information Design Tool as well as the Web Intelligence tool.
Connect to FTP as an ODBC Data Source
If you have not already, first specify connection properties in an ODBC DSN (data source name). This is the last step of the driver installation. You can use the Microsoft ODBC Data Source Administrator to create and configure ODBC DSNs.
To connect to FTP or SFTP servers, specify at least RemoteHost and FileProtocol. Specify the port with RemotePort.
Set User and Password to perform Basic authentication. Set SSHAuthMode to use SSH authentication. See the Getting Started section of the data provider help documentation for more information on authenticating via SSH.
Set SSLMode and SSLServerCert to secure connections with SSL.
The data provider lists the tables based on the available folders in your FTP server. Set the following connection properties to control the relational view of the file system:
- RemotePath: Set this to the current working directory.
- TableDepth: Set this to control the depth of folders to list as views.
- FileRetrievalDepth: Set this to retrieve and list files recursively from the root table.
Stored Procedures are available to download files, upload files, and send protocol commands. See the Data Model chapter of the FTP data provider documentation for more information.
When you configure the DSN, you may also want to set the Max Rows connection property. This will limit the number of rows returned, which is especially helpful for improving performance when designing reports and visualizations.
Create an ODBC Connection to FTP Data
This section shows how to create a connection to the FTP ODBC data source in the Information Design Tool. After you create a connection, you can analyze data or create a BusinessObjects universe.
Right-click your project and click New -> New Relational Connection.
- In the wizard that is displayed, enter a name for the connection.
Select Generic -> Generic ODBC datasource -> ODBC Drivers and select the DSN.
-
Finish the wizard with the default values for connection pooling and custom parameters.
Analyze FTP Data in the Information Design Tool
In the Information Design Tool, you can use both published and local ODBC connections to browse and query data.
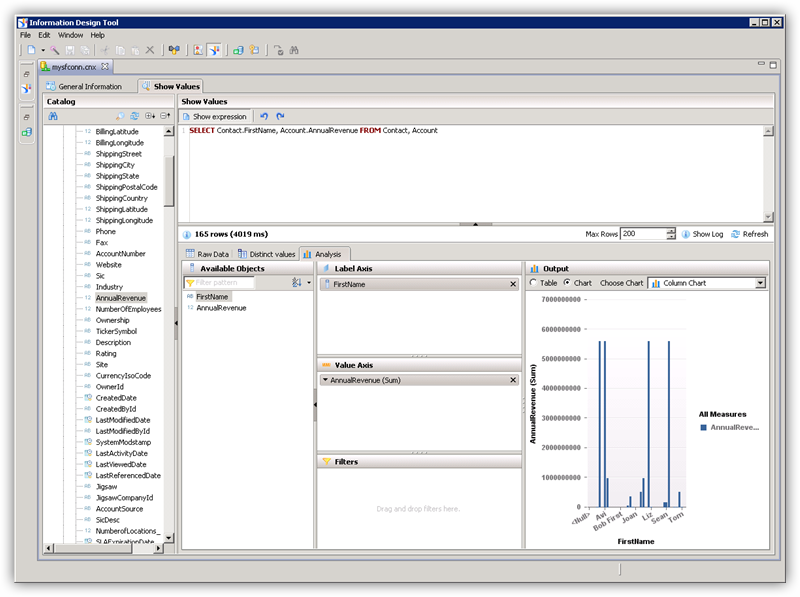
In the Local Projects view, double-click the connection (the .cnx file) to open the FTP data source.
On the Show Values tab, you can load table data and enter SQL queries. To view table data, expand the node for the table, right-click the table, and click Show Values. Values will be displayed in the Raw Data tab.
On the Analysis tab, you can drag and drop columns onto the axes of a chart.

Publish the Local Connection
To publish the universe to the CMS, you additionally need to publish the connection.
In the Local Projects view, right-click the connection and click Publish Connection to a Repository.
Enter the host and port of the repository and connection credentials.
Select the folder where the connection will be published.
In the success dialog that results, click Yes to create a connection shortcut.
Create a Universe on the ODBC Driver for FTP
You can follow the steps below to create a universe on the ODBC driver for FTP. The universe in this example will be published to a repository, so it uses the published connection created in the previous step.
In the Information Design Tool, click File->New Universe.
Select your project.
Select the option to create the universe on a relational data source.
Select the shortcut to the published connection.
Enter a name for the Data Foundation.
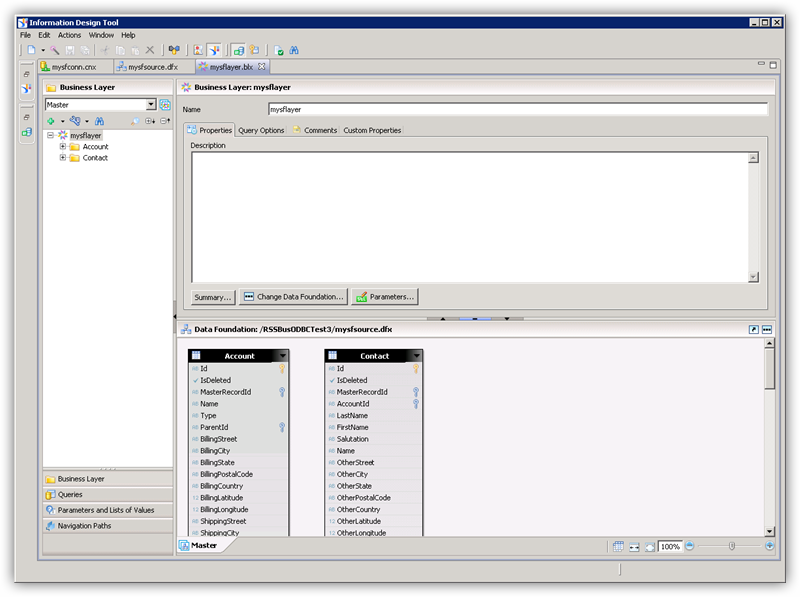
Import tables and columns that you want to access as objects.
Enter a name for the Business Layer.

Publish the Universe
You can follow the steps below to publish the universe to the CMS.
In the Local Projects view, right-click the business layer and click Publish -> To a Repository.
In the Publish Universe dialog, enter any integrity checks before importing.
Select or create a folder on the repository where the universe will be published.
Query FTP Data in Web Intelligence
You can use the published universe to connect to FTP in Web Intelligence.
Open Web Intelligence from the BusinessObjects launchpad and create a new document.
Select the Universe option for the data source.
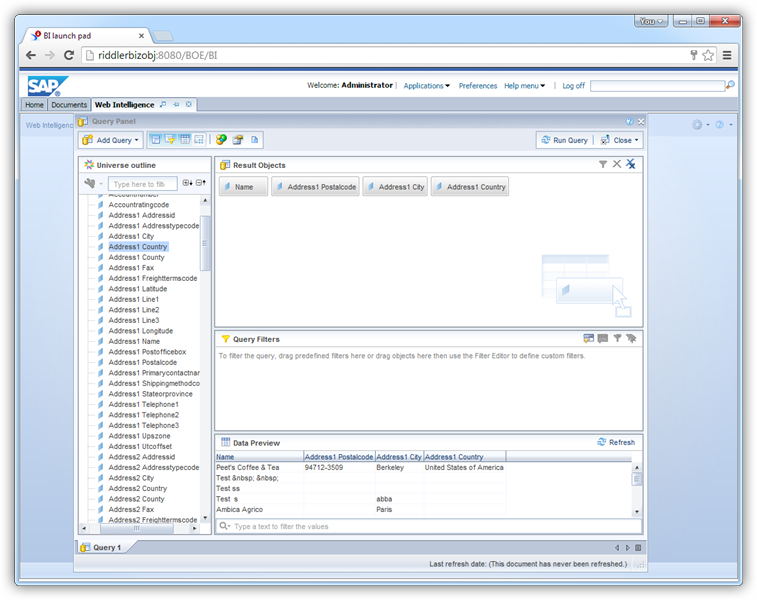
Select the FTP universe. This opens a Query Panel. Drag objects to the Result Objects pane to use them in the query.


