Discover how a bimodal integration strategy can address the major data management challenges facing your organization today.
Get the Report →Create ConstantContact-Connected Visualizations in Klipfolio
Use CData Connect Server to connect to ConstantContact from Klipfolio and build custom visualizations using live ConstantContact data.
Klipfolio is an online dashboard platform for building real-time business dashboards for your team or your clients. When paired with CData Connect Server, you get instant access to ConstantContact data for visualizations, reports, and more. This article shows how to create a virtual database for ConstantContact in Connect Server and build visualizations from ConstantContact data in Klipfolio.
CData Connect Server provides a pure SQL Server interface for ConstantContact, allowing you to easily build reports from live ConstantContact data in Klipfolio — without replicating the data to a natively supported database. As you build visualizations, Klipfolio generates SQL queries to gather data. Using optimized data processing out of the box, CData Connect Server pushes all supported SQL operations (filters, JOINs, etc) directly to ConstantContact, leveraging server-side processing to quickly return the requested ConstantContact data.
Create a Virtual SQL Server Database for ConstantContact Data
CData Connect Server uses a straightforward, point-and-click interface to connect to data sources and generate APIs.
-
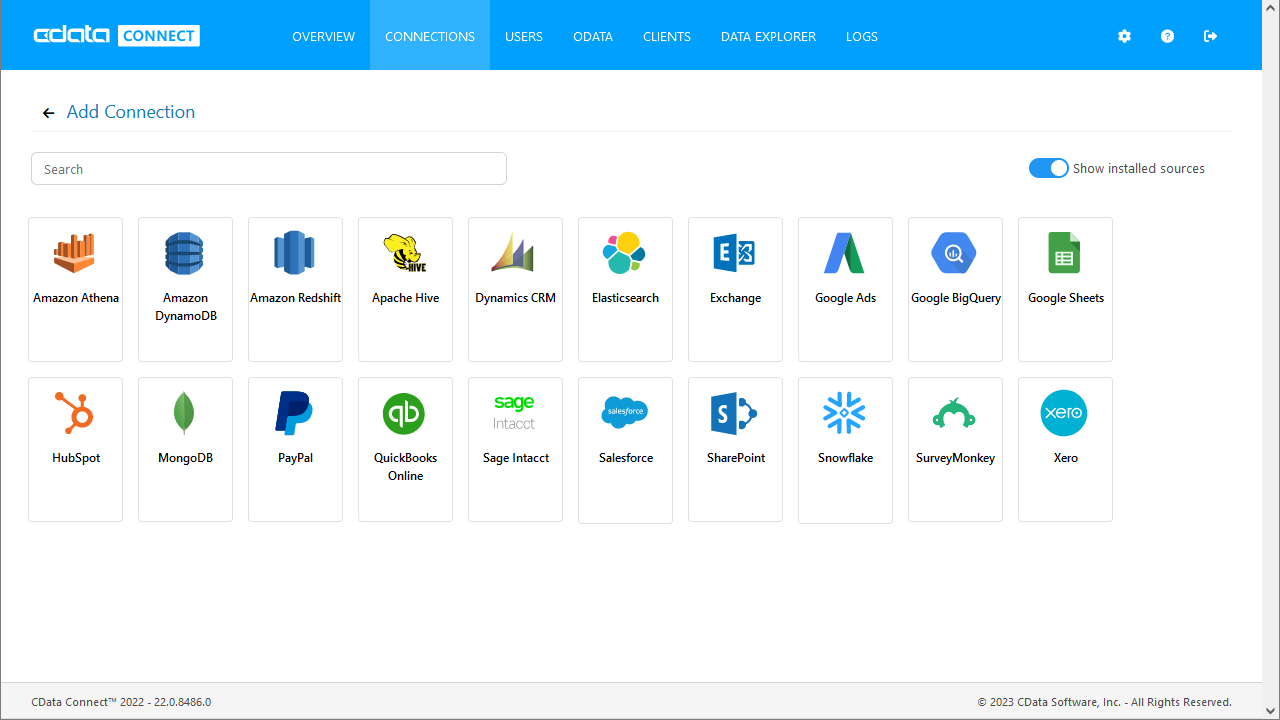
Login to Connect Server and click Connections.
![Adding a connection]()
- Select "ConstantContact" from Available Data Sources.
-
Enter the necessary authentication properties to connect to ConstantContact.
Start by setting the Profile connection property to the location of the ConstantContact Profile on disk (e.g. C:\profiles\ConstantContact.apip). Next, set the ProfileSettings connection property to the connection string for Profile (see below).
ConstantContact API Profile Settings
ConstantContact uses OAuth-based authentication.
First, you will need to register an OAuth application with ConstantContact. You can do so from the ConstantContact API Guide (https://v3.developer.constantcontact.com/api_guide/index.html), under "MyApplications" > "New Application". Your Oauth application will be assigned a client id (API Key) and you can generate a client secret (Secret).
After setting the following connection properties, you are ready to connect:
- AuthScheme: Set this to OAuth.
- InitiateOAuth: Set this to GETANDREFRESH. You can use InitiateOAuth to manage the process to obtain the OAuthAccessToken.
- OAuthClientId: Set this to the client_id that is specified in you app settings.
- OAuthClientSecret: Set this to the client_secret that is specified in you app settings.
- CallbackURL: Set this to the Redirect URI you specified in your app settings.
![Configuring a connection (SQL Server is shown).]()
- Click Save Changes
- Click Privileges -> Add and add the new user (or an existing user) with the appropriate permissions.
With the virtual database created, you are ready to connect to ConstantContact data from Klipfolio.
Connect to ConstantContact in Klipfolio
The steps below outline connecting to CData Connect Server from Klipfolio to create a new ConstantContact data source.
- Open Klipfolio
- Click in Data Feeds on the left panel to add a new data source.
- Search for and select MS SQL as the Service.
![Adding a new datasource.]()
- Click "Create a custom MSSQL data source"
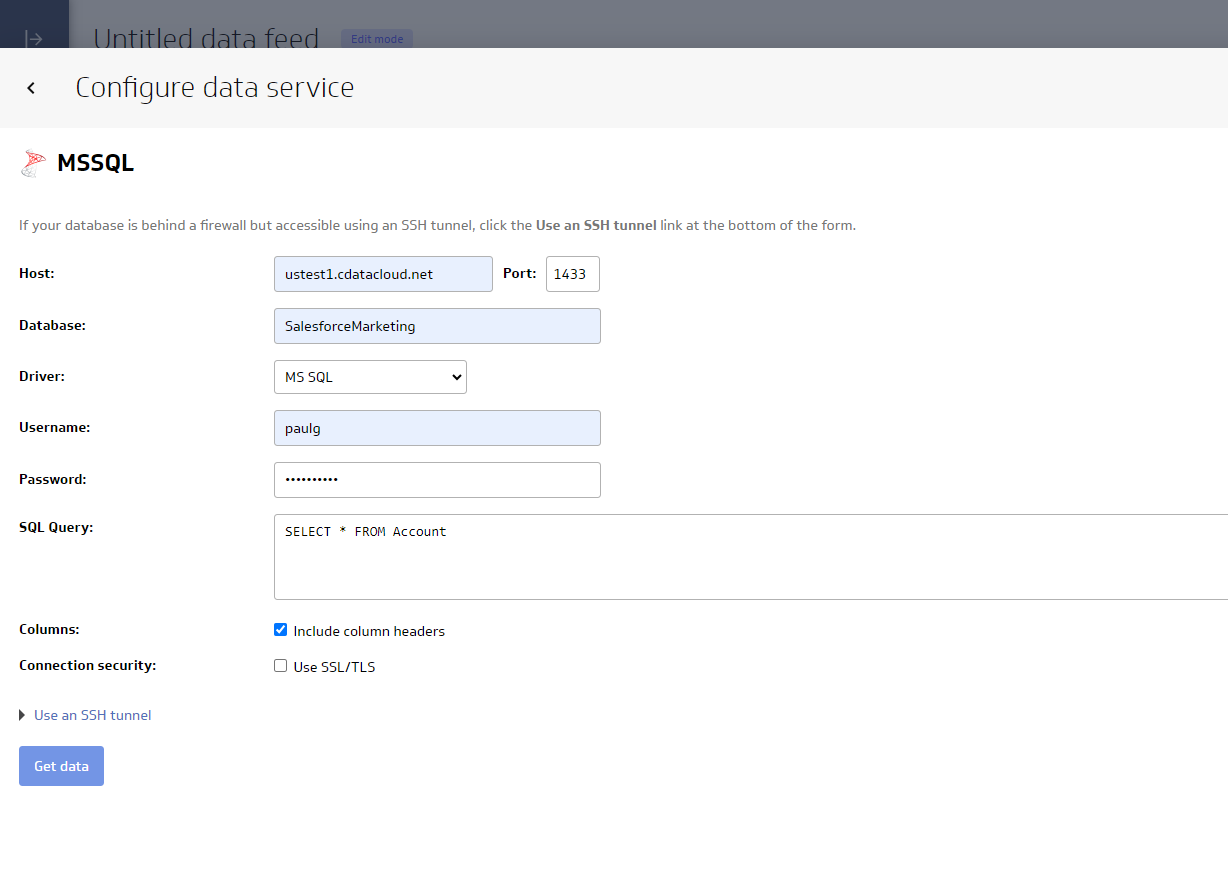
- Configure the data source by setting the SQL Server connection properties:
- Host: your instance (e.g., CONNECT_SERVER_URL)
- Port: 1433
- Database: your database (e.g., API1)
- Driver: MS SQL
- Username: your Connect Server username
- Password: your Connect Server password
- SQL Query: any query to retrieve data (e.g., SELECT * FROM Contacts)
- Select the checkbox to "Include column headers"
![Configuring the connection to Connect Server.]()
- Click "Get data" to preview the ConstantContact data before building a data model.
Build a Data Model
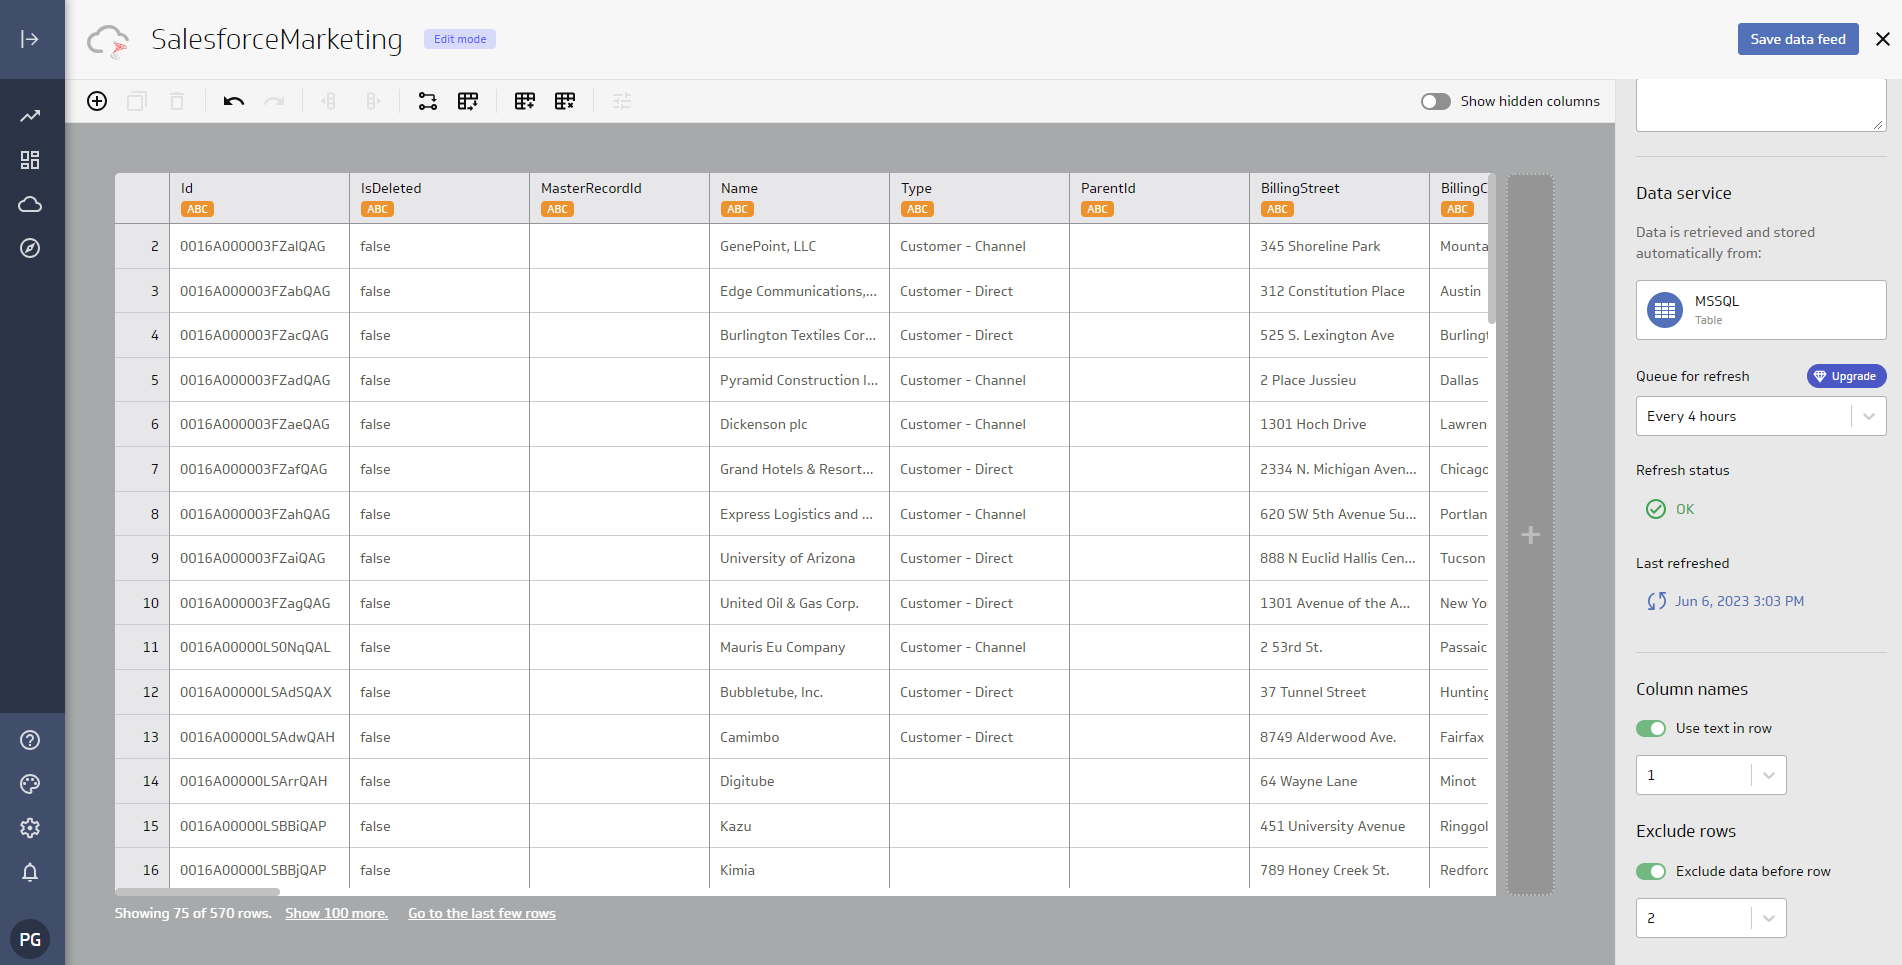
After retrieving the data, click "Continue." In the new window, configure your data model.
- Confirm that the model includes all columns you wish to work with
- Name your model
- (optional) Set the Description
- Set "Header in row" to 1
- Click the toggle to "Exclude data before row" and set the value to 2
- Click "Save data feed"
![Configuring the data model.]()
Create a Klip
With the data modeled, we are ready to create a Klip (or visualization) of the data to be used in the Klipfolio platform for dashboards, reporting, and more.
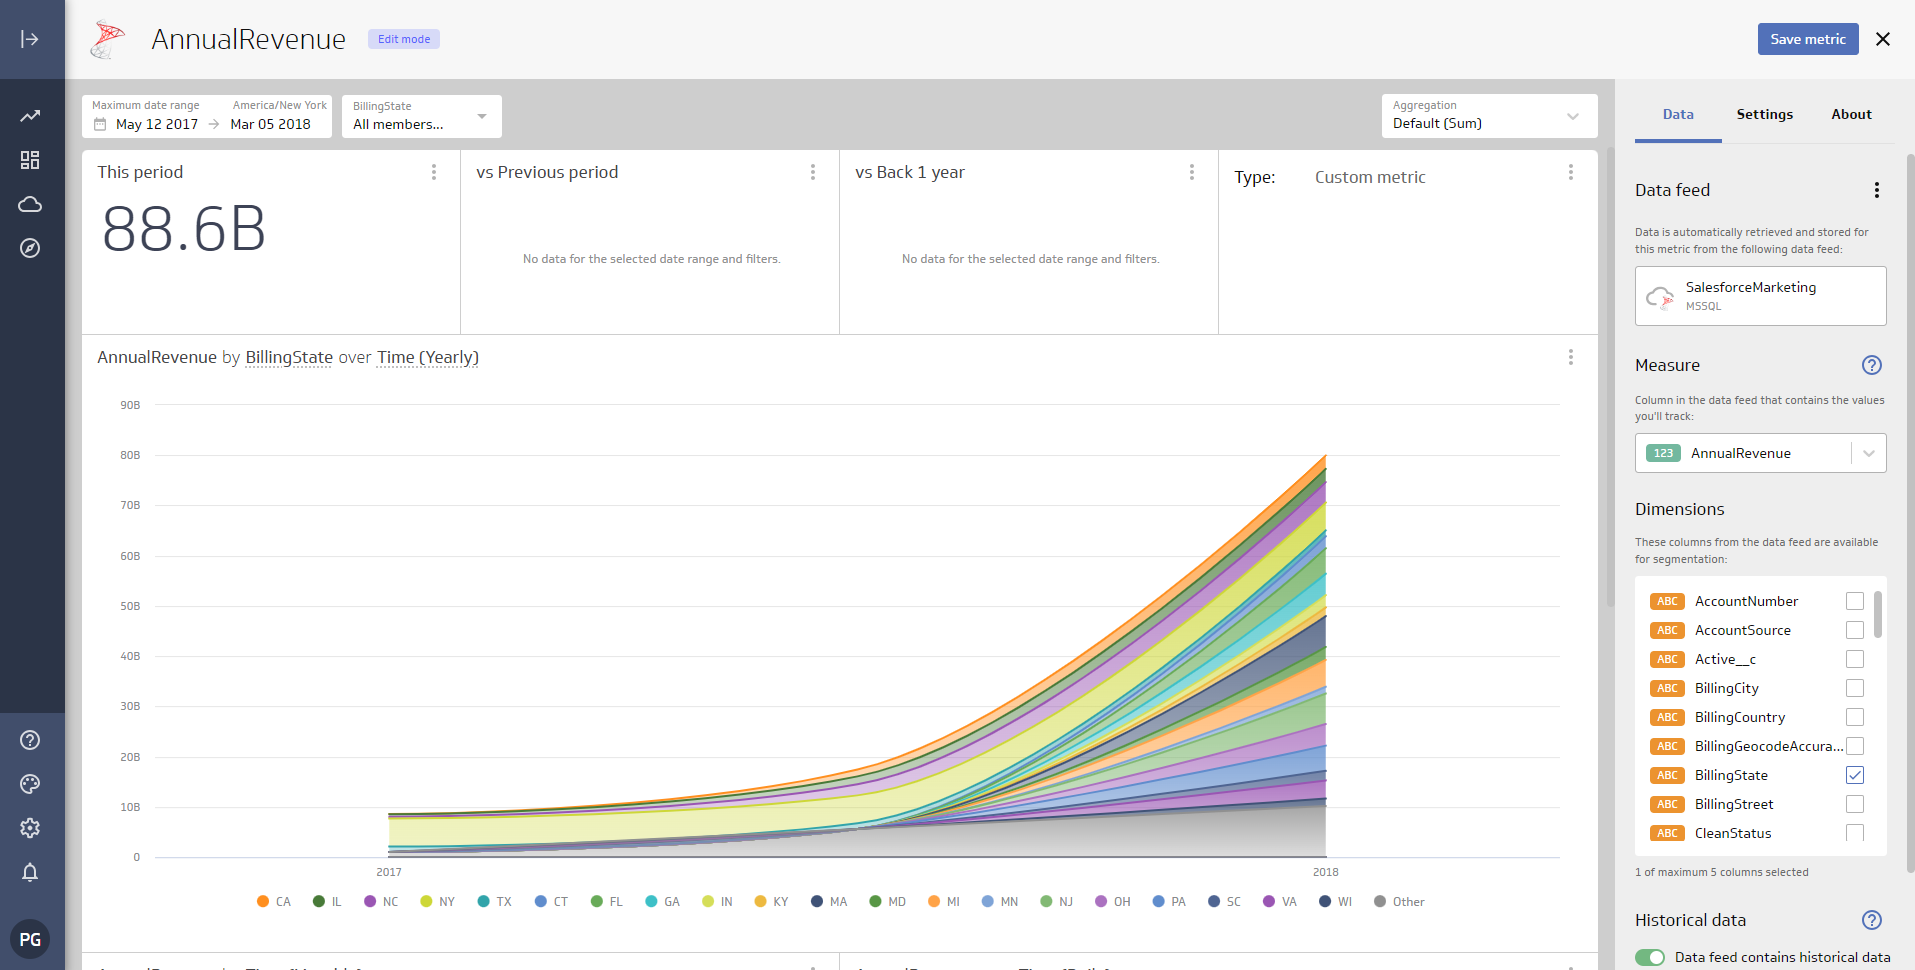
- Click "Add Metric"
- Select a measure, placed on the y-axis, to track.
- Select up to five dimensions/columns, for the x-axis, that you wish to visualize.
![Setting the Series.]()
- Click "Save metric"
SQL Access to ConstantContact Data from Applications
Now you have a Klip built from live ConstantContact data. You can add it to a new dashboard, share, and more. Easily create more data sources and new visualizations, produce reports, and more — all without replicating ConstantContact data.
To get SQL data access to 200+ SaaS, Big Data, and NoSQL sources directly from your applications, try CData Connect Server.


