Discover how a bimodal integration strategy can address the major data management challenges facing your organization today.
Get the Report →How to Import BigCommerce Data into SQL Server using SSIS
Easily back up BigCommerce data to SQL Server using the SSIS components for BigCommerce.
Using SQL Server as a backup for critical business data provides an essential safety net against loss. Backing up data to SQL Server enables business users to more easily connect that data with features like reporting, analytics, and more.
This example demonstrates how to use the CData SSIS Tasks for BigCommerce inside of a SQL Server SSIS workflow to transfer BigCommerce data into a Microsoft SQL Server database.
Add the Components
To get started, add a new BigCommerce source and SQL Server ADO.NET destination to a new data flow task.
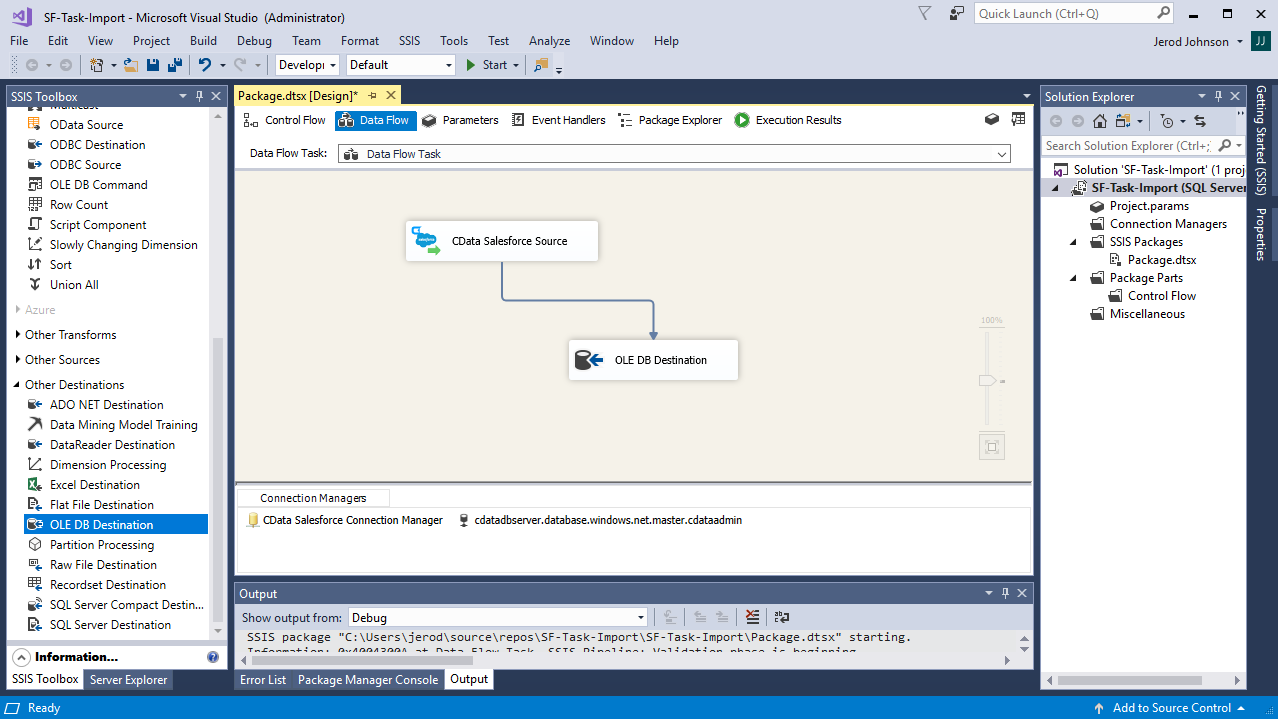
Create a New Connection Manager
Follow the steps below to save BigCommerce connection properties in a connection manager.
- In the Connection Manager window, right-click and then click New Connection. The Add SSIS Connection Manager dialog is displayed.
- In the Connection Manager type menu, select BigCommerce. The CData BigCommerce Connection Manager is displayed.
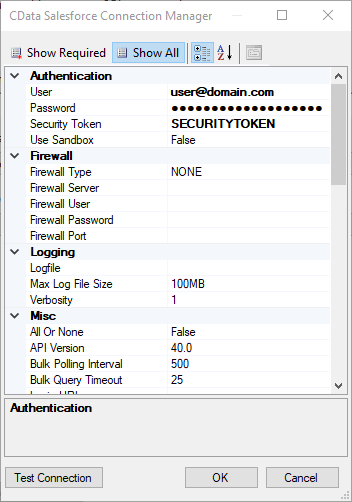
- Configure connection properties.
BigCommerce authentication is based on the standard OAuth flow. To authenticate, you must initially create an app via the Big Commerce developer platform where you can obtain an OAuthClientId, OAuthClientSecret, and CallbackURL. These three parameters will be set as connection properties to your driver.
Additionally, in order to connect to your BigCommerce Store, you will need your StoreId. To find your Store Id please follow these steps:
- Log in to your BigCommerce account.
- From the Home Page, select Advanced Settings > API Accounts.
- Click Create API Account.
- A text box named API Path will appear on your screen.
- Inside you can see a URL of the following structure: https://api.bigcommerce.com/stores/{Store Id}/v3.
- As demonstrated above, your Store Id will be between the 'stores/' and '/v3' path paramters.
- Once you have retrieved your Store Id you can either click Cancel or proceed in creating an API Account in case you do not have one already.
![Configuring a connection (Salesforce is shown).]()
Configure the BigCommerce Source
Follow the steps below to specify the query to be used to extract BigCommerce data.
- Double-click the BigCommerce source to open the source component editor.
- In the Connection Manager menu, select the connection manager previously created.
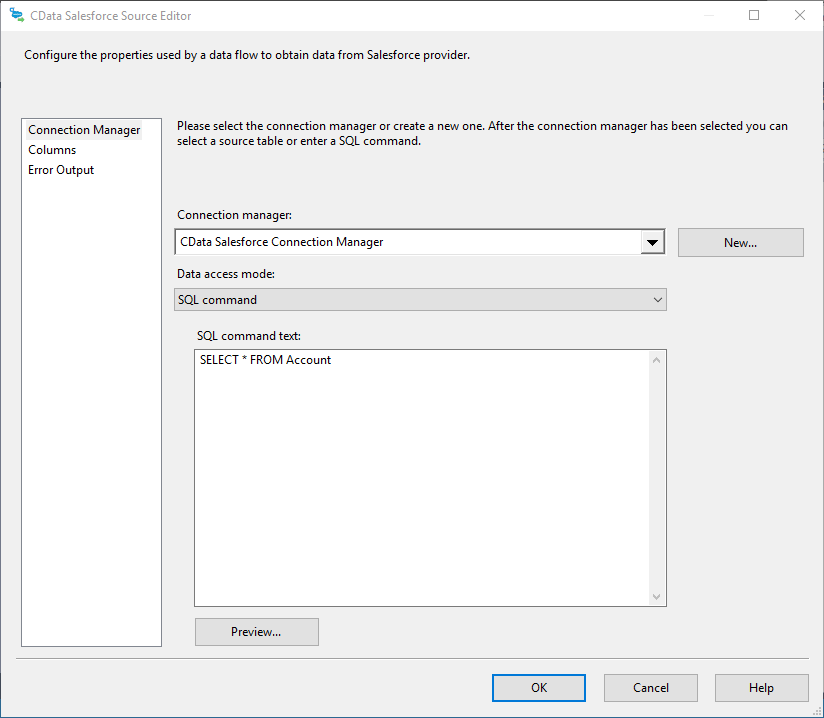
- Specify the query to use for the data extraction. For example:
SELECT FirstName, LastName FROM Customers WHERE FirstName = 'Bob'![The SQL query to retrieve records. (Salesforce is shown.)]()
- Close the BigCommerce Source control and connect it to the ADO.NET Destination.
Configure the SQL Server Destination
Follow the steps below to specify the SQL server table to load the BigCommerce data into.
- Open the ADO.NET Destination and add a New Connection. Enter your server and database information here.
- In the Data access mode menu, select "table or view".
- In the Table Or View menu, select the table or view to populate.
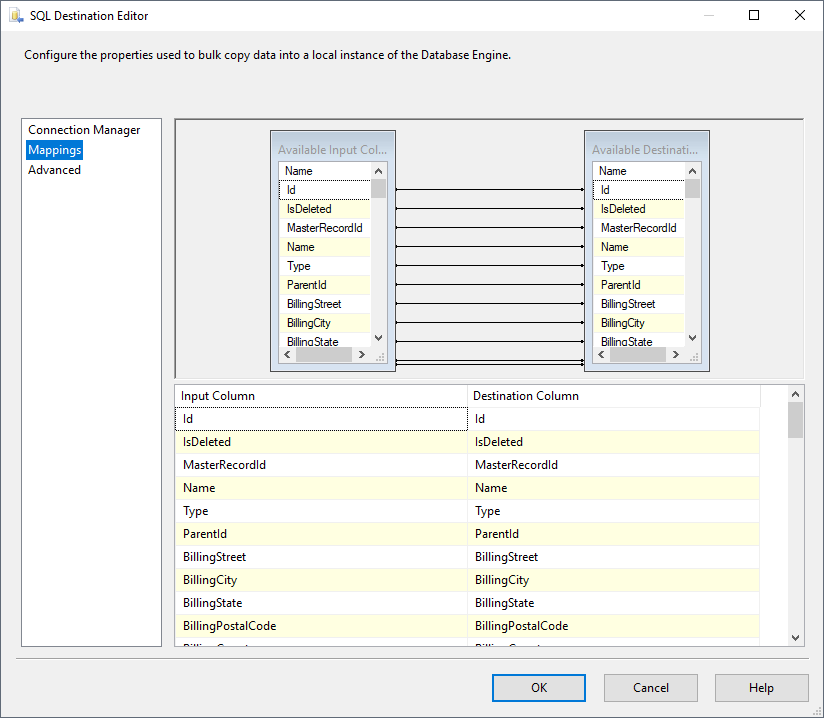
- Configure any properties you wish to on the Mappings screen.
![The mappings from the SSIS source component to SQL Server. (Salesforce is shown.)]()
Run the Project
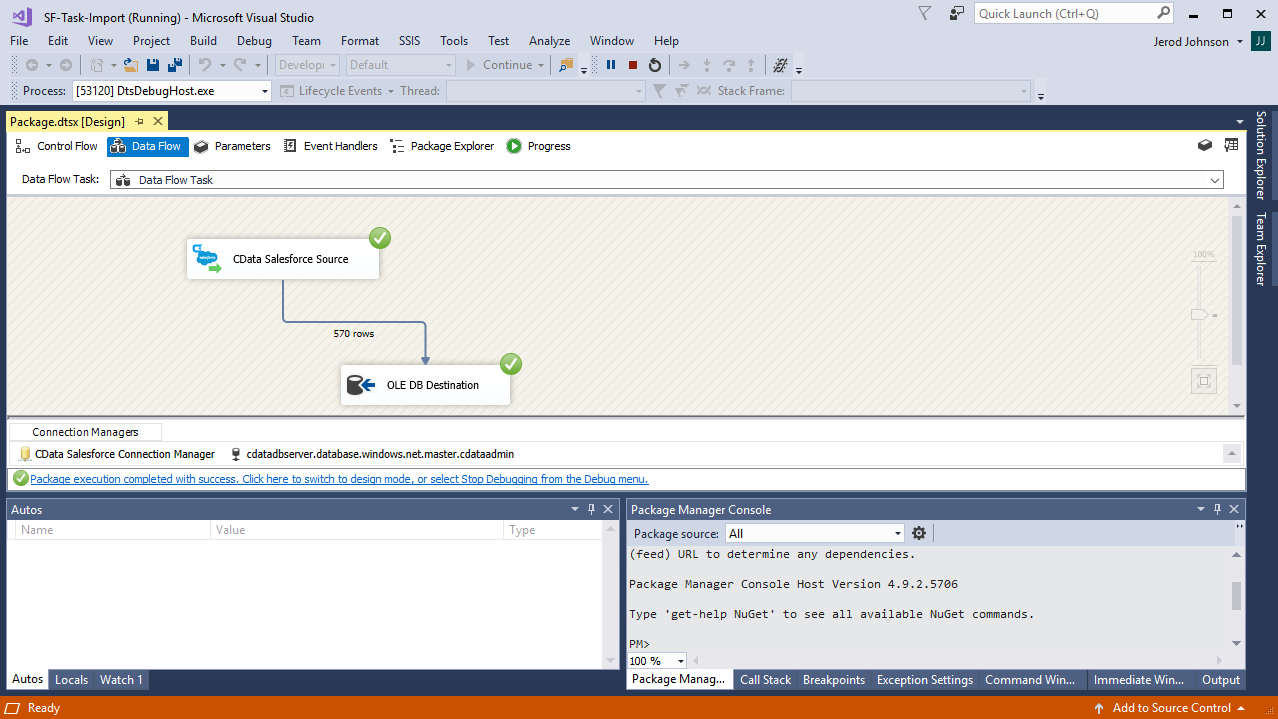
You can now run the project. After the SSIS Task has finished executing, your database will be populated with BigCommerce data.
