Discover how a bimodal integration strategy can address the major data management challenges facing your organization today.
Get the Report →Export Data from SQL Server to Snowflake through SSIS
Easily push SQL Server data to Snowflake using the CData SSIS Tasks for Snowflake.
SQL Server databases are commonly used to store enterprise records. It is often necessary to move this data to other locations. The CData SSIS Task for Snowflake allows you to easily transfer Snowflake data. In this article you will export data from SQL Server to Snowflake.
Add Source and Destination Components
To get started, add a new ADO.NET Source control and a new Snowflake Destination control to the data flow task.
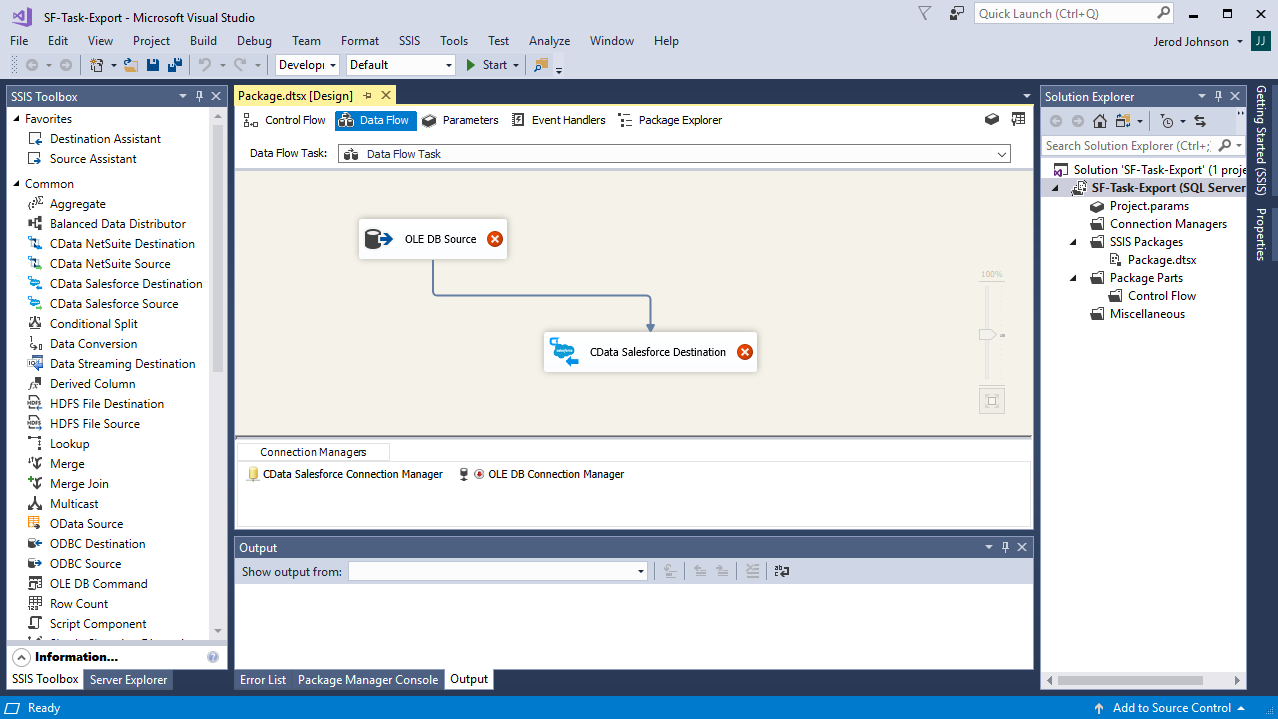
Configure the ADO.NET Source
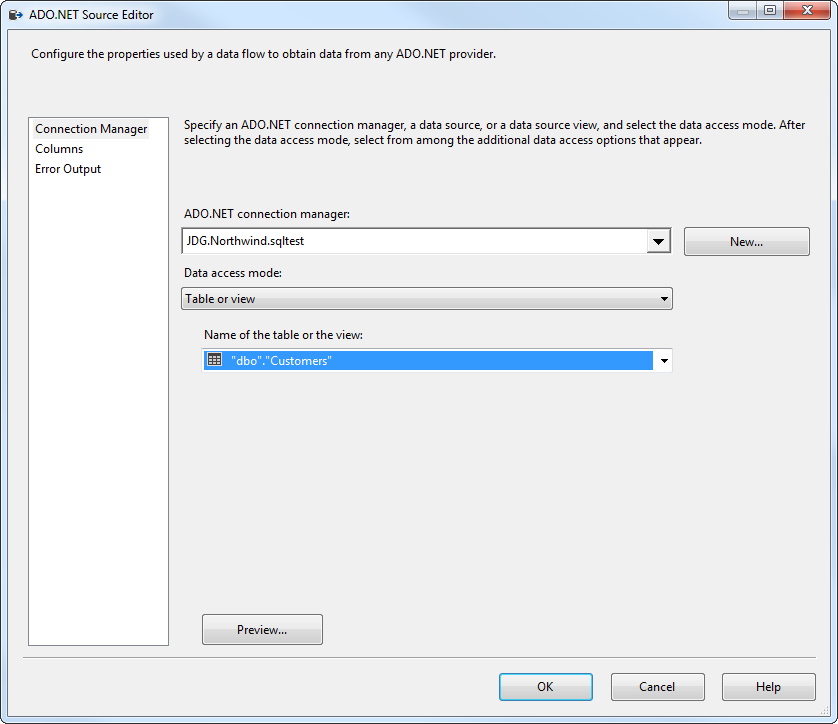
Follow the steps below to specify properties required to connect to the SQL Server instance.
- Open the ADO.NET Source and add a new connection. Enter your server and database information here.
- In the Data access mode menu, select "Table or view" and select the table or view to export into Snowflake.
- Close the ADO NET Source wizard and connect it to the destination component.

Create a New Connection Manager for Snowflake
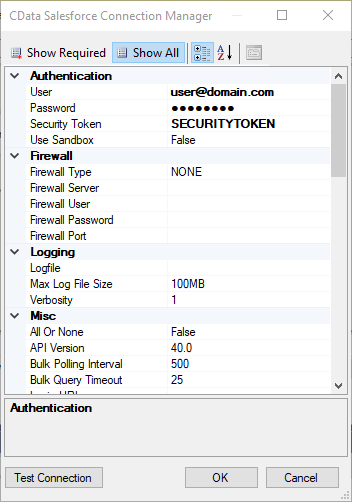
Follow the steps below to set required connection properties in the Connection Manager.
- Create a new connection manager: In the Connection Manager window, right-click and then click New Connection. The Add SSIS Connection Manager dialog is displayed.
- Select CData Snowflake Connection Manager in the menu.
-
Configure the connection properties.
To connect to Snowflake:
- Set User and Password to your Snowflake credentials and set the AuthScheme property to PASSWORD or OKTA.
- Set URL to the URL of the Snowflake instance (i.e.: https://myaccount.snowflakecomputing.com).
- Set Warehouse to the Snowflake warehouse.
- (Optional) Set Account to your Snowflake account if your URL does not conform to the format above.
- (Optional) Set Database and Schema to restrict the tables and views exposed.
See the Getting Started guide in the CData driver documentation for more information.
Configure the Snowflake Destination
In the destination component Connection Manager, define mappings from the SQL Server source table into the Snowflake destination table and the action you want to perform on the Snowflake data. In this article, you will insert Products entities to Snowflake.
- Double-click the Snowflake destination to open the destination component editor.
- In the Connection Managers tab, select the connection manager previously created.
-
In the Use a Table, menu, select Products.
In the Action menu, select Insert.
![The destination table and action to be performed.]()
-
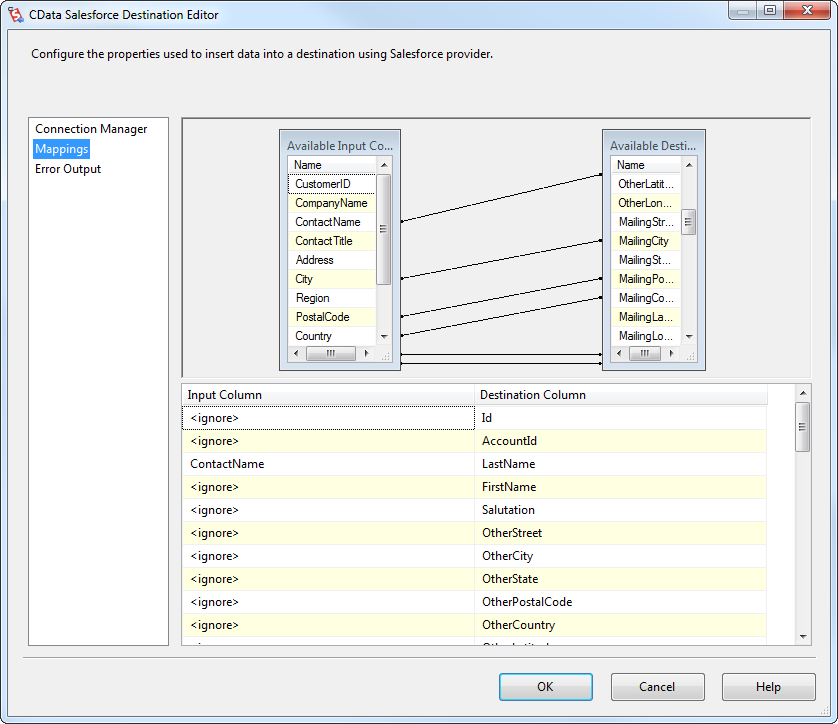
On the Column Mappings tab, configure the mappings from the input columns to the destination columns.
![The mappings from the SQL Server source to the SSIS destination component.]()
Run the Project
You can now run the project. After the SSIS Task has finished executing, data from your SQL table will be exported to the chosen table.
