Discover how a bimodal integration strategy can address the major data management challenges facing your organization today.
Get the Report →Connect to Impala Data in RazorSQL
Connect to Impala from wizards and query Impala data from the GUI in the RazorSQL database management tool.
The CData JDBC Driver for Impala enables standards-based access from third-party tools, from wizards in IDEs to data management and analysis tools. This article shows how to connect to Impala using wizards in RazorSQL.
Create a JDBC Data Source for Impala Data
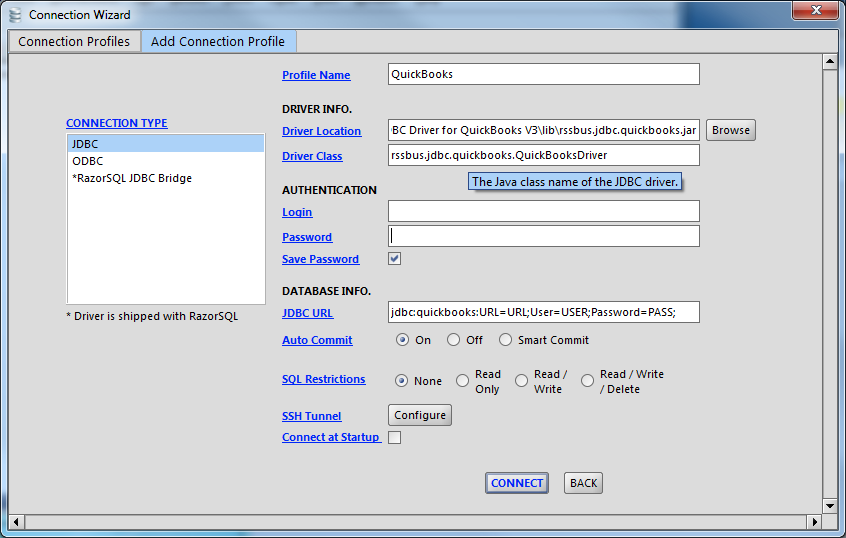
- Open the RazorSQL application and, in the Connections menu, select Add Connection Profile -> Other -> JDBC.
- In the Connection Wizard that appears, set the following properties:
- Driver Location: Set this property to the path to the lib subfolder in the installation directory.
- Driver Class: Set the driver class to cdata.jdbc.apacheimpala.ApacheImpalaDriver.
- Username: Enter the username. (This property can also be set in the JDBC URL.)
- Password: Enter the password. (This property can also be set in the JDBC URL.)
JDBC URL: Enter connection parameters. The JDBC URL begins with jdbc:apacheimpala: and is followed by a semicolon-separated list of connection properties.
In order to connect to Apache Impala, set the Server, Port, and ProtocolVersion. You may optionally specify a default Database. To connect using alternative methods, such as NOSASL, LDAP, or Kerberos, refer to the online Help documentation.
Built-in Connection String Designer
For assistance in constructing the JDBC URL, use the connection string designer built into the Impala JDBC Driver. Either double-click the JAR file or execute the jar file from the command-line.
java -jar cdata.jdbc.apacheimpala.jarFill in the connection properties and copy the connection string to the clipboard.
![Using the built-in connection string designer to generate a JDBC URL (Salesforce is shown.)]()
A typical JDBC URL is the following:
jdbc:apacheimpala:Server=127.0.0.1;Port=21050;

Query Impala Data and Select Tables
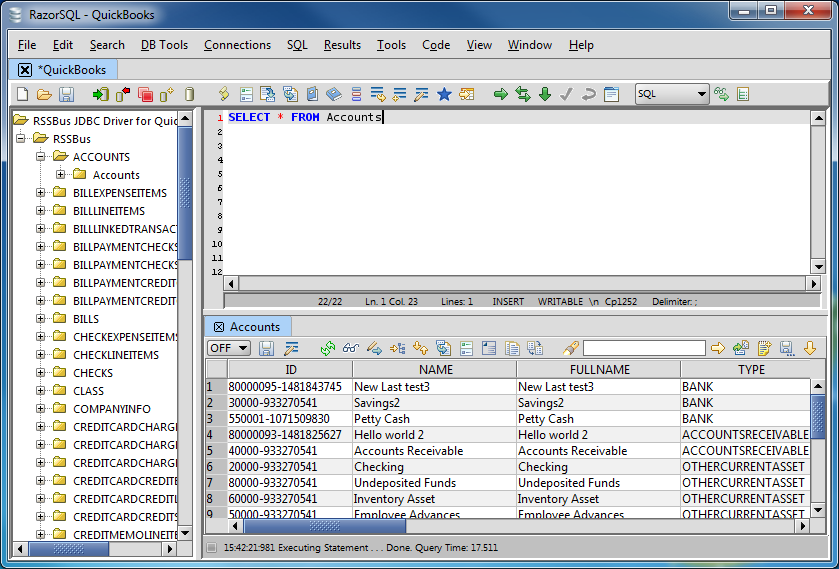
After establishing a connection, the wizard will close and the connection will be available in the connections panel. You can then query the tables.


