Discover how a bimodal integration strategy can address the major data management challenges facing your organization today.
Get the Report →Import Bugzilla Data into the Power BI Service for Visualizations
Use CData Connect Server to create an OData feed for Bugzilla and create custom reports in the Power BI Service.
Power BI transforms your company's data into rich visuals for you to collect and organize so you can focus on what matters to you. When paired with CData Connect Server, you get access to Bugzilla data for visualizations, dashboards, and more. This article shows how to use the CData Connect Server to generate an OData feed for Bugzilla, import Bugzilla data into Power BI and then create reports on Bugzilla data in the Power BI service.
NOTE: You can also use the on-premise data gateway and the SQL interface in Connect Server to connect to Bugzilla data in real-time (instead of importing the data). Read how in the related Knowledge Base article.
Create a Virtual SQL Database for Bugzilla Data
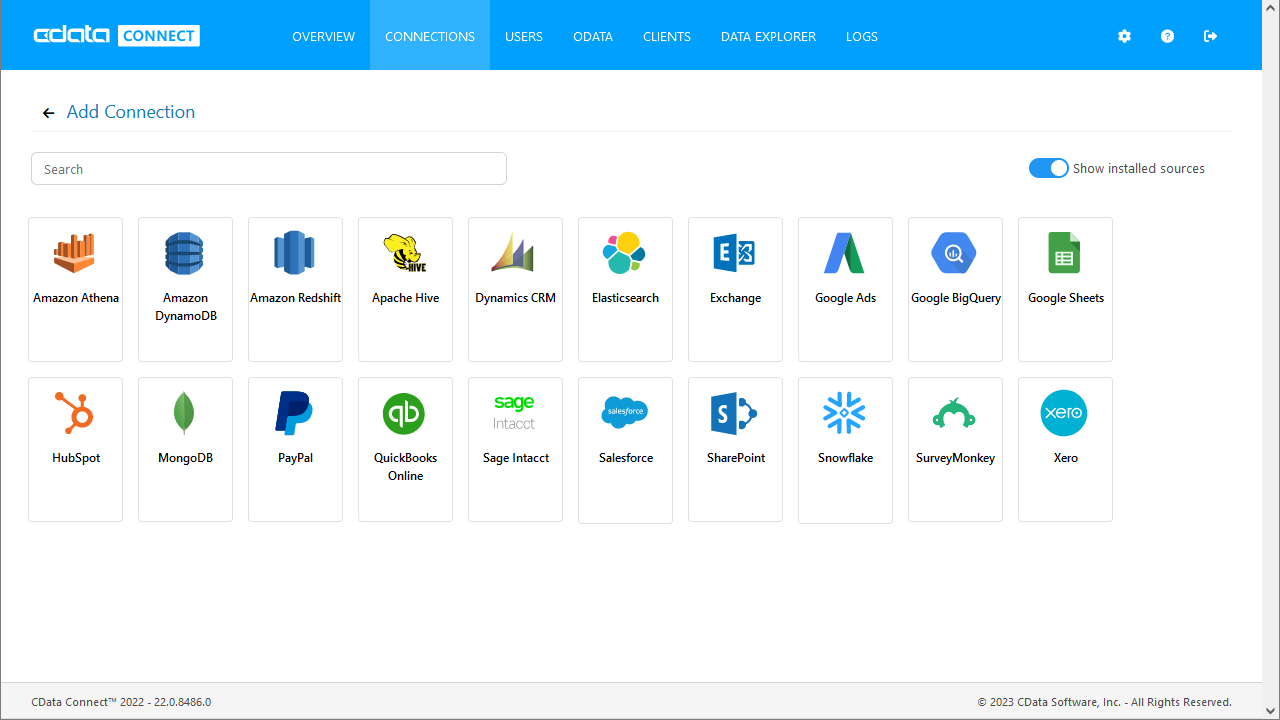
CData Connect Server uses a straightforward, point-and-click interface to connect to data sources and generate APIs.
- Login to Connect Server and click Connections.
![Adding a connection]()
- Select "Bugzilla" from Available Data Sources.
-
Enter the necessary authentication properties to connect to Bugzilla.
You can authenticate to your Bugzilla account using two parameters:
- URL: The URL of your Bugzilla developer's page (the Home page).
- ApiKey: API Keys can be generated from the Preferences -> API Keys section of your Bugzilla developer's page.
![Configuring a connection (SQL Server is shown).]()
- Click Save Changes
- Click Privileges -> Add and add the new user (or an existing user) with the appropriate permissions.
Connecting to Connect Server from Power BI
To import and visualize your Bugzilla data in the Power BI service, add a Connect Server API user, add Bugzilla OData endpoints in Connect Server, and create & publish a dataset from Power BI Desktop to the service.
Add a Connect Server User
Create a User to connect to Bugzilla from Power BI through Connect Server.
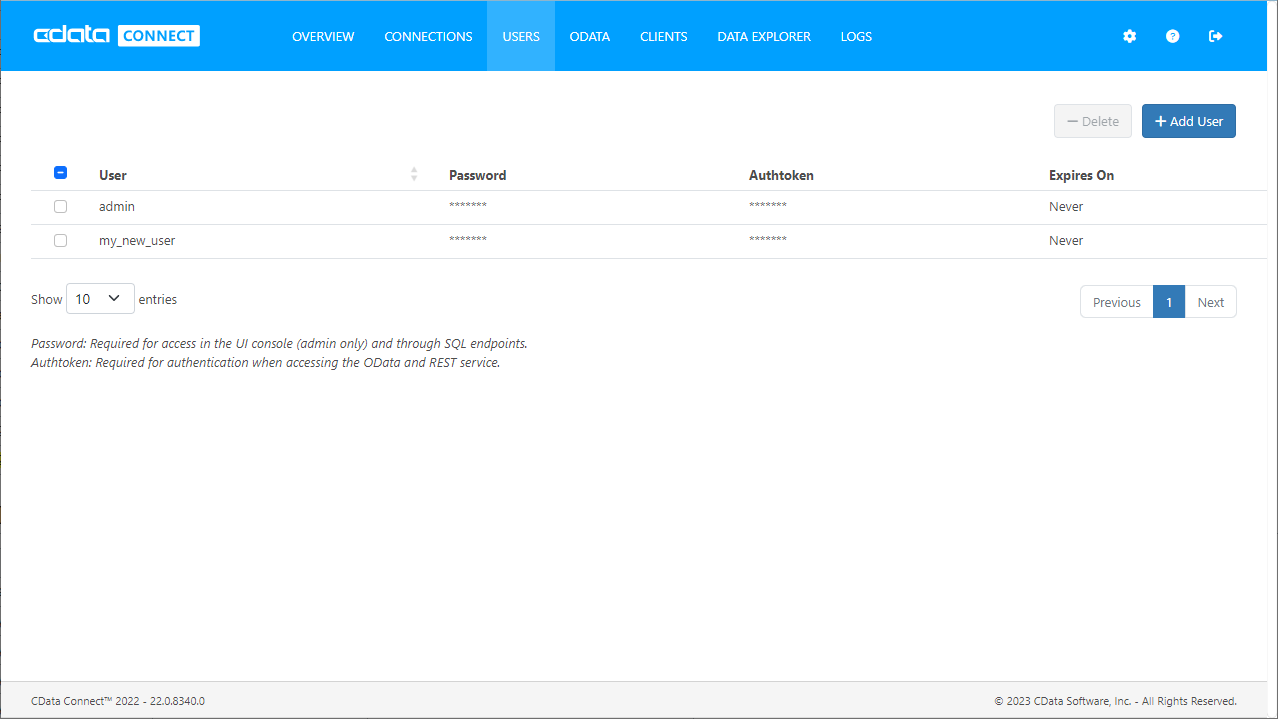
- Click Users -> Add
- Configure a User.
![Creating a new user]()
- Click Save Changes and make note of the Authtoken for the new user.
![Connect Server users]()
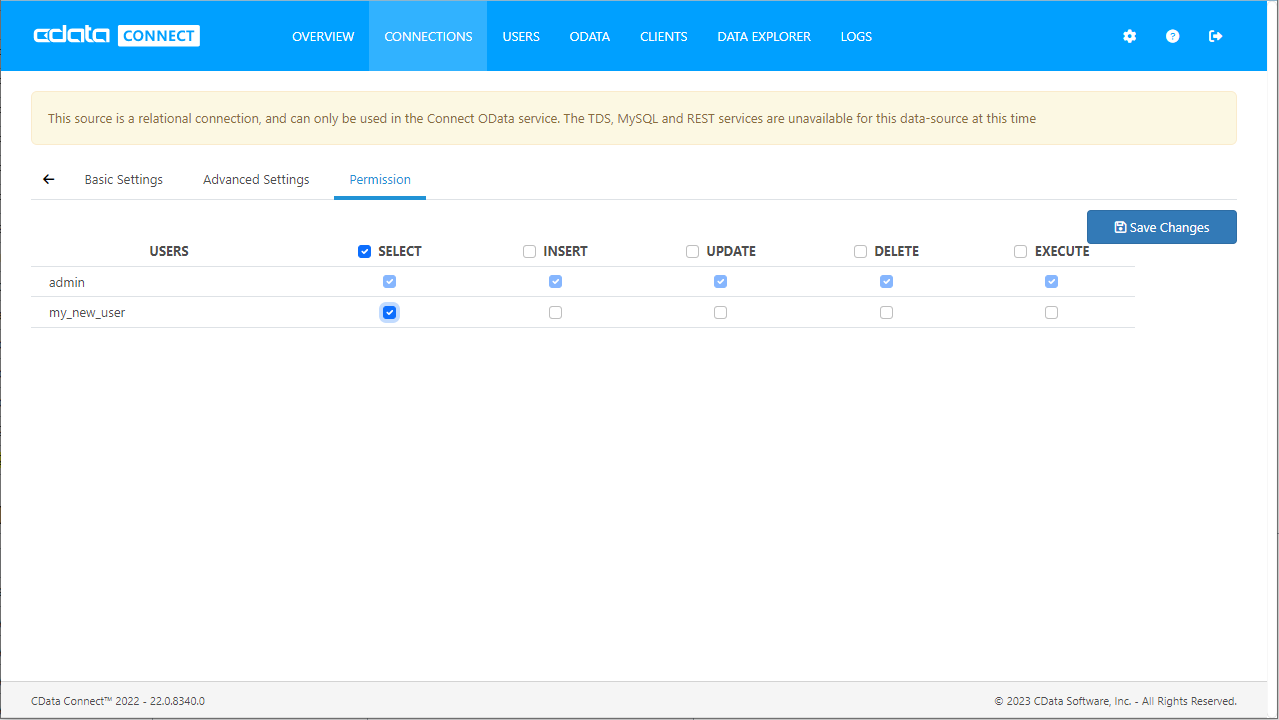
- Click Database and select the Bugzilla virtual database.
- On the Privileges tab, add the newly created user (with at least SELECT permissions) and click Save Changes.
![Adding Privileges]()
Publish a Dataset from Power BI Desktop
With the Bugzilla connection configured in Connect Server, you can create a dataset in Power BI desktop using SQL Server connectivity and publish the dataset to the Power BI service.
- Open Power BI Desktop and click Get Data -> Other -> SQL Server and click "Connect"
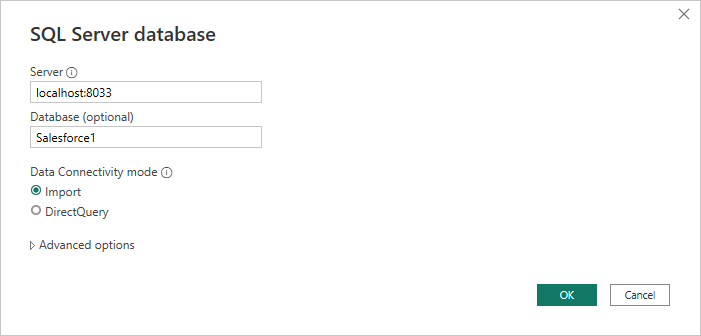
- Set Server to the address and port of your CData Connect instance (localhost:8033 by default) and set Database to the name of the virtual database you just created (Bugzilla1)
![Connecting to CData Connect in Power BI]()
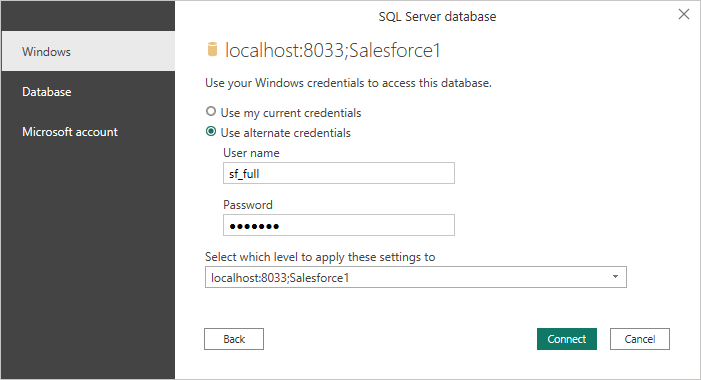
- Use "Database" authentication, enter the credentials for a CData Connect user and click "Connect"
![Authenticating with CData Connect]()
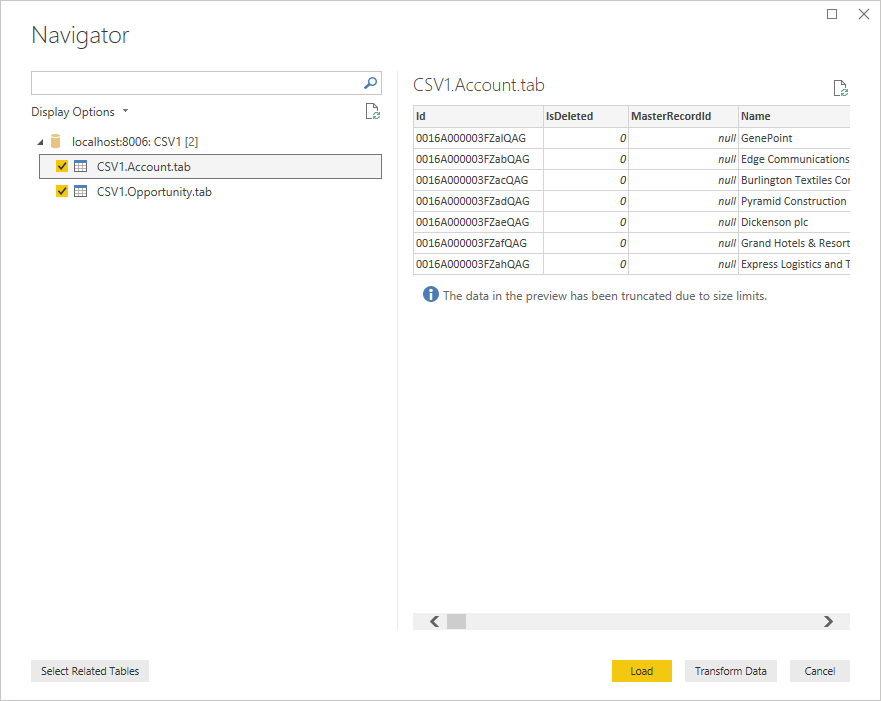
- Select tables in the Navigator dialog
![The available tables. (CSV documents are shown)]()
- Click Load to import the data into Power BI
- Define any relationships between the selected entities on the Relationships tab.
- Click Publish (from the Home menu) and select a Workspace.
Build Reports and Dashboards on Bugzilla Data in the Power BI Service
Now that you have published a dataset to the Power BI service, you can create new reports and dashboards based on the published data:
- Log in to PowerBI.com.
- Click Workspaces and select a workspace.
- Click Create and select Report.
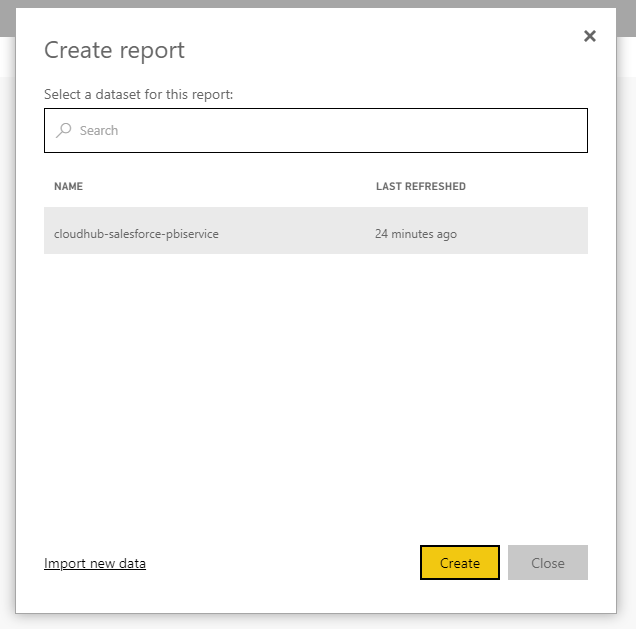
- Select the published dataset for the report.
![Select a dataset]()
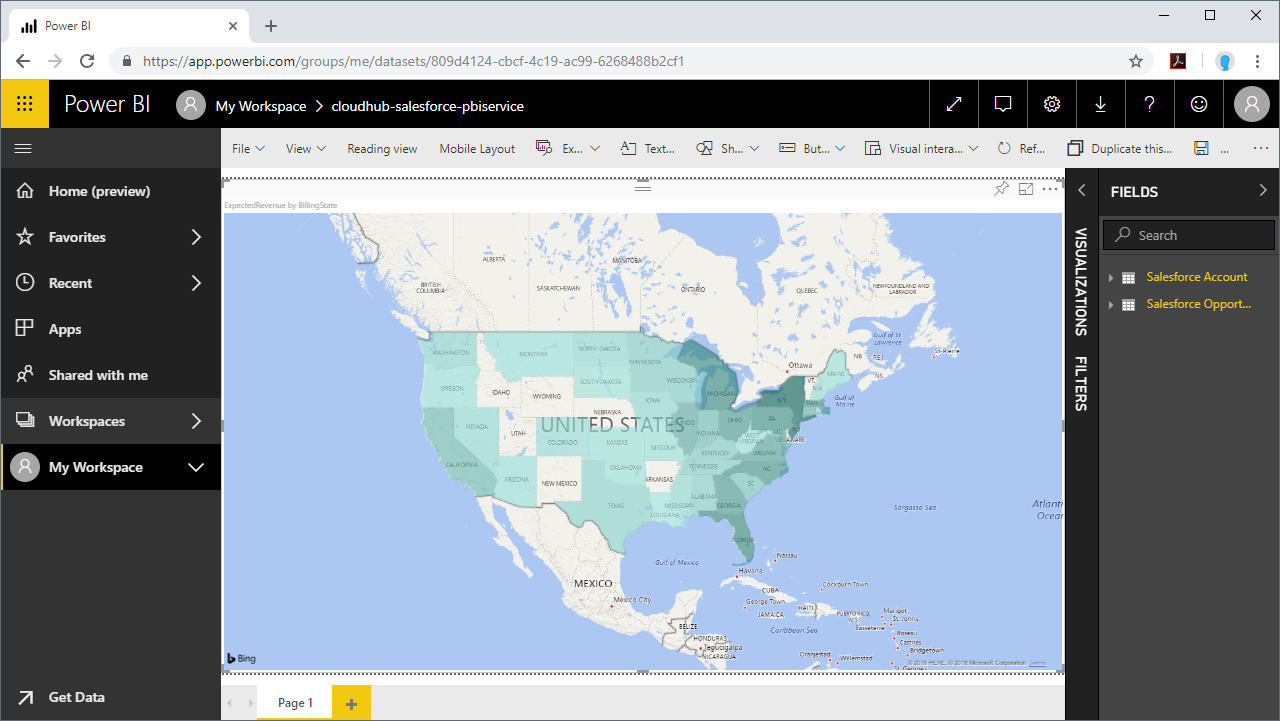
- Choose fields and visualizations to add to your report.
![Visualizing Bugzilla data in the Power BI service]()
SQL Access to Bugzilla Data from Applications
Now you have a direct connection to live Bugzilla data from the Power BI service. You can create more data sources and new visualizations, build reports, and more — all without replicating Bugzilla data.
To get SQL data access to 200+ SaaS, Big Data, and NoSQL sources directly from your applications, see the CData Connect Server.


