Discover how a bimodal integration strategy can address the major data management challenges facing your organization today.
Get the Report →Connect to AlloyDB Data in RapidMiner
Integrate AlloyDB data with standard components and data source configuration wizards in RapidMiner Studio.
This article shows how you can easily integrate the CData JDBC driver for AlloyDB into your processes in RapidMiner. This article uses the CData JDBC Driver for AlloyDB to transfer AlloyDB data to a process in RapidMiner.
Connect to AlloyDB in RapidMiner as a JDBC Data Source
You can follow the procedure below to establish a JDBC connection to AlloyDB:
- Add a new database driver for AlloyDB: Click Connections -> Manage Database Drivers.
- In the resulting wizard, click the Add button and enter a name for the connection.
- Enter the prefix for the JDBC URL:
jdbc:alloydb: - Enter the path to the cdata.jdbc.alloydb.jar file, located in the lib subfolder of the installation directory.
- Enter the driver class:
cdata.jdbc.alloydb.AlloyDBDriver![The JDBC driver configuration. (Salesforce is shown.)]()
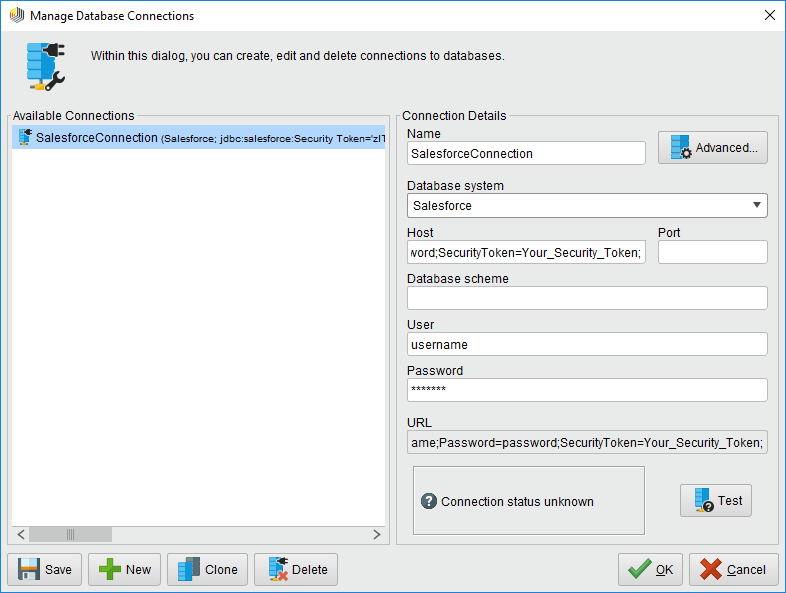
- Create a new AlloyDB connection: Click Connections -> Manage Database Connections.
- Enter a name for your connection.
- For Database System, select the AlloyDB driver you configured previously.
- Enter your connection string in the Host box.
The following connection properties are usually required in order to connect to AlloyDB.
- Server: The host name or IP of the server hosting the AlloyDB database.
- User: The user which will be used to authenticate with the AlloyDB server.
- Password: The password which will be used to authenticate with the AlloyDB server.
You can also optionally set the following:
- Database: The database to connect to when connecting to the AlloyDB Server. If this is not set, the user's default database will be used.
- Port: The port of the server hosting the AlloyDB database. This property is set to 5432 by default.
Authenticating with Standard Authentication
Standard authentication (using the user/password combination supplied earlier) is the default form of authentication.
No further action is required to leverage Standard Authentication to connect.
Authenticating with pg_hba.conf Auth Schemes
There are additional methods of authentication available which must be enabled in the pg_hba.conf file on the AlloyDB server.
Find instructions about authentication setup on the AlloyDB Server here.
Authenticating with MD5 Authentication
This authentication method must be enabled by setting the auth-method in the pg_hba.conf file to md5.
Authenticating with SASL Authentication
This authentication method must be enabled by setting the auth-method in the pg_hba.conf file to scram-sha-256.
Authenticating with Kerberos
The authentication with Kerberos is initiated by AlloyDB Server when the ∏ is trying to connect to it. You should set up Kerberos on the AlloyDB Server to activate this authentication method. Once you have Kerberos authentication set up on the AlloyDB Server, see the Kerberos section of the help documentation for details on how to authenticate with Kerberos.
Built-in Connection String Designer
For assistance in constructing the JDBC URL, use the connection string designer built into the AlloyDB JDBC Driver. Either double-click the JAR file or execute the jar file from the command-line.
java -jar cdata.jdbc.alloydb.jarFill in the connection properties and copy the connection string to the clipboard.
![Using the built-in connection string designer to generate a JDBC URL (Salesforce is shown.)]()
A typical connection string is below:
User=alloydb;Password=admin;Database=alloydb;Server=127.0.0.1;Port=5432 - Enter your username and password if necessary.
![The connection to the JDBC data source. (Salesforce is shown.)]()
You can now use your AlloyDB connection with the various RapidMiner operators in your process. To retrieve AlloyDB data, drag the Retrieve operator from the Operators view.
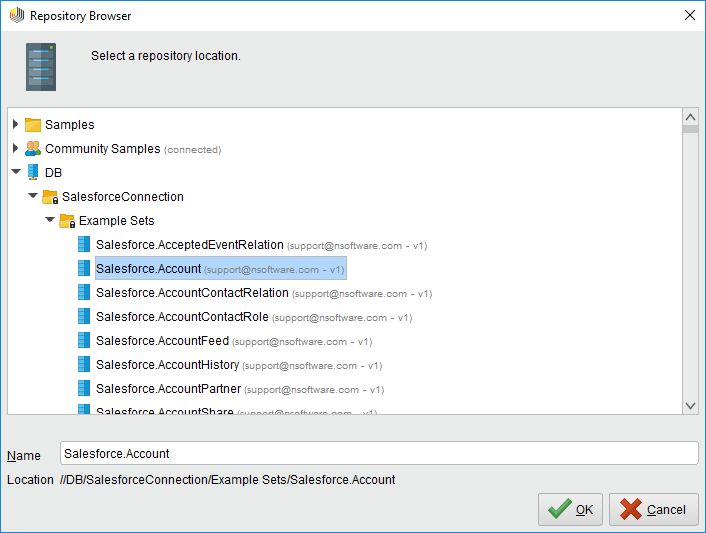 With the Retrieve operator selected, you can then define which table to retrieve in the Parameters view by clicking the folder icon next to the "repository entry." In the resulting Repository Browser, you can expand your connection node to select the desired example set.
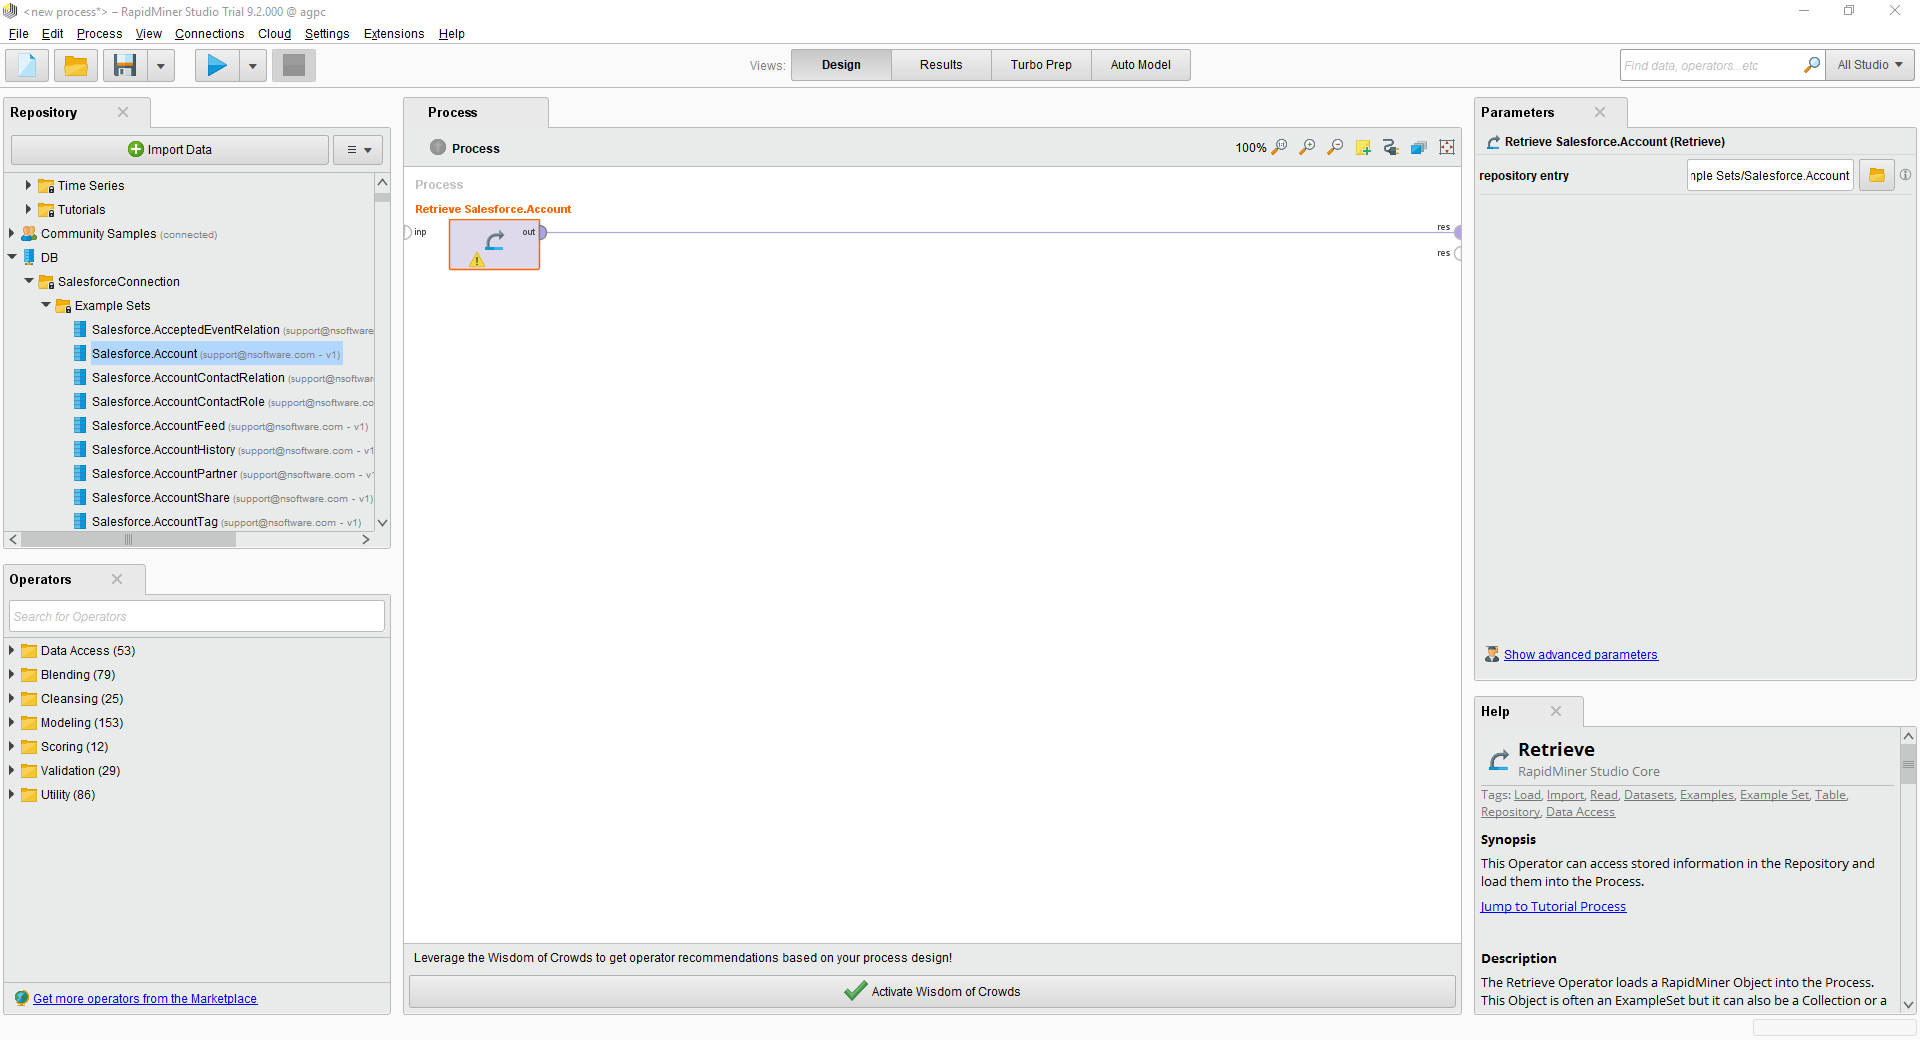
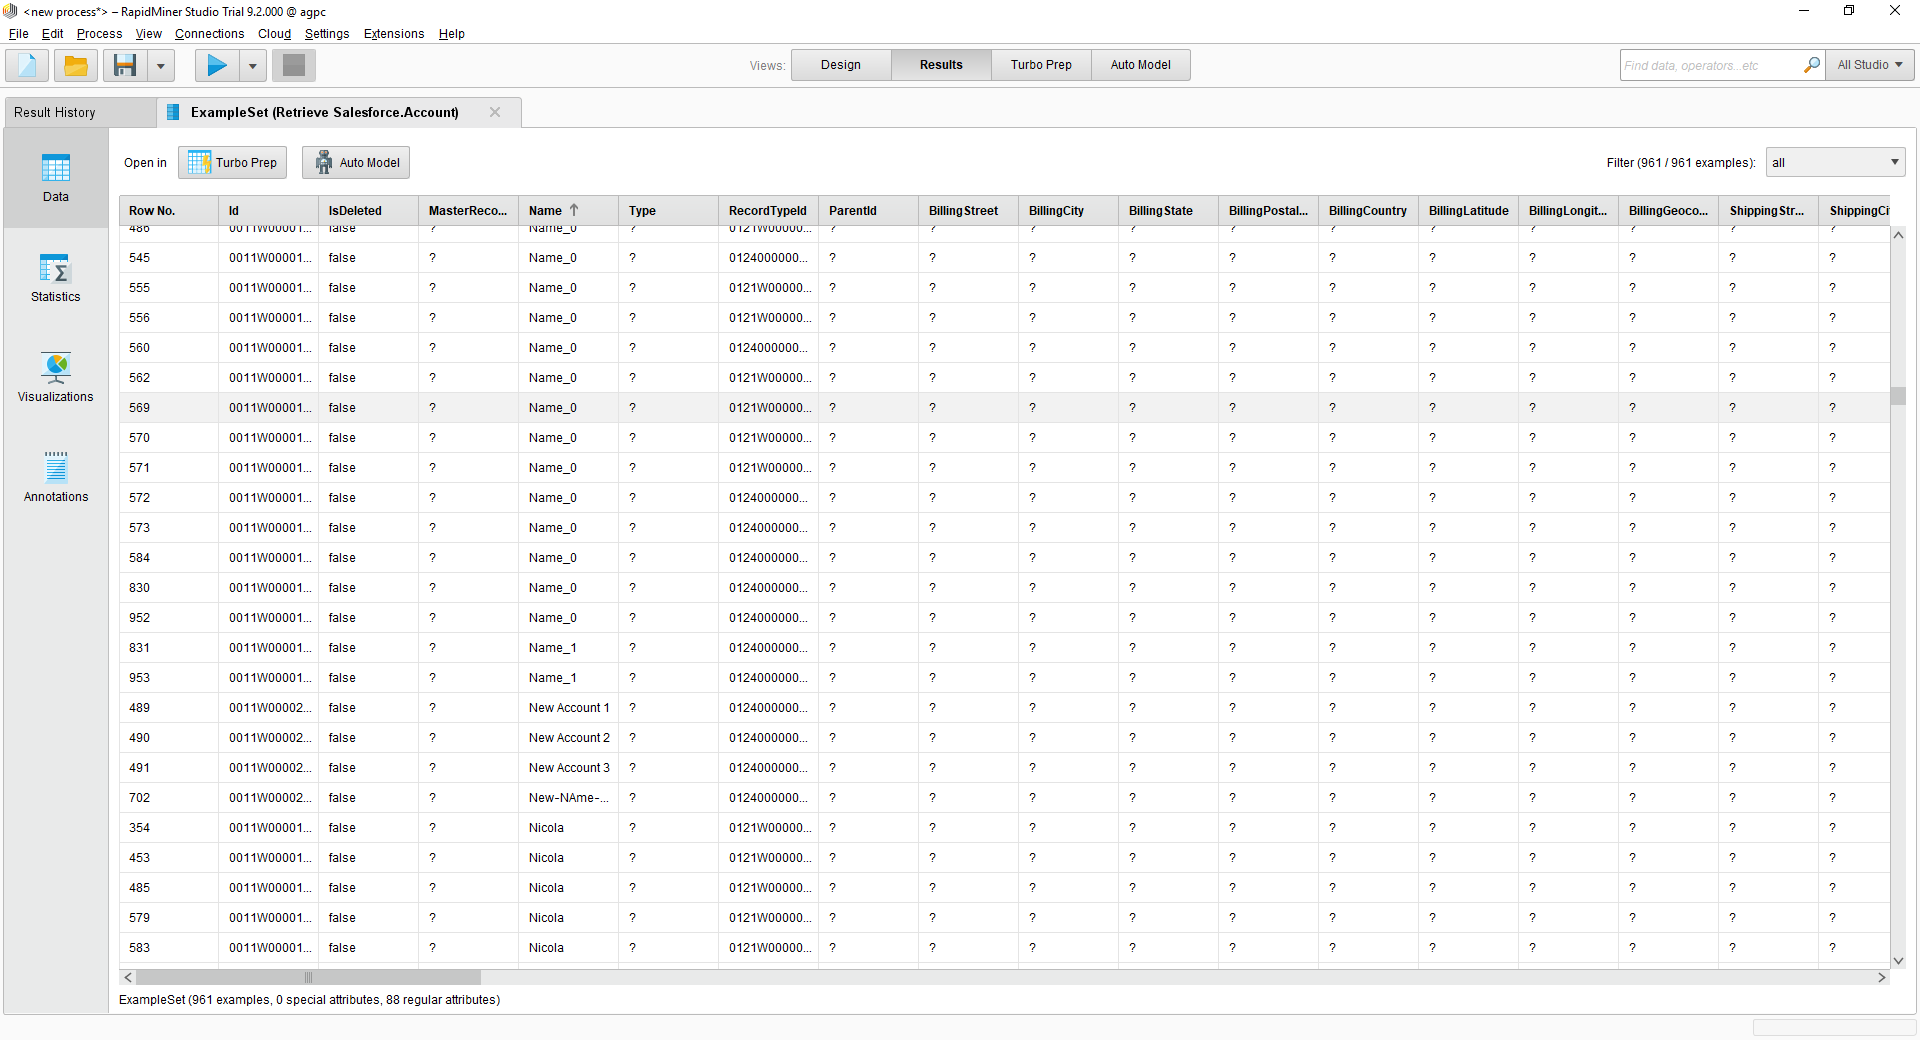
Finally, wire the output to the Retrieve process to a result, and run the process to see the AlloyDB data.
