Discover how a bimodal integration strategy can address the major data management challenges facing your organization today.
Get the Report →


Use the CData JDBC Drivers to Create New Data Sources in DbVisualizer
The CData JDBC Driver for QuickBooks implements JDBC standards to provide connectivity to QuickBooks data in applications ranging from business intelligence tools to IDEs. This article shows how to establish a connection to QuickBooks data in DBVisualizer and use the table editor to create, read, update, and delete QuickBooks data.
Establish a Connection
To connect to desktop editions of QuickBooks, use the Remote Connector application included with the installation. The Remote Connector is a lightweight, stand-alone server that enables you to connect to remote QuickBooks instances. It is also used to connect your application to QuickBooks in situations where direct COM access to QuickBooks is not available (e.g., ASP.NET, Java, or a company file on a remote machine). For more information and a step-by-step guide to establish a connection, refer to the "Getting Started" guide in the help documentation.
Create a New JDBC Data Source for QuickBooks Data
Follow the steps below to use the Driver Manager to provide connectivity to QuickBooks data from DBVisualizer tools.
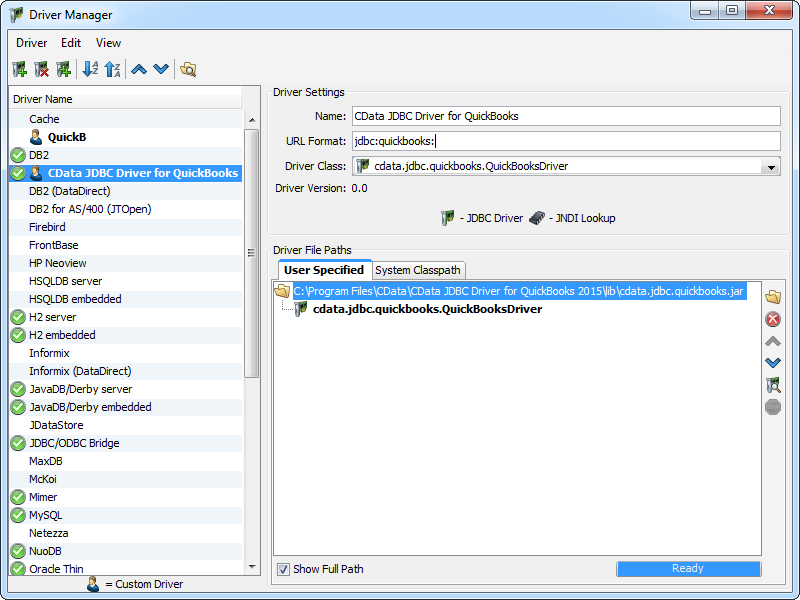
- In DBVisualizer, click Tools -> Driver Manager -> Create a New Driver.
- Enter a name for the data source.
- Enter the following in the URL Format box:
jdbc:quickbooks:
![]()
- In the User Specified tab, click the Open File button and select the cdata.jdbc.quickbooks.jar file, located in the lib subfolder of the installation directory.
- In the Driver Class menu, select the QuickBooksDriver class, cdata.jdbc.quickbooks.QuickBooksDriver.

Define the Connection to the JDBC Data Source
Follow the steps below to save connection properties in the JDBC URL.
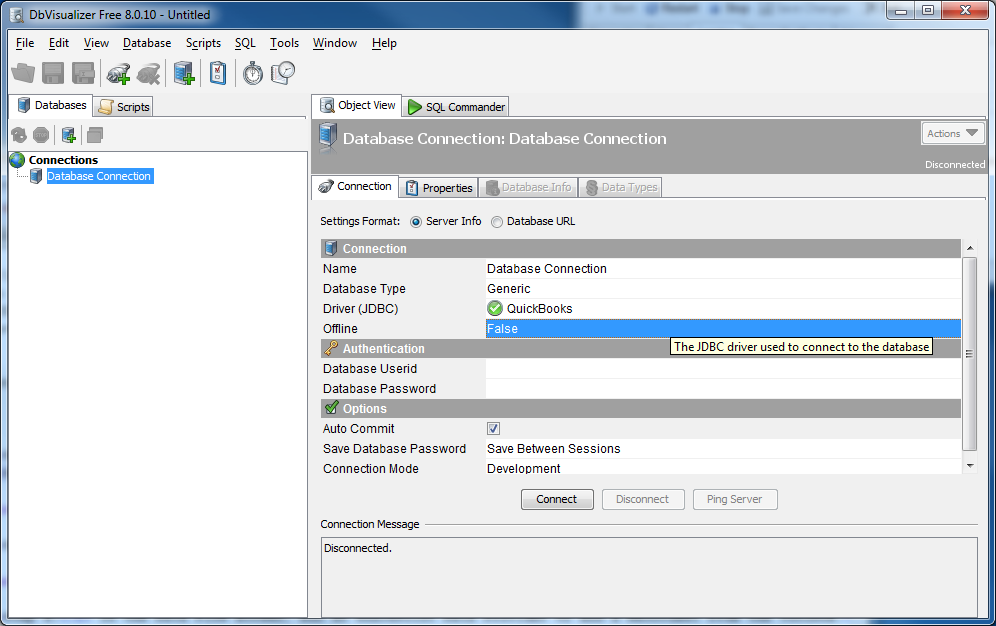
- In the Database tab, right-click the Database Connection node and click Create a Database Connection.
In the Connection section, set the following options:
- Database Type: If you selected the wizard option, the database type is automatically detected. If you selected the "No Wizard" option, select the Generic or Auto Detect option in the Database Type menu.
- Driver: Select the driver you just created.
Database URL: Enter the full JDBC URL. The syntax of the JDBC URL is jdbc:quickbooks: followed by the connection properties in a semicolon-separated list of name-value pairs. A typical connection string is below:
jdbc:quickbooks:URL=http://localhost:2080;User=user;Password=password;
- Database UserId: The username to use to authenticate to QuickBooks.
- Database Password: The password to use to authenticate to QuickBooks.
-
On the Connection tab, click Connect.
![]()
To browse through tables exposed by the driver, right-click a table and click Open in New Tab.
To execute SQL queries, use the SQL Commander tool: Click SQL Commander -> New SQL Commander. Select the Database Connection, Database, and Schema from the available menus.
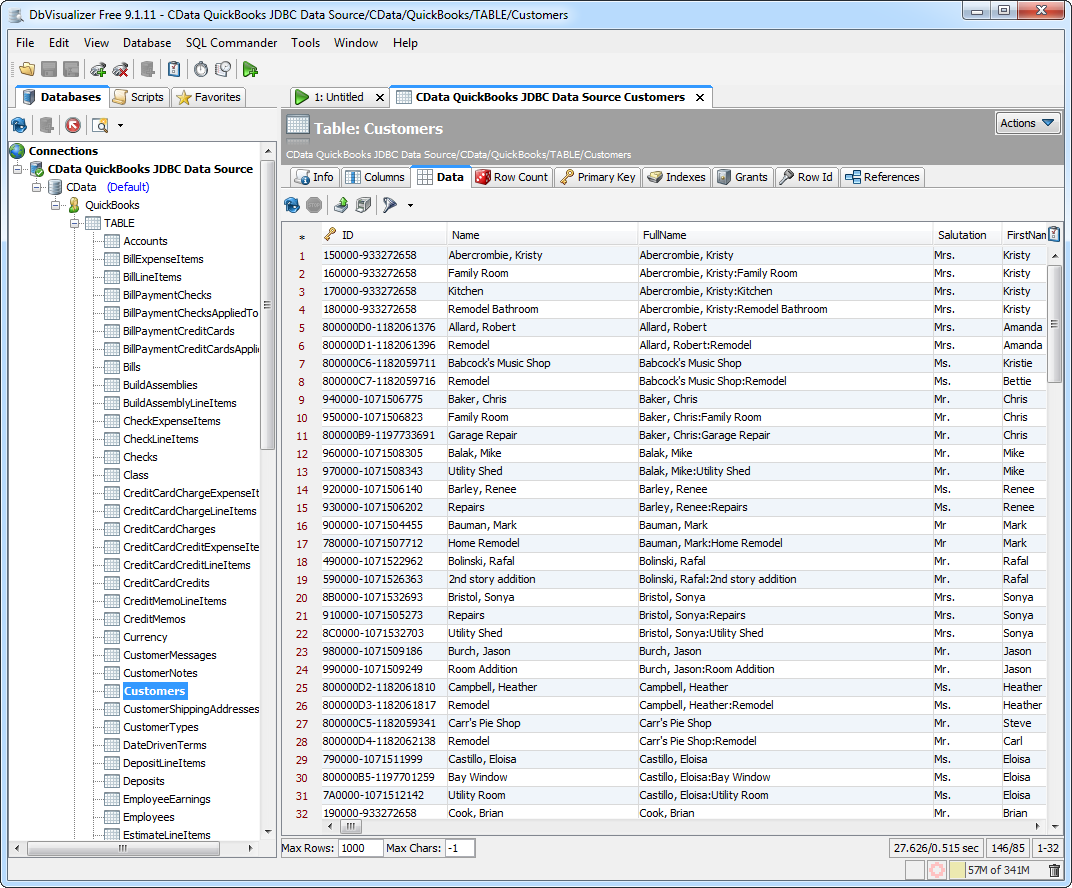
See the "Supported SQL" chapter in the help documentation for more information on the supported SQL. See the "Data Model" chapter for table-specific information.
Data Connectors
ETL/ ELT Solutions
Cloud & API Connectivity
OEM & Custom Drivers